Here is the latest photo…
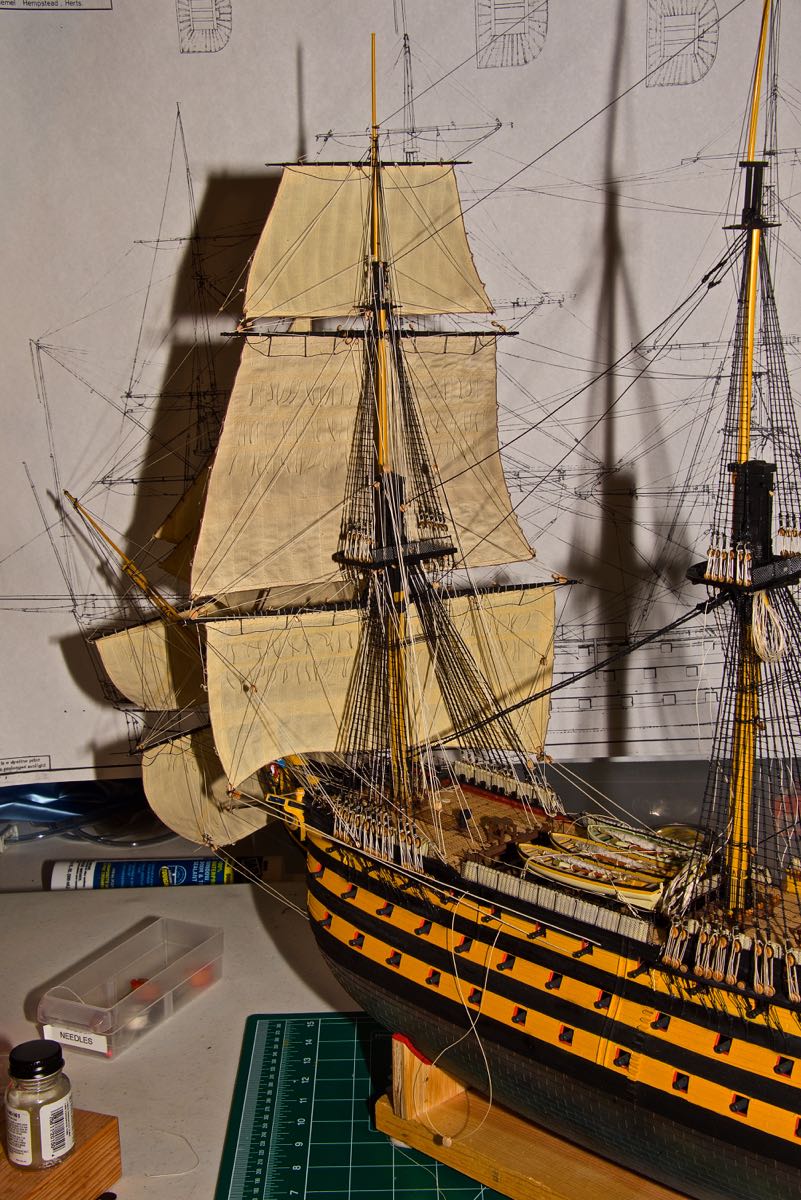
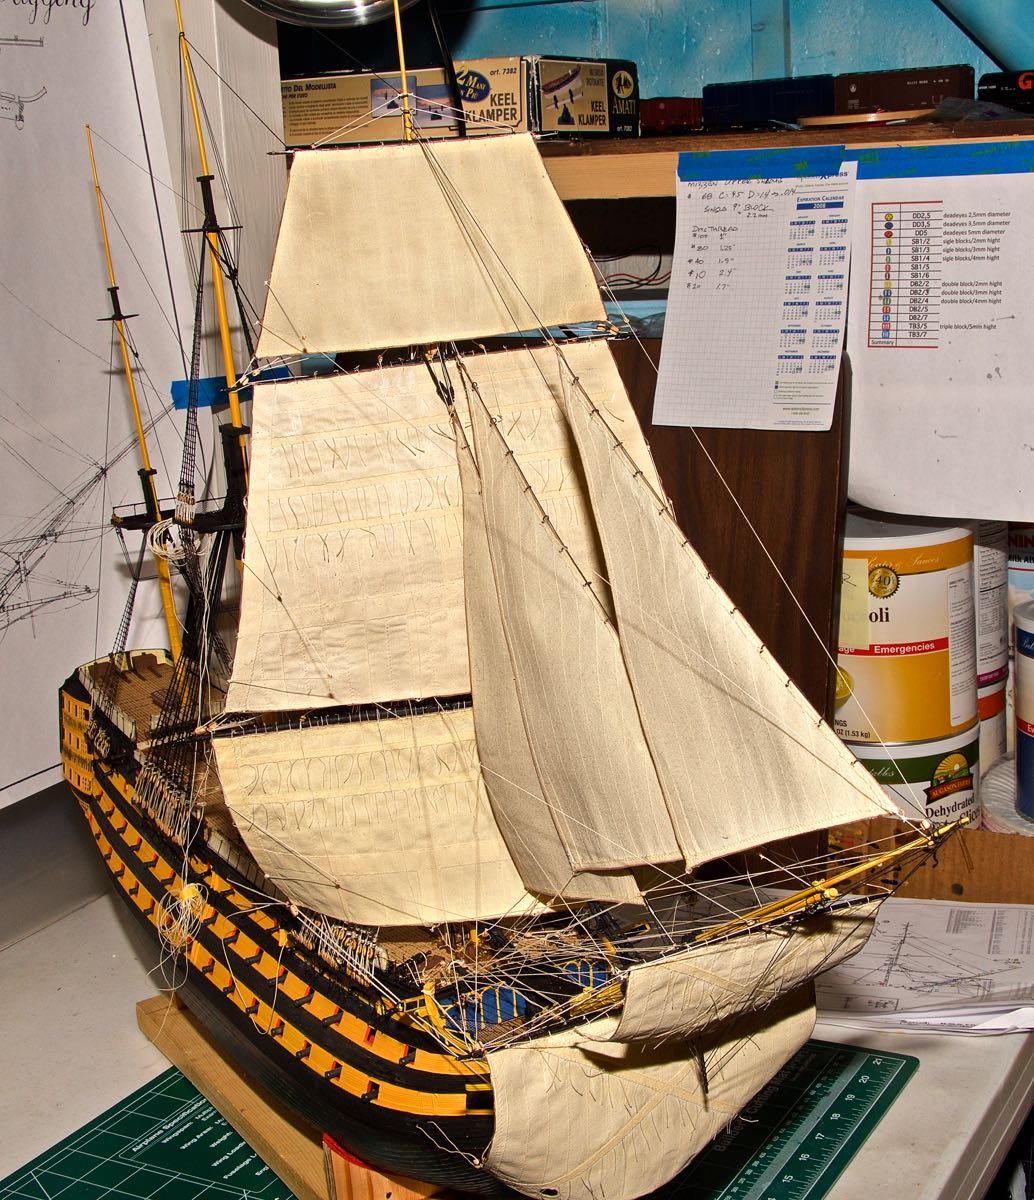
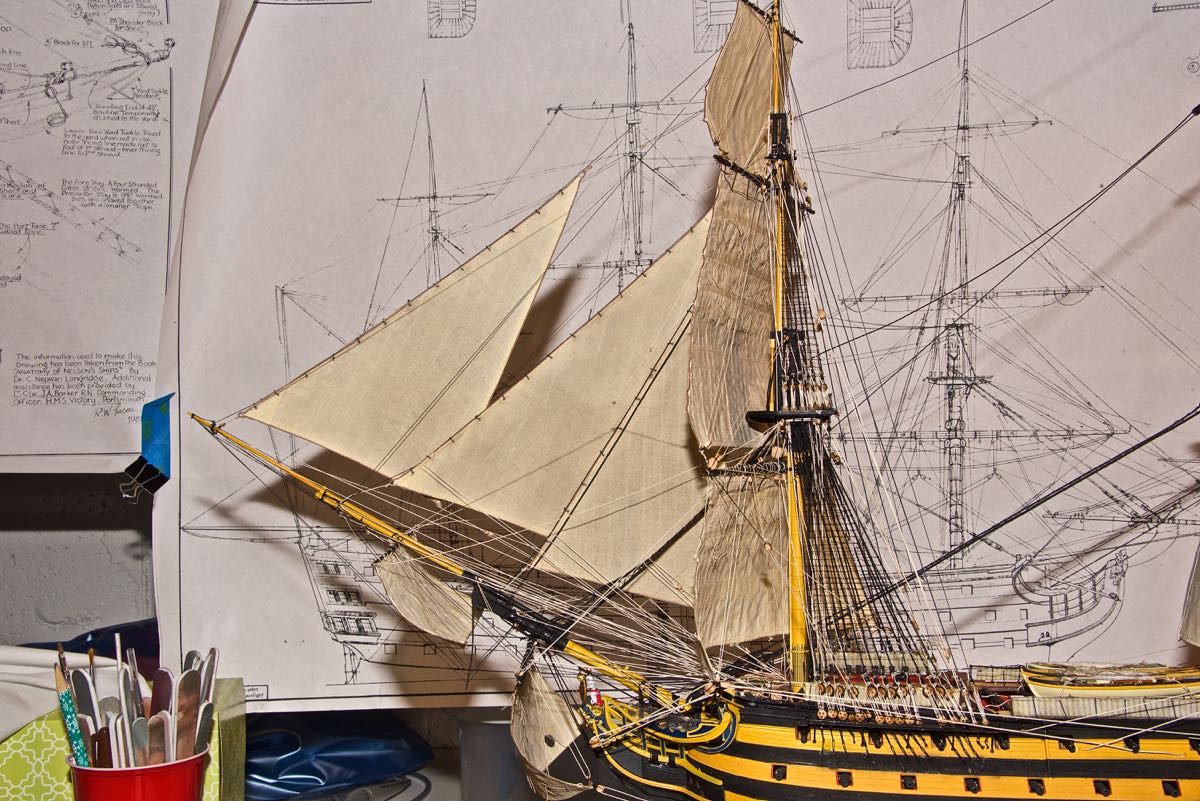
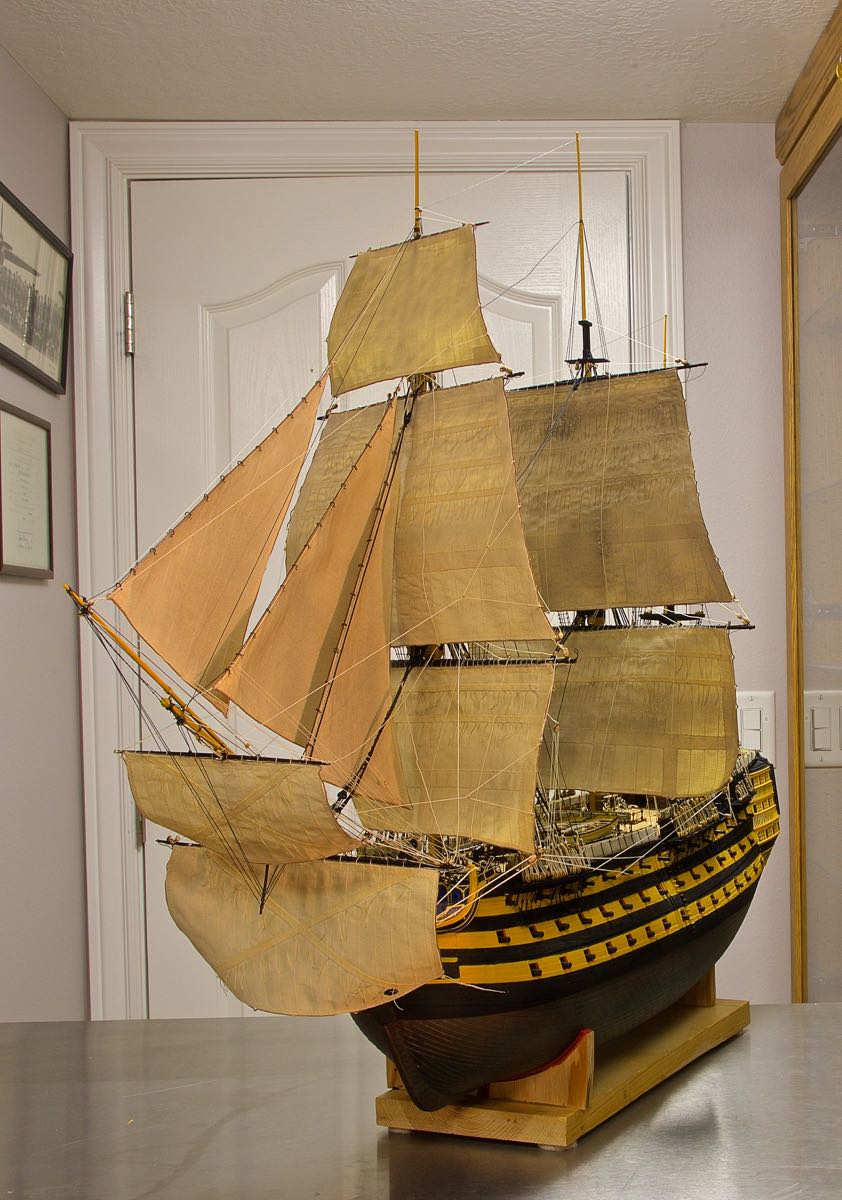
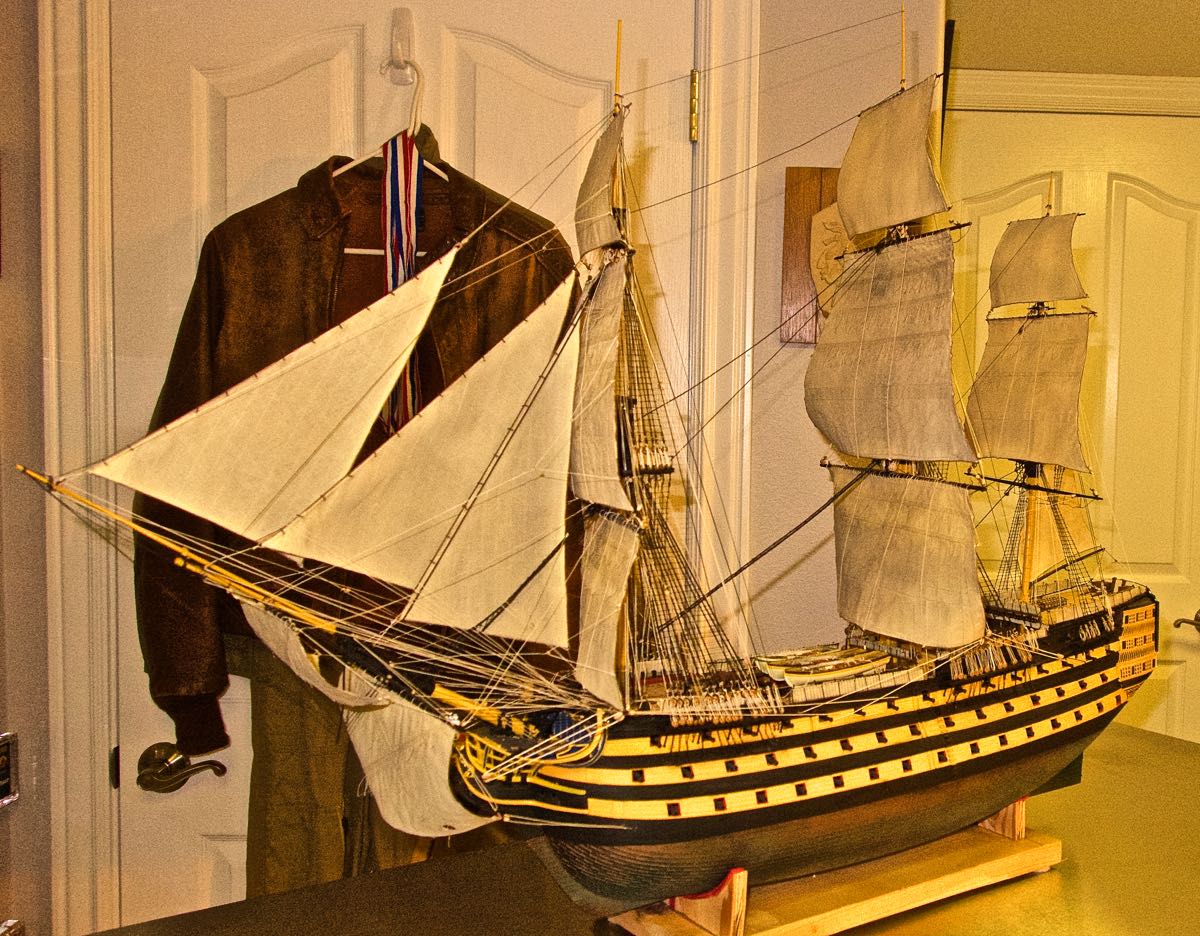
 4/8/2017 I've finished the fore topsail – and the foremast. Here are some pictures. I'm not sure I have the foremost jib sail installed correctly. It seems that it should be attached further forward on the bowsprit that I have it.
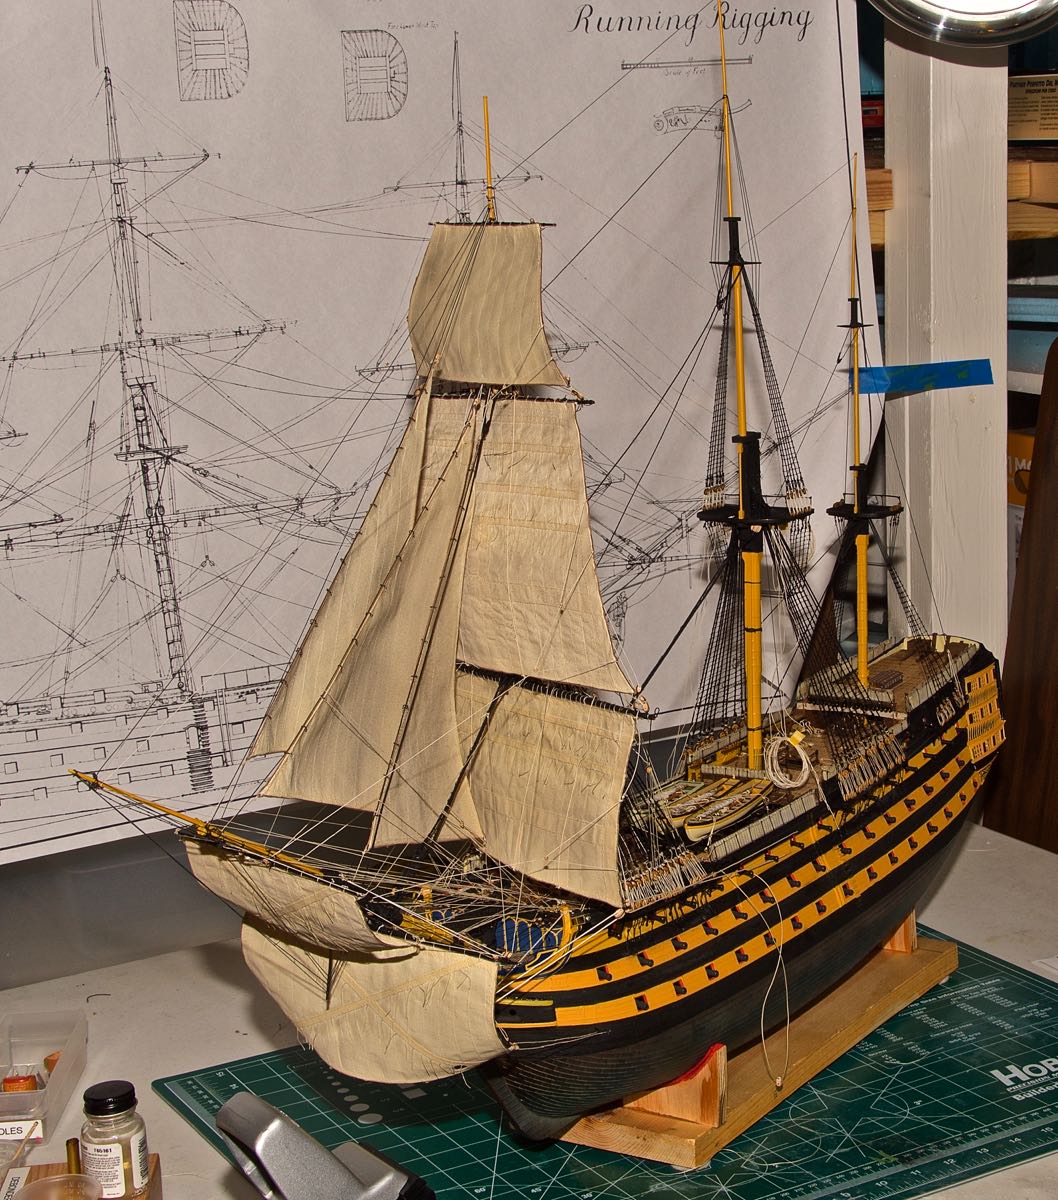
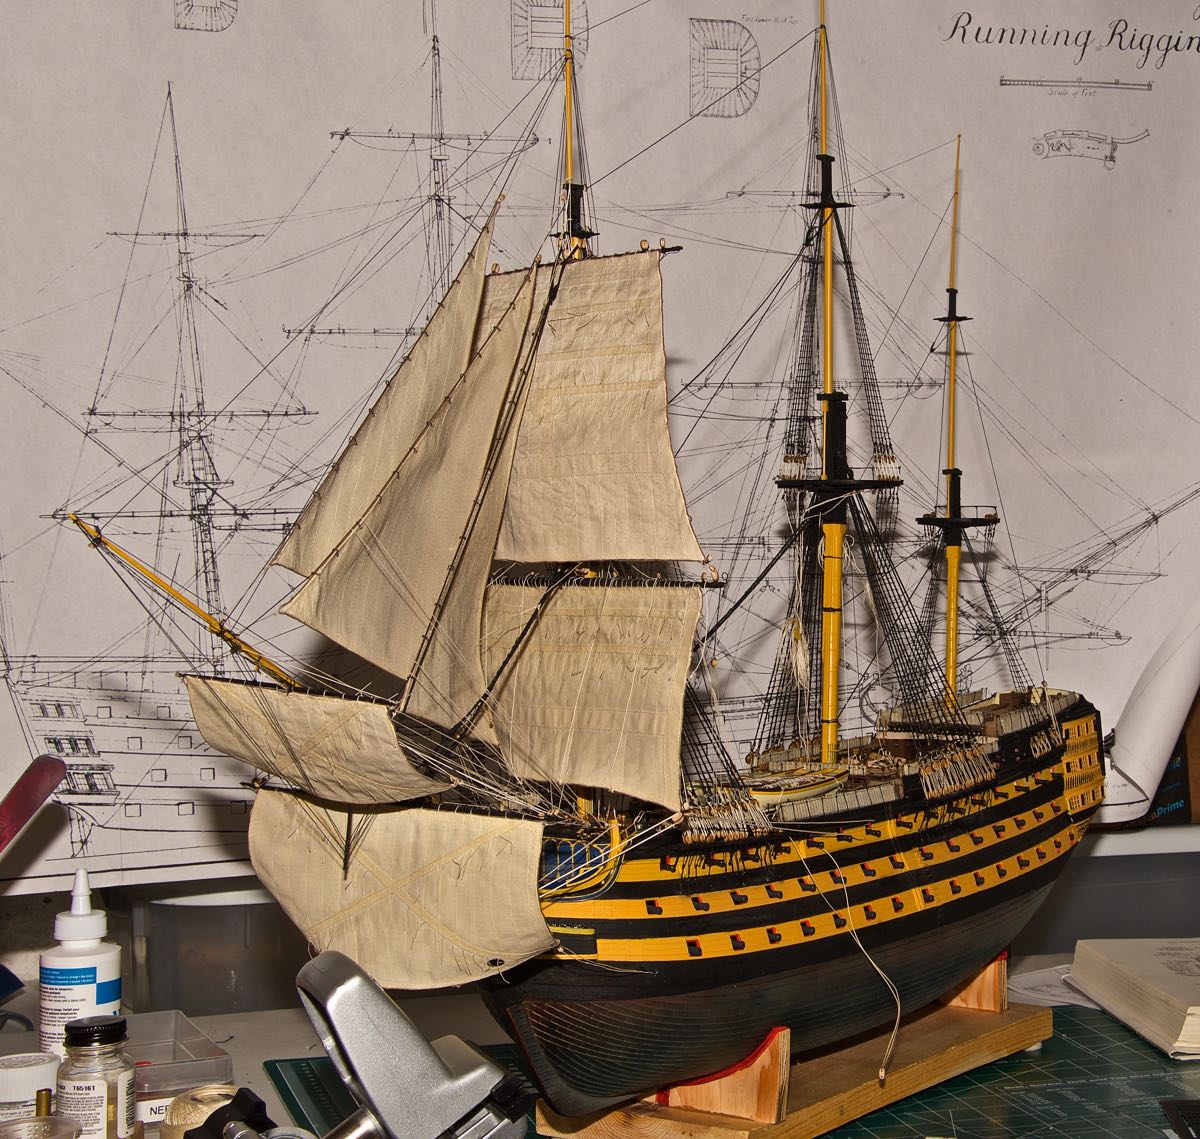
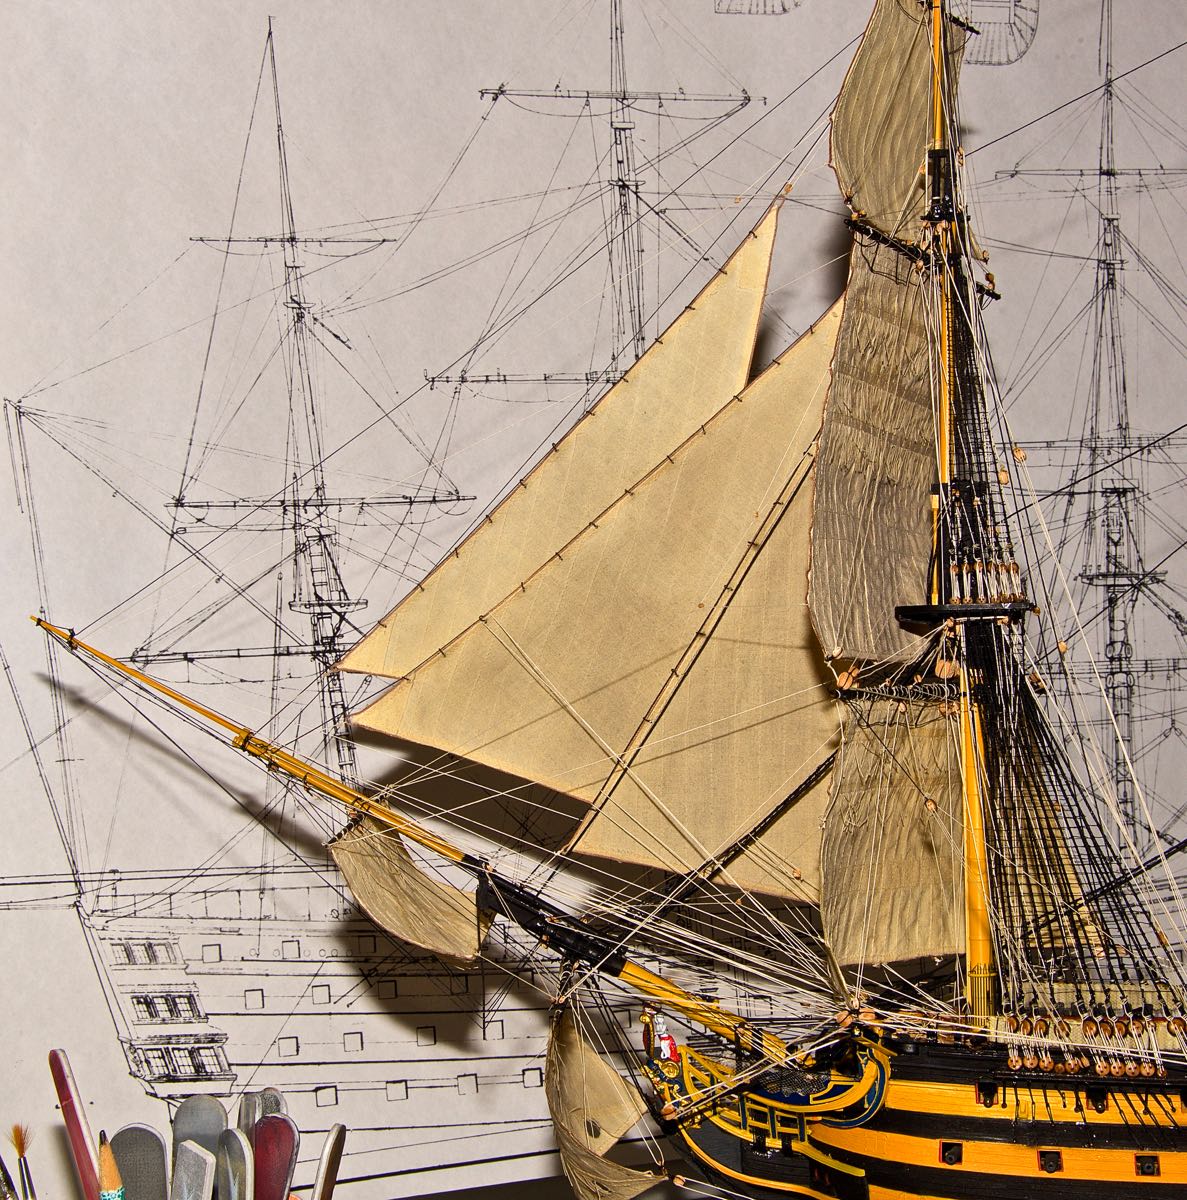
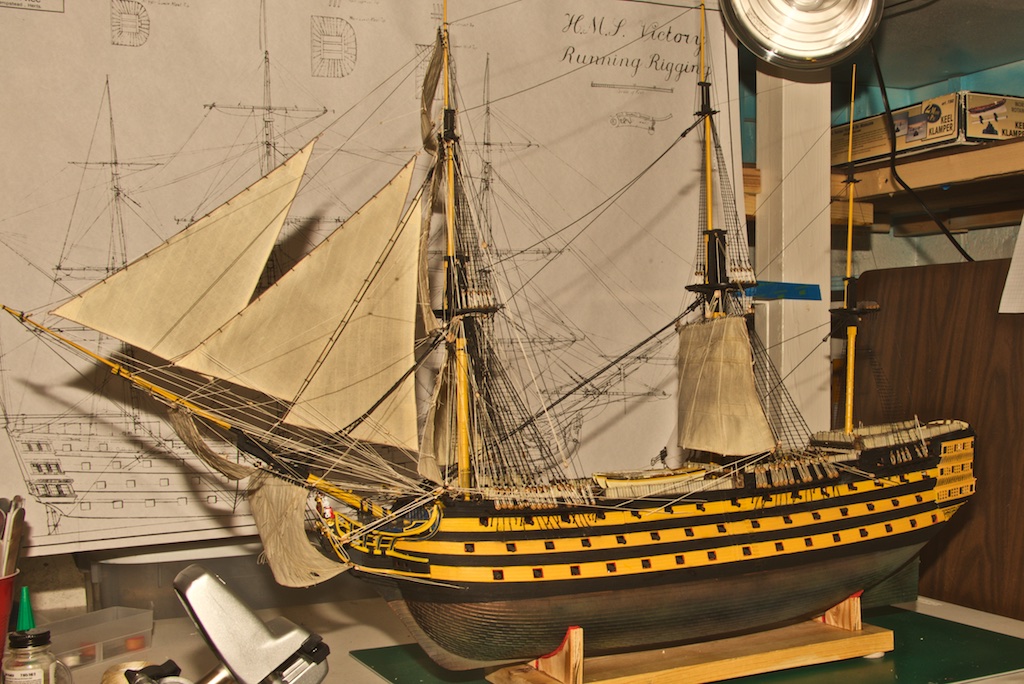
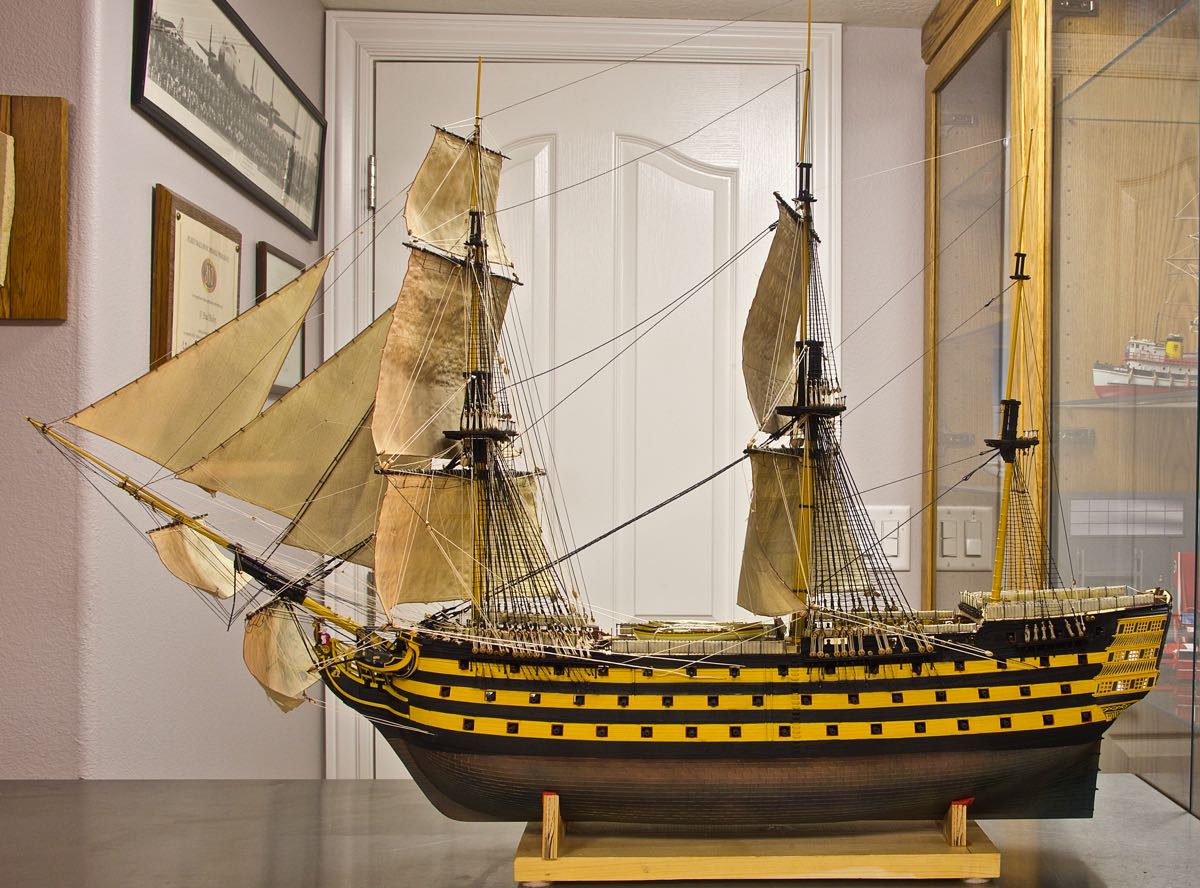
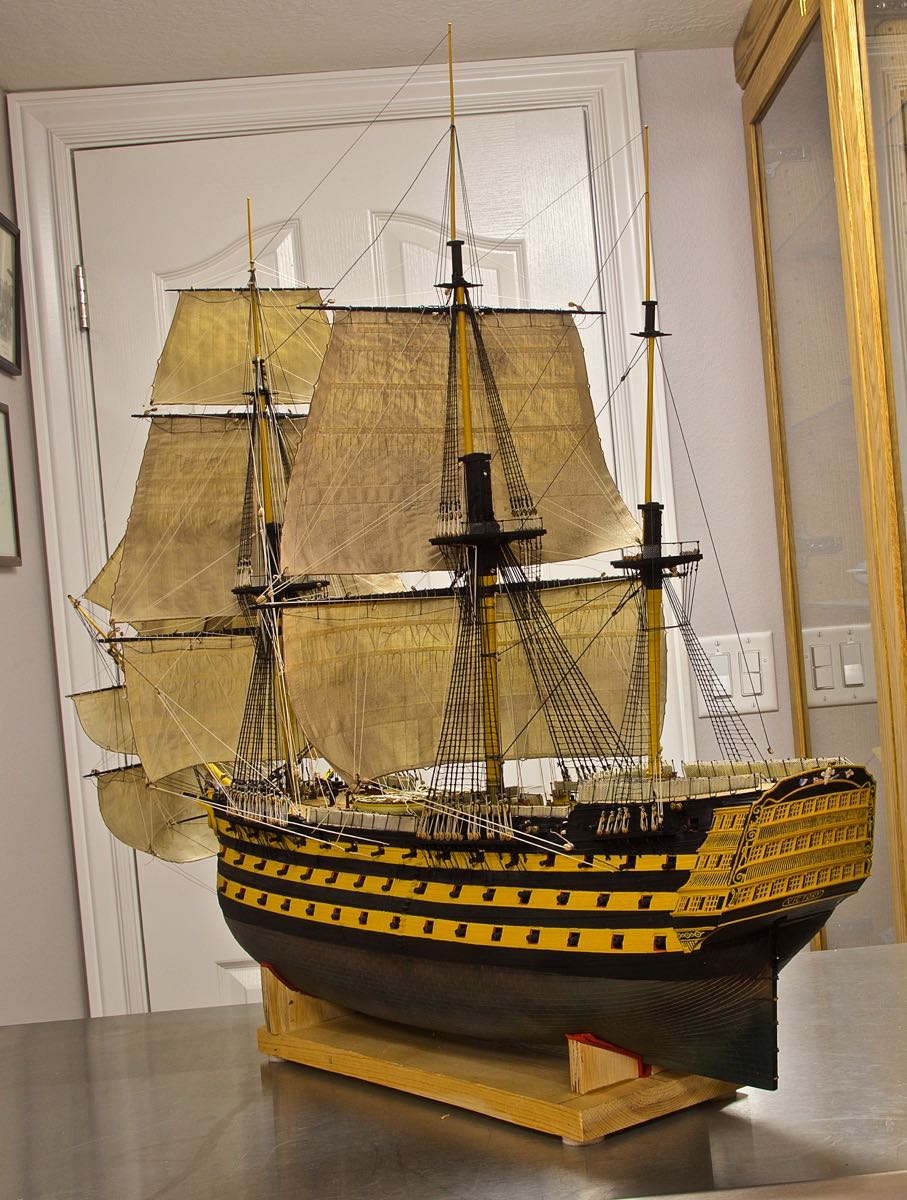
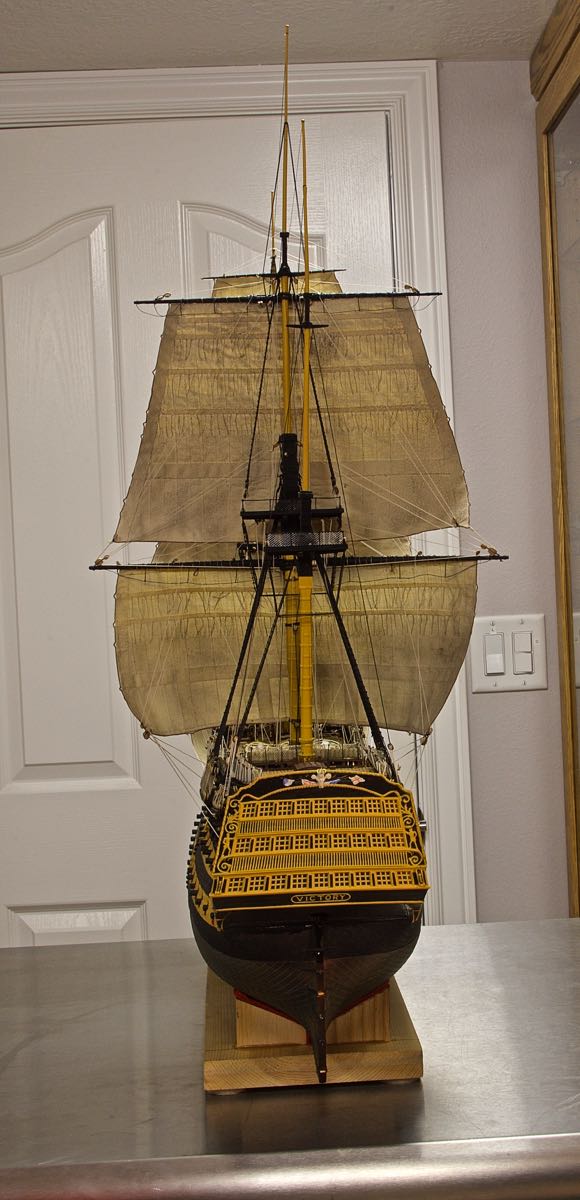
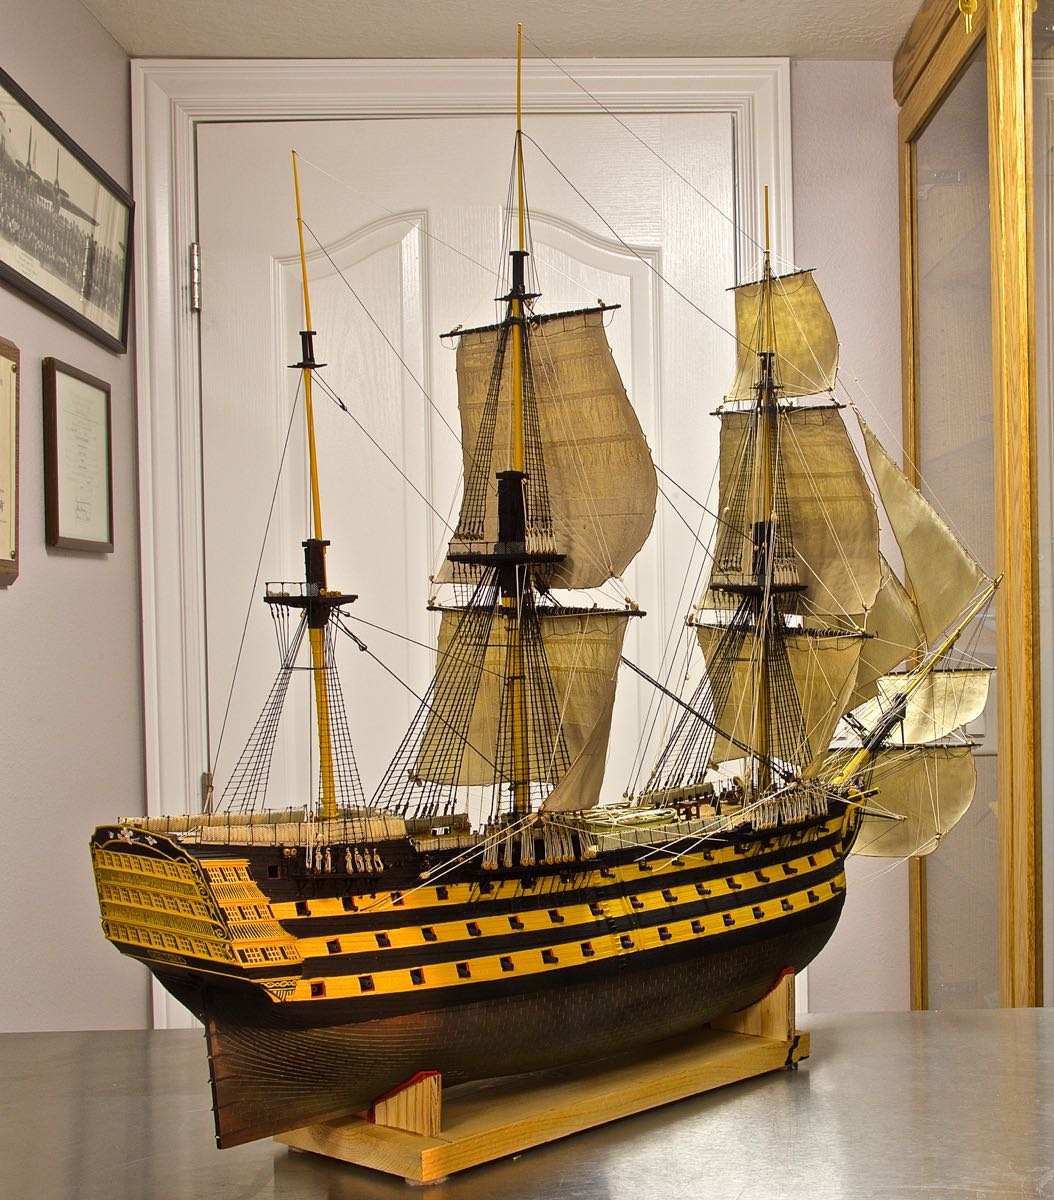
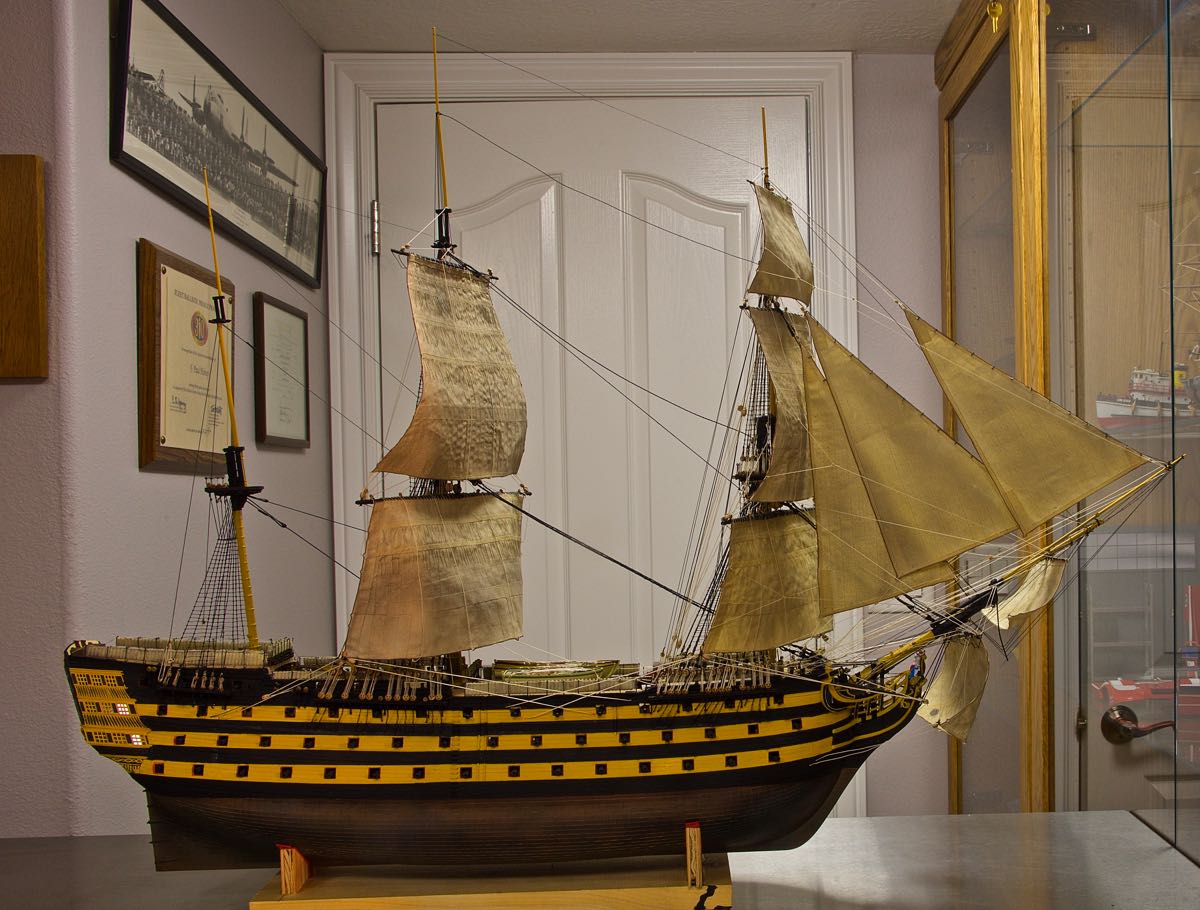
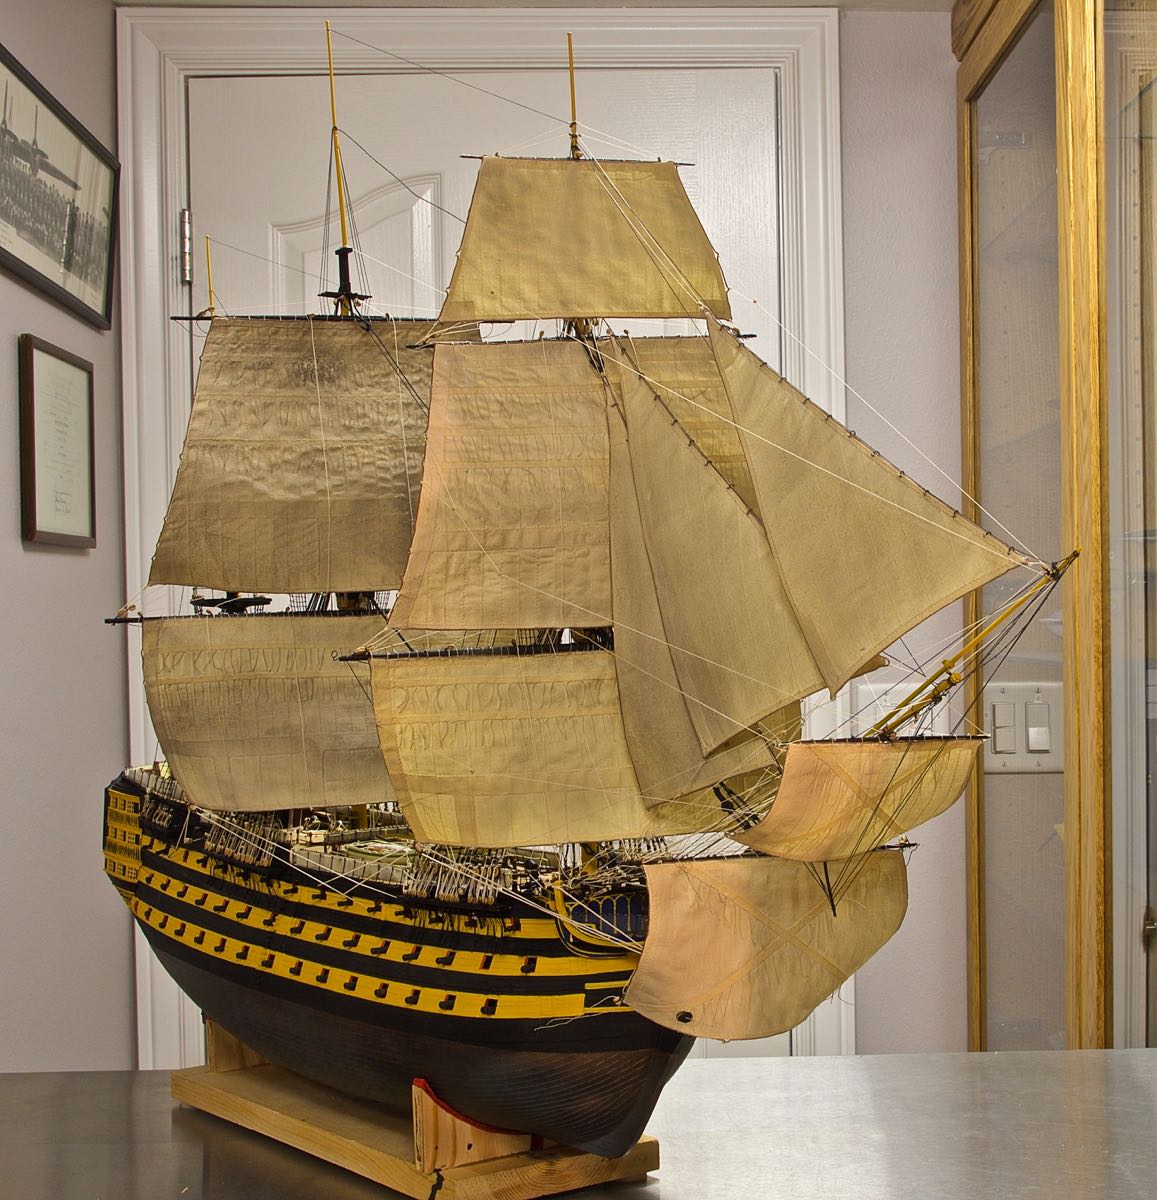
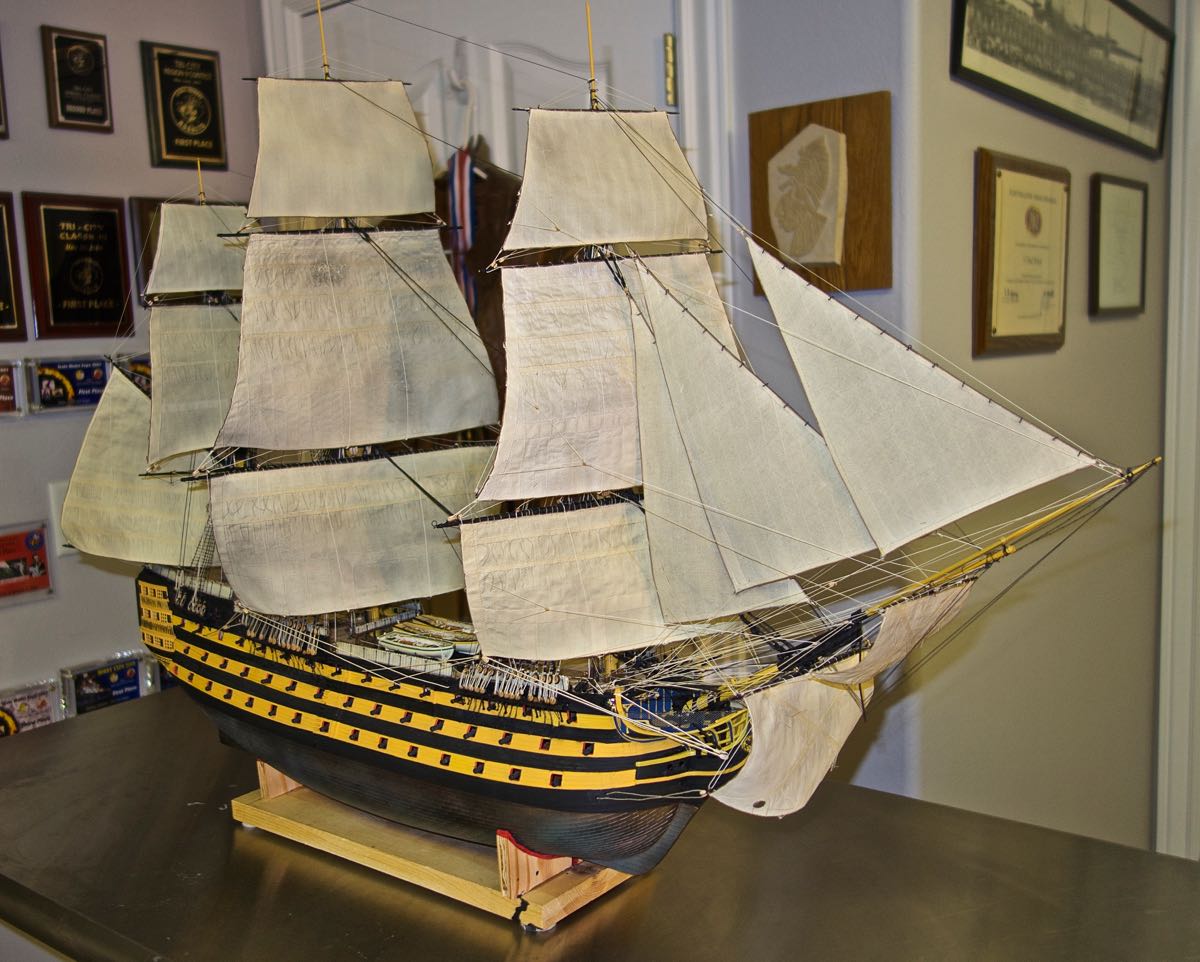
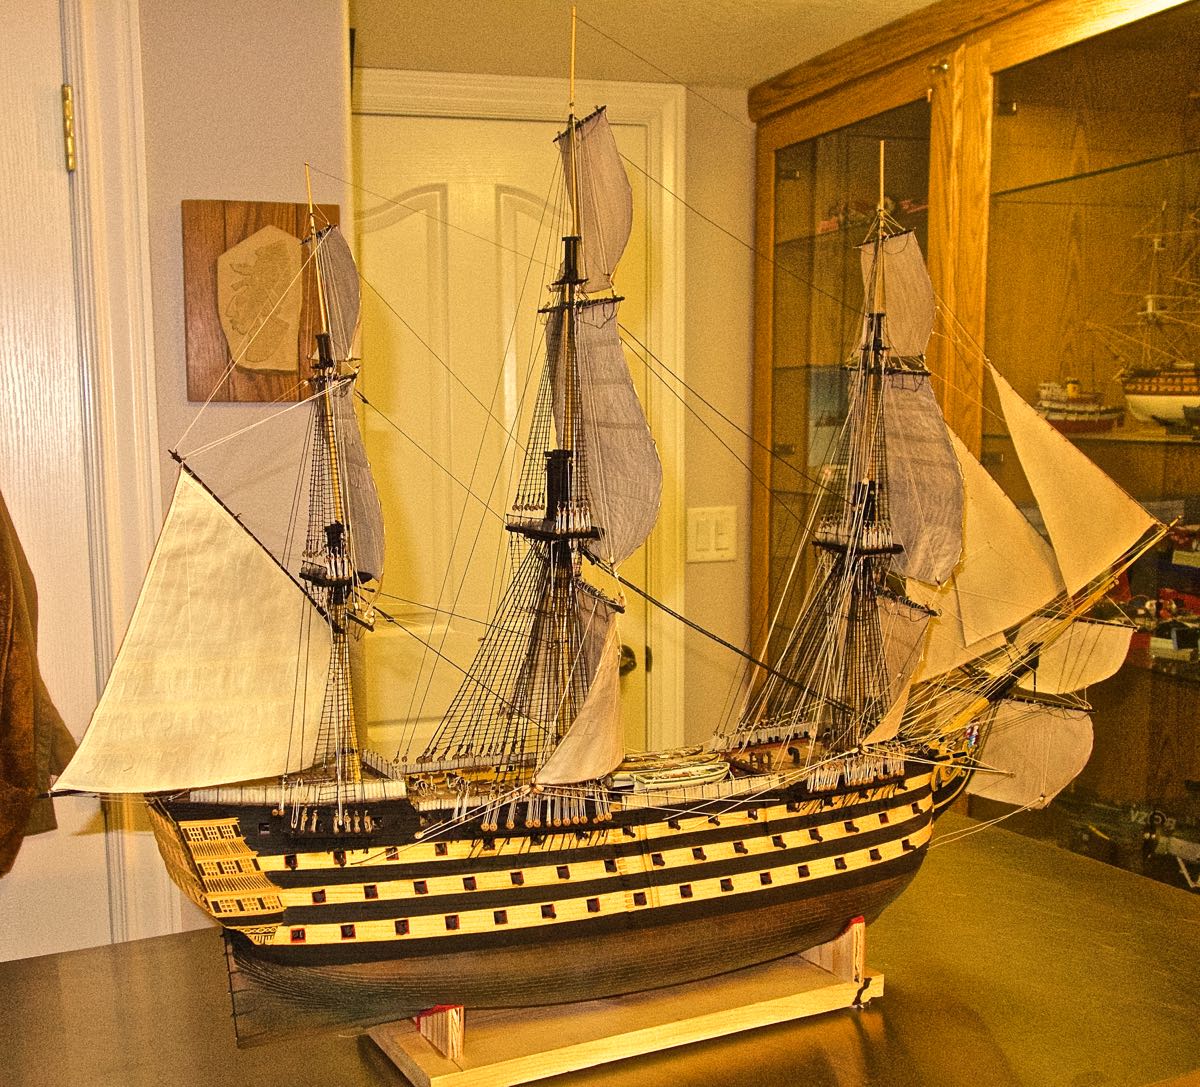
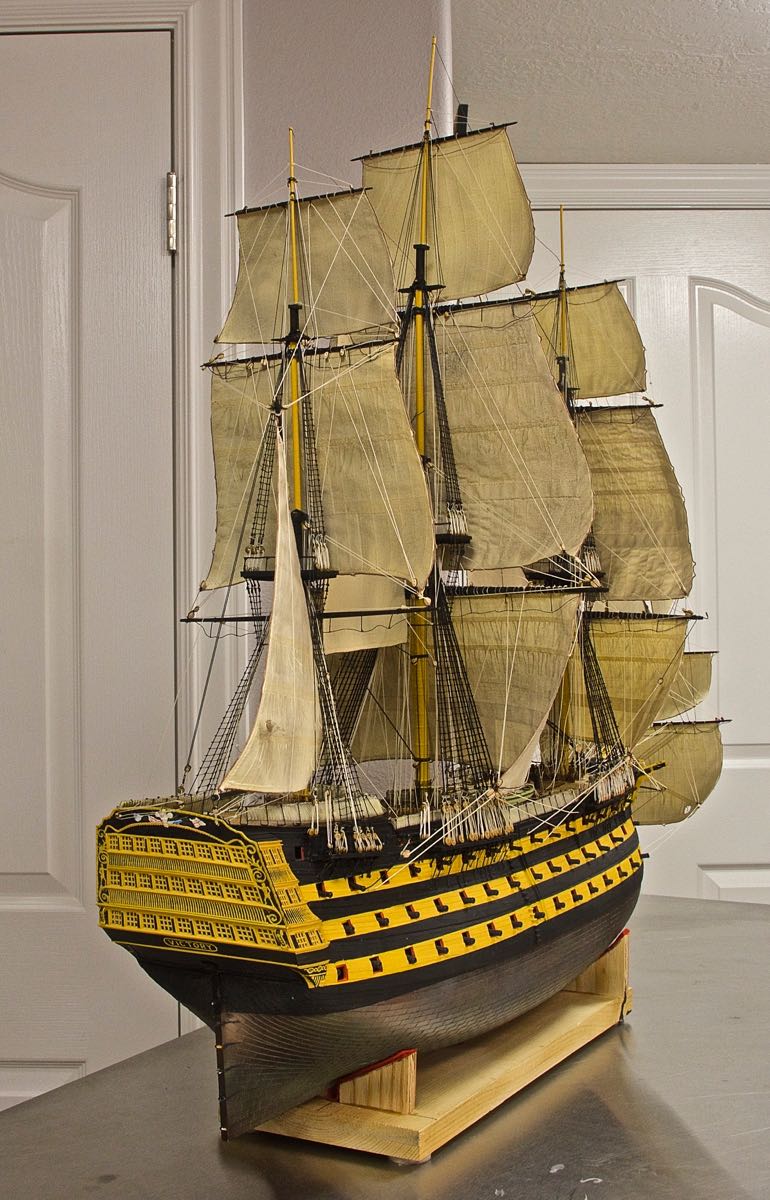
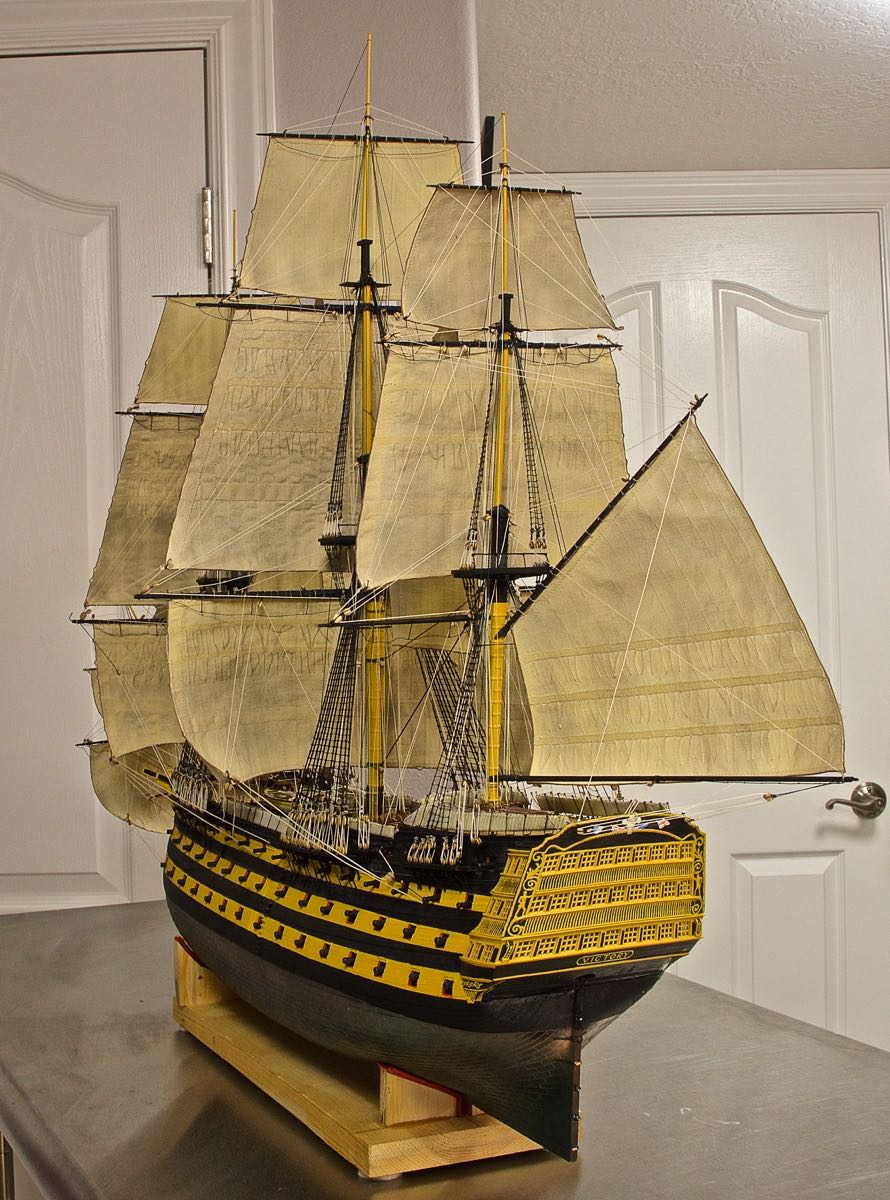
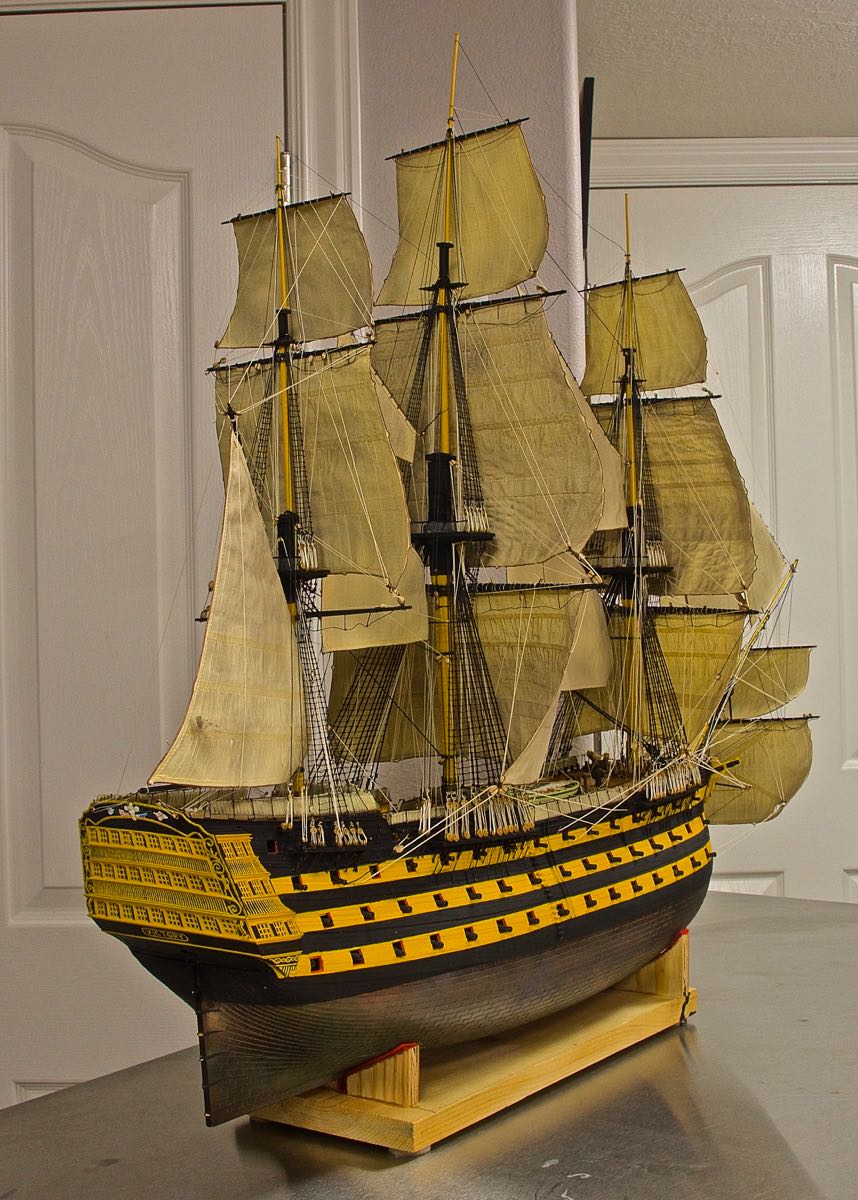
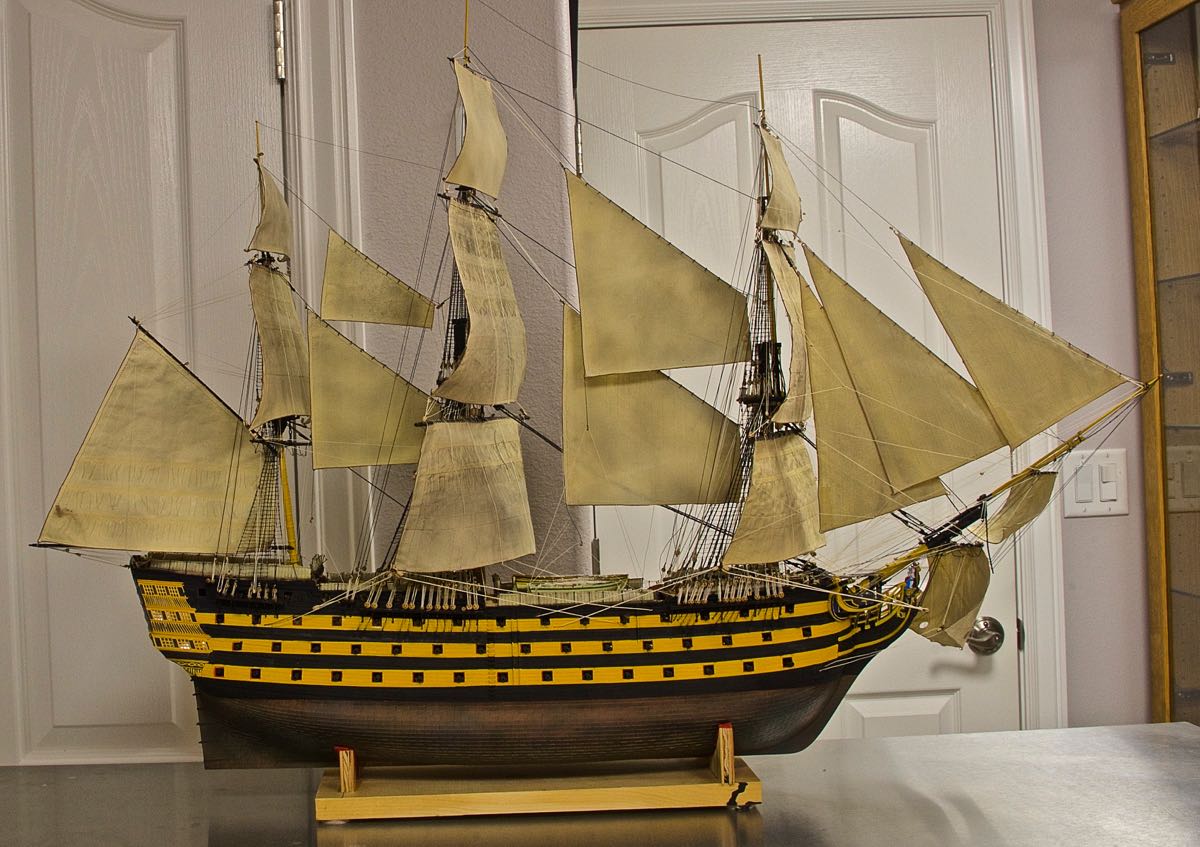
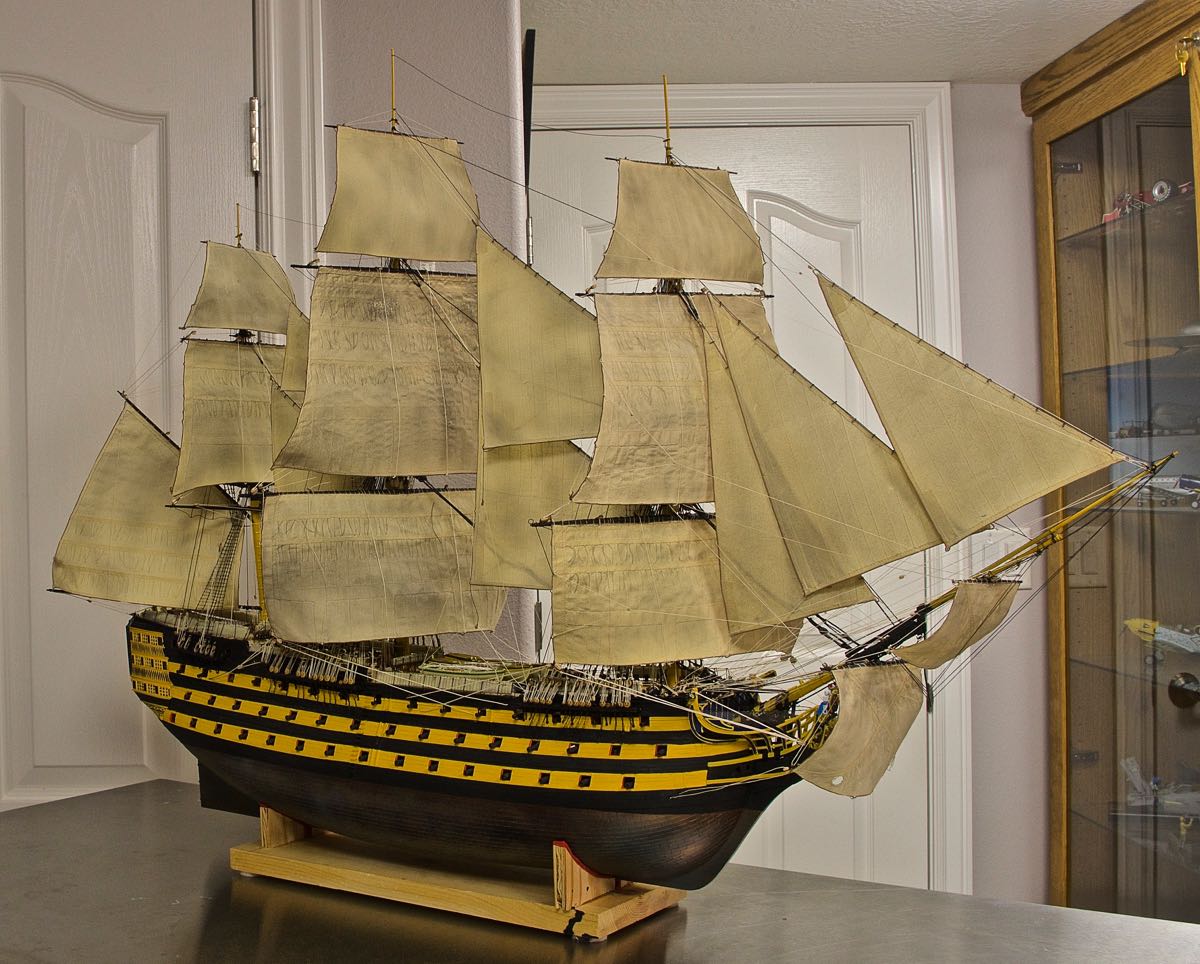
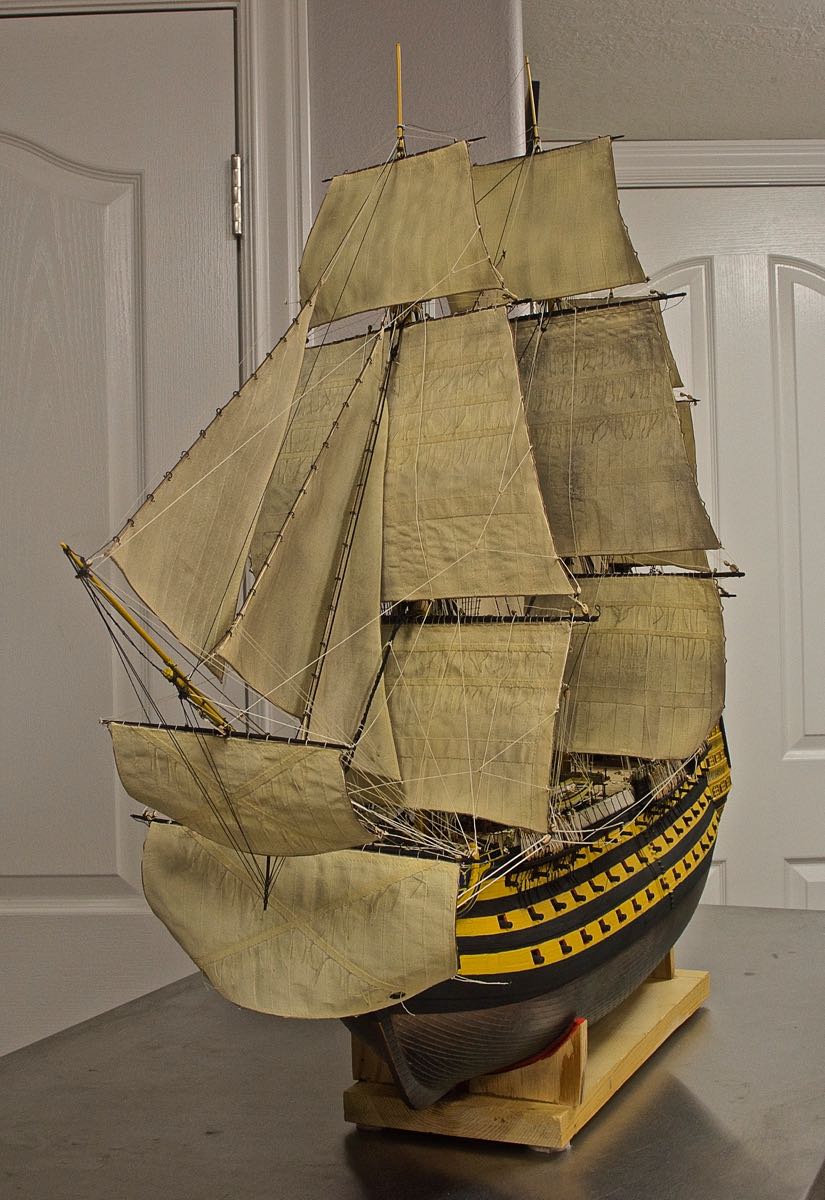
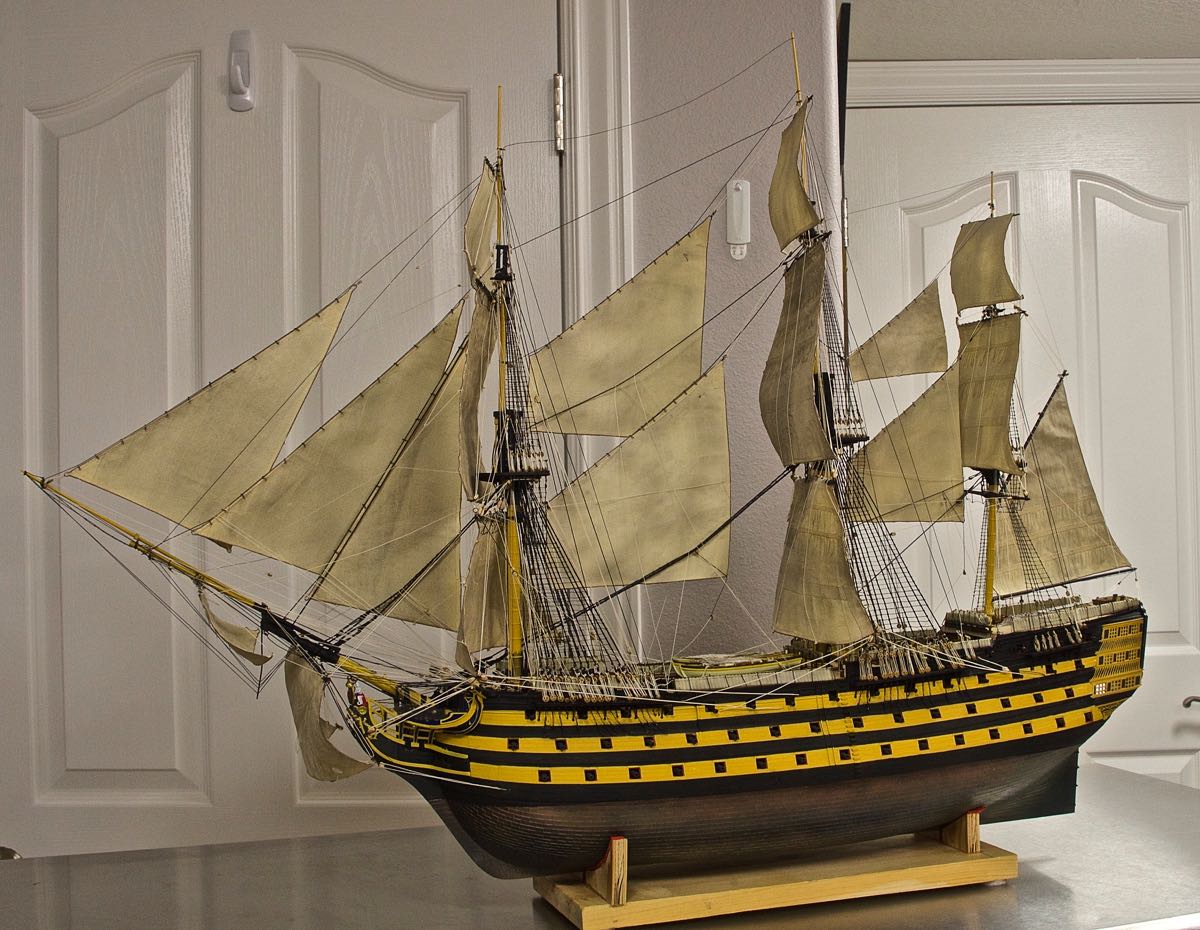
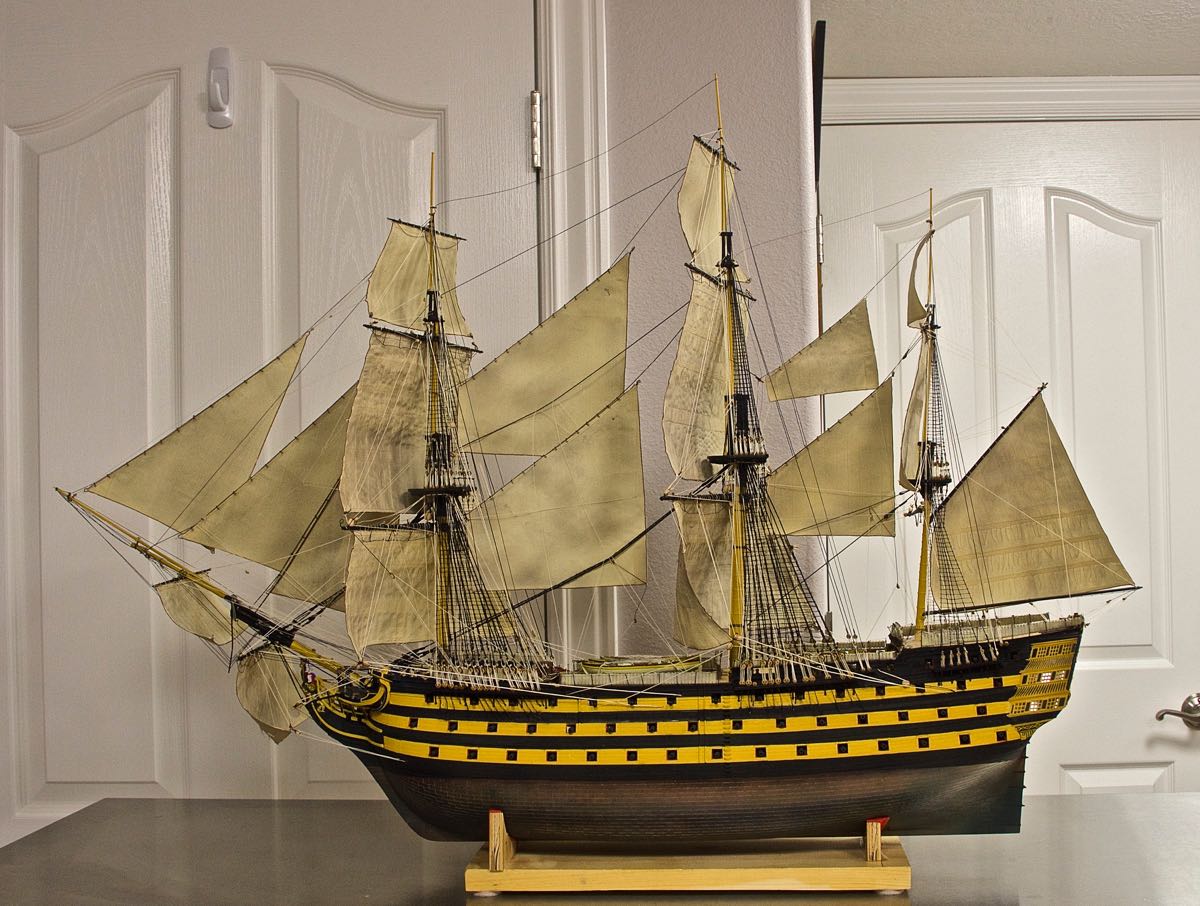
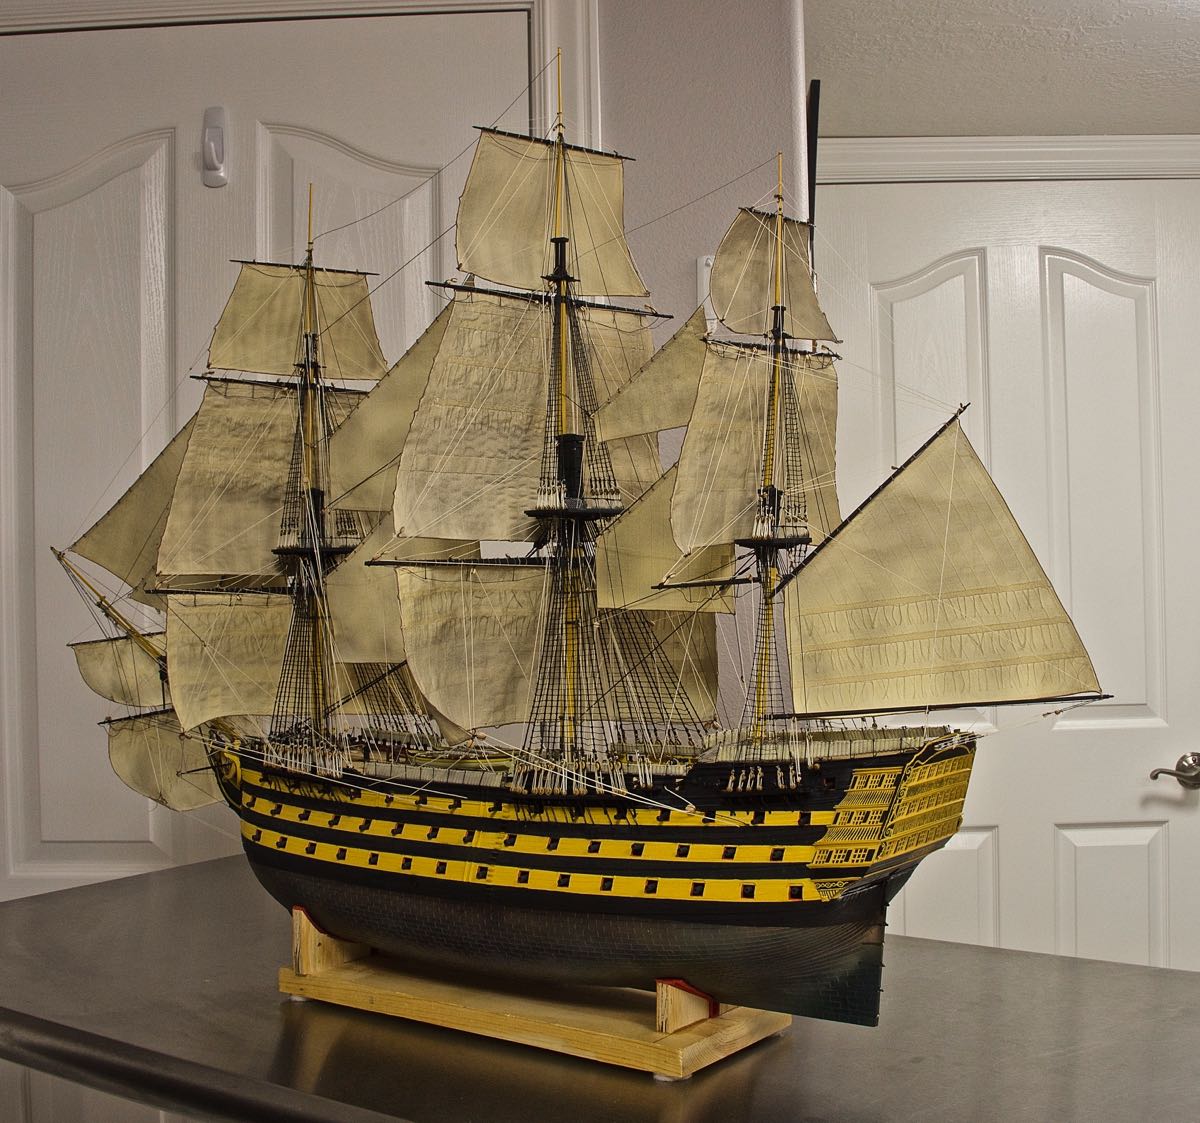
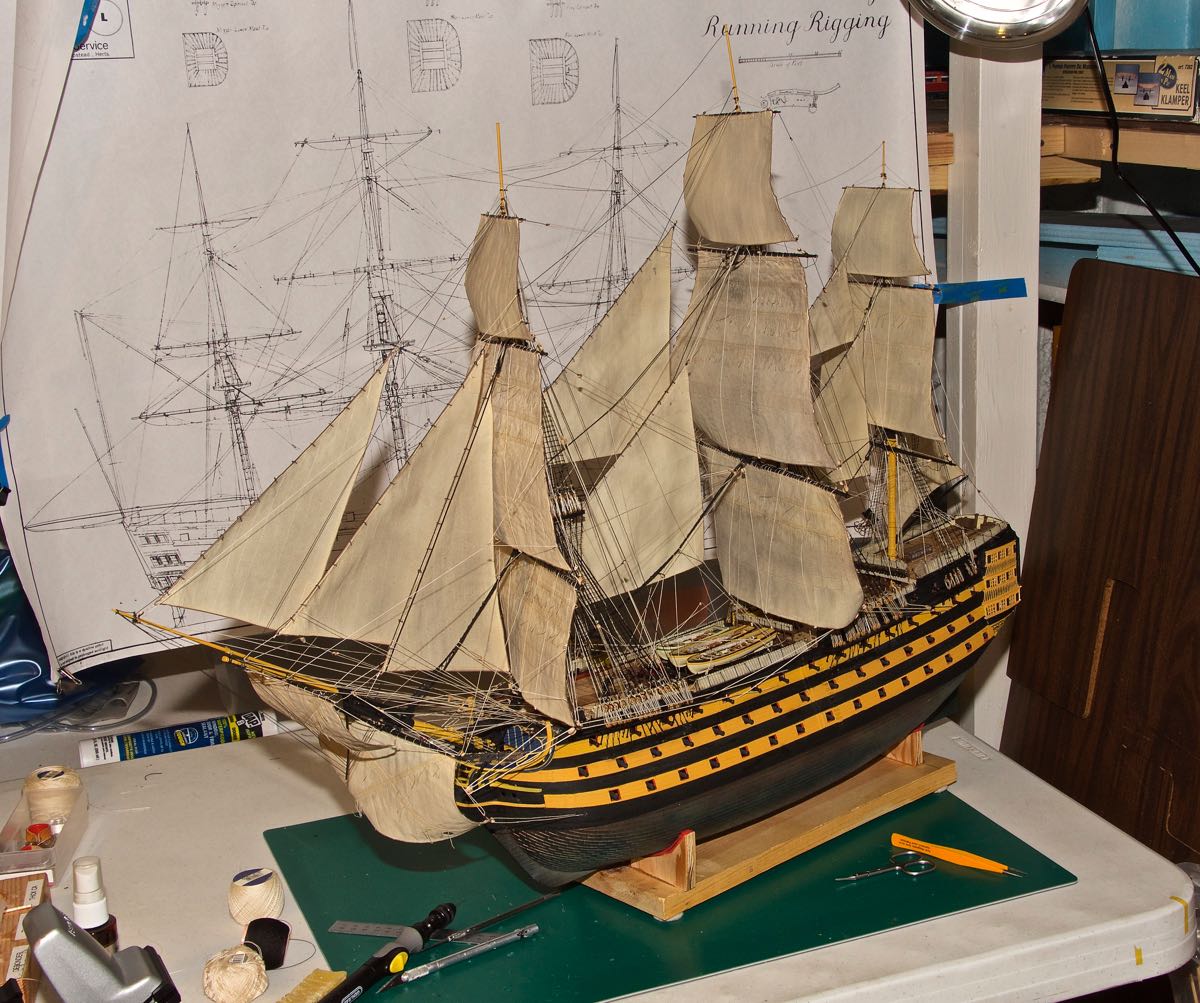
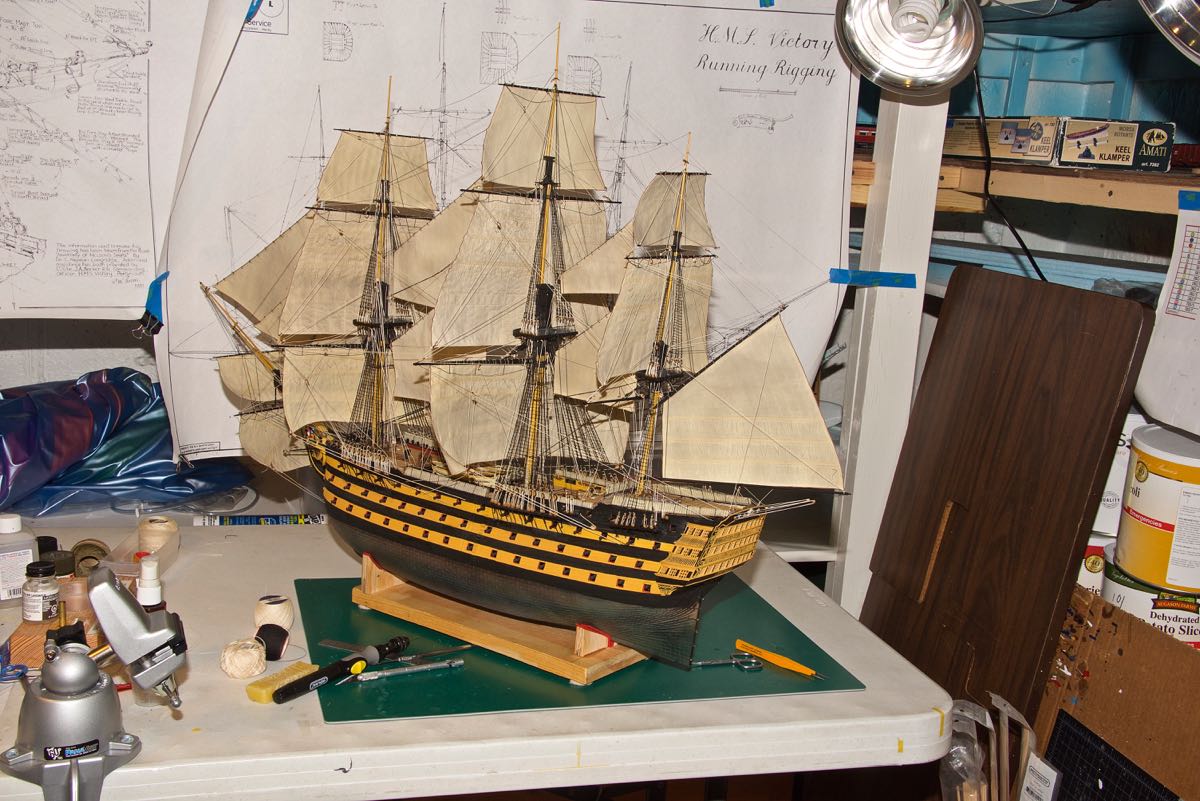
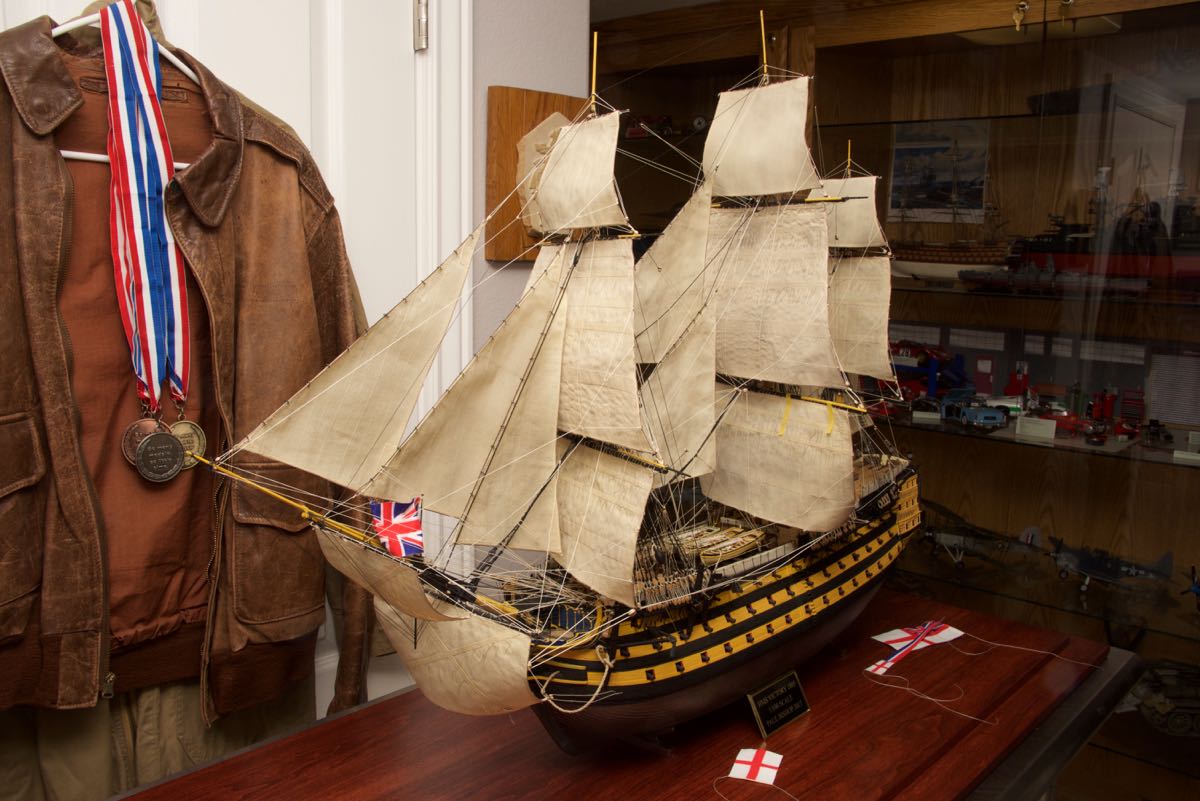
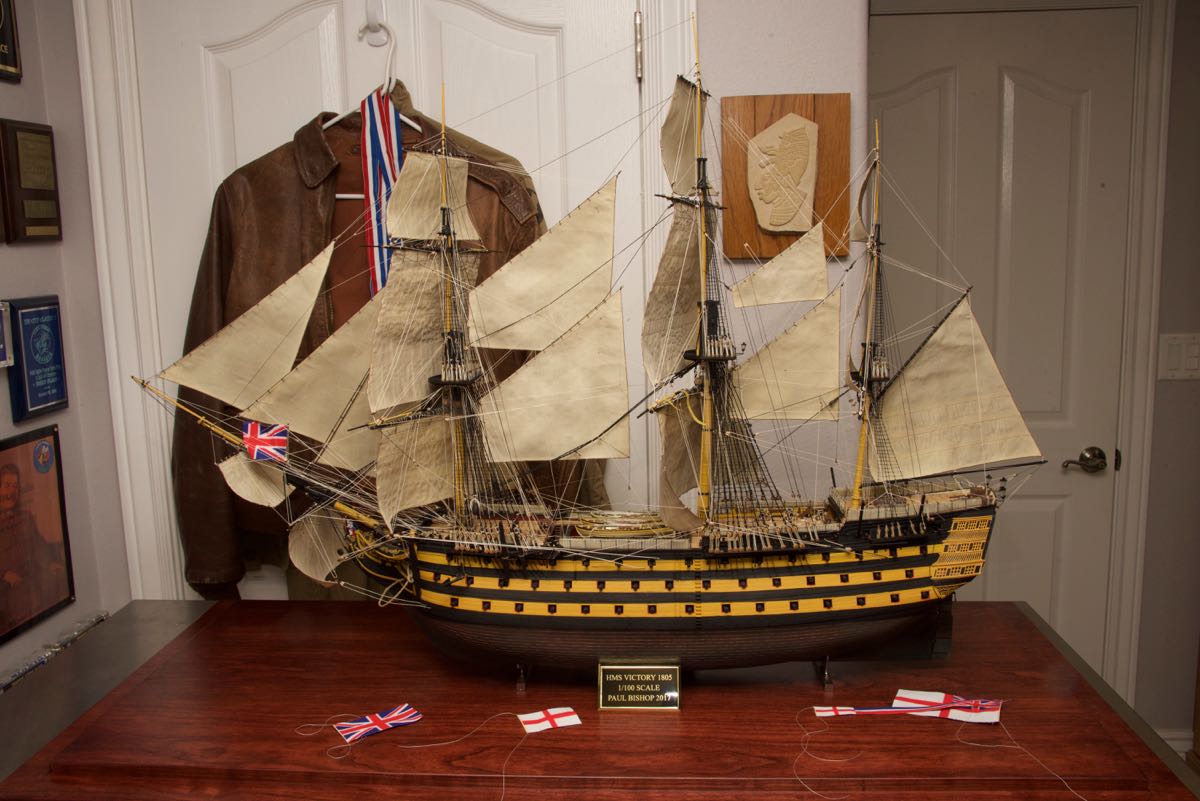
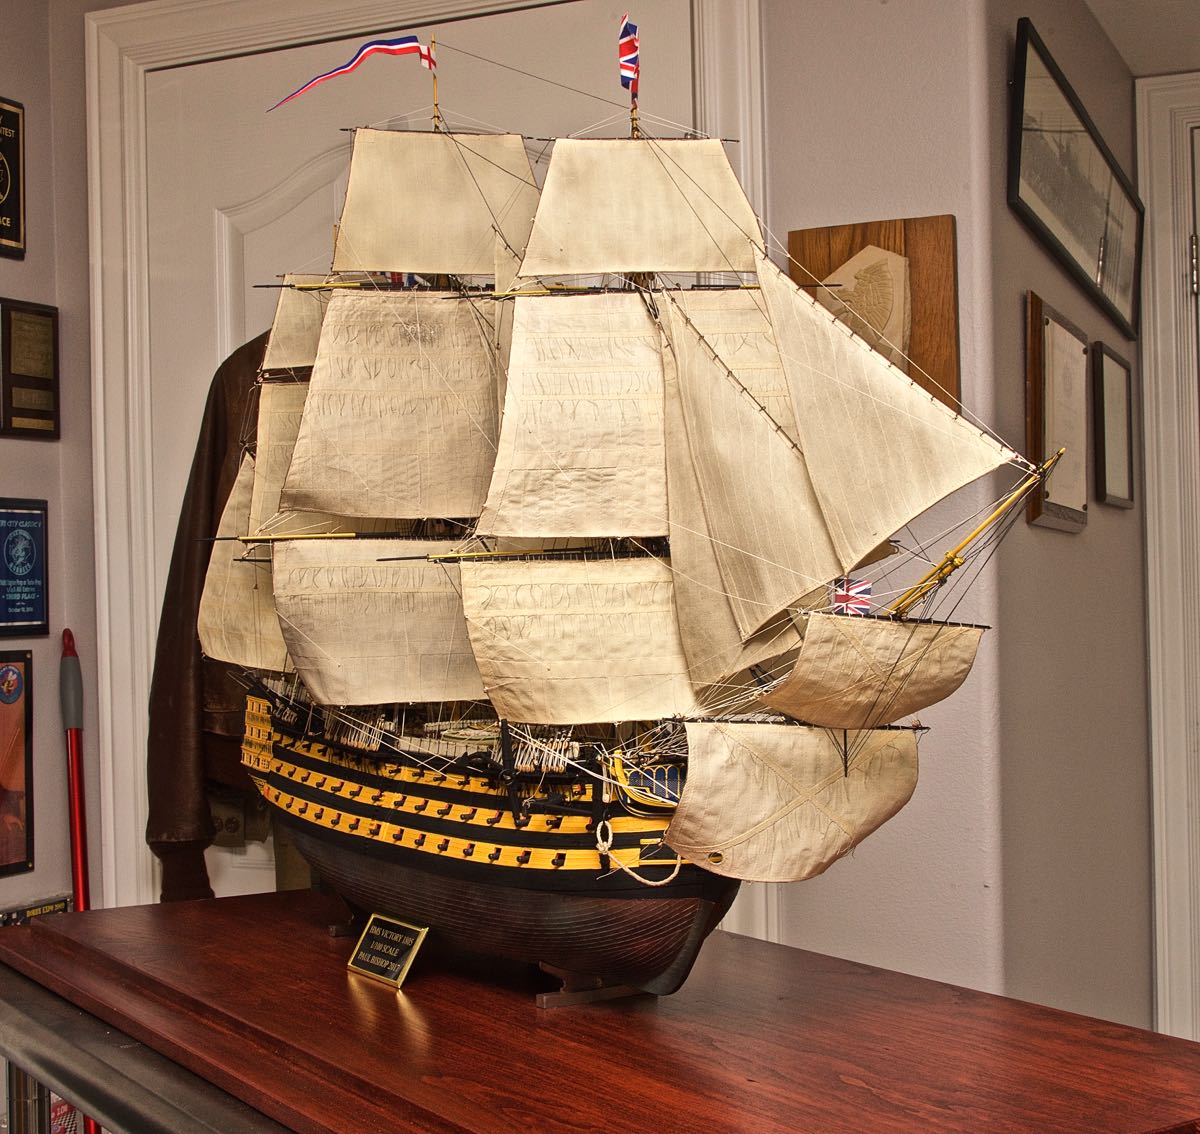
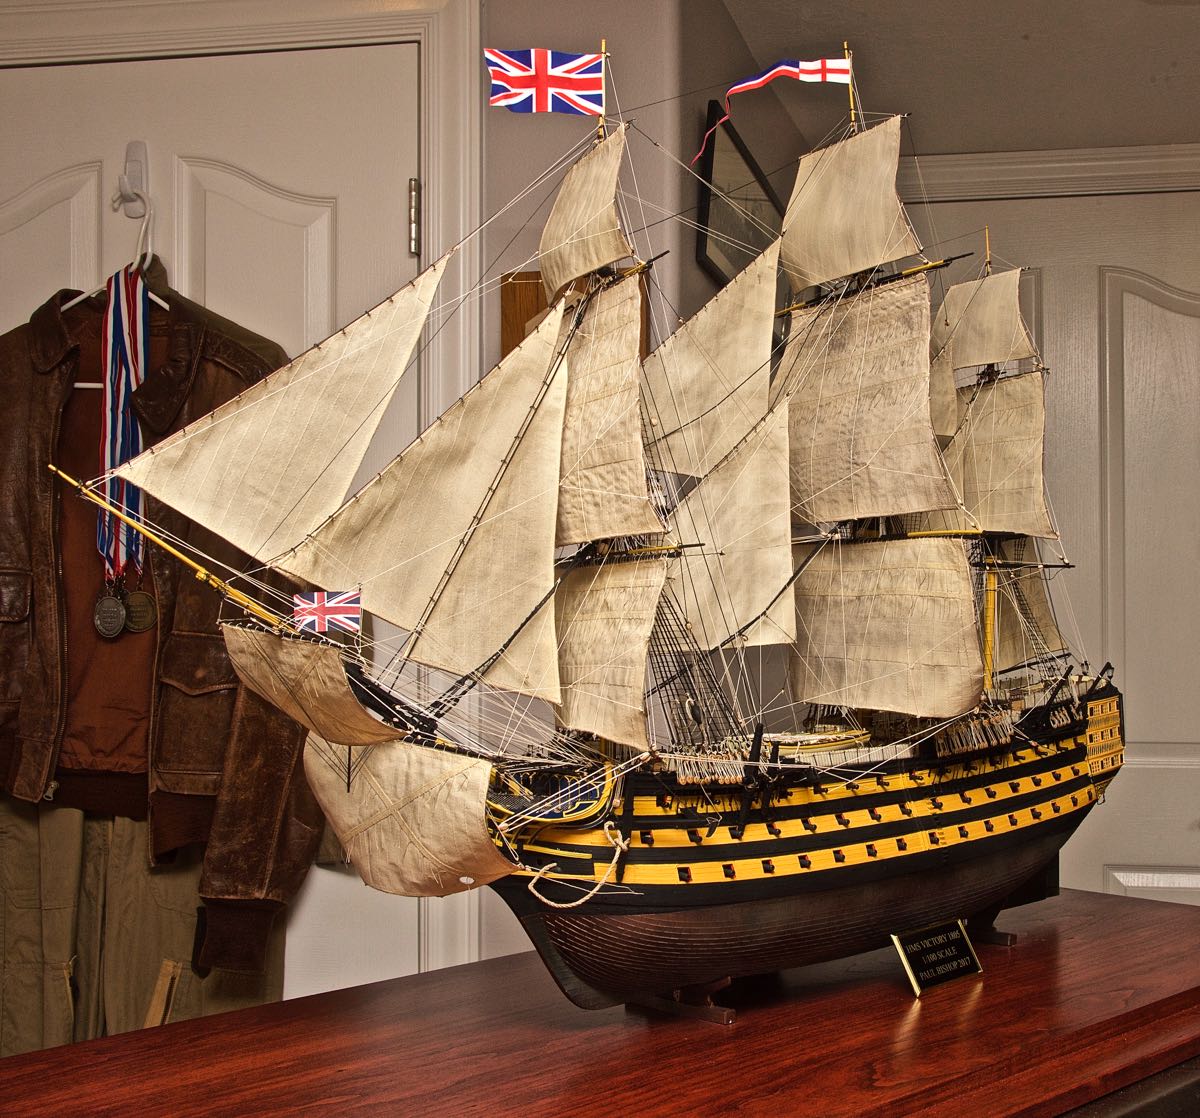
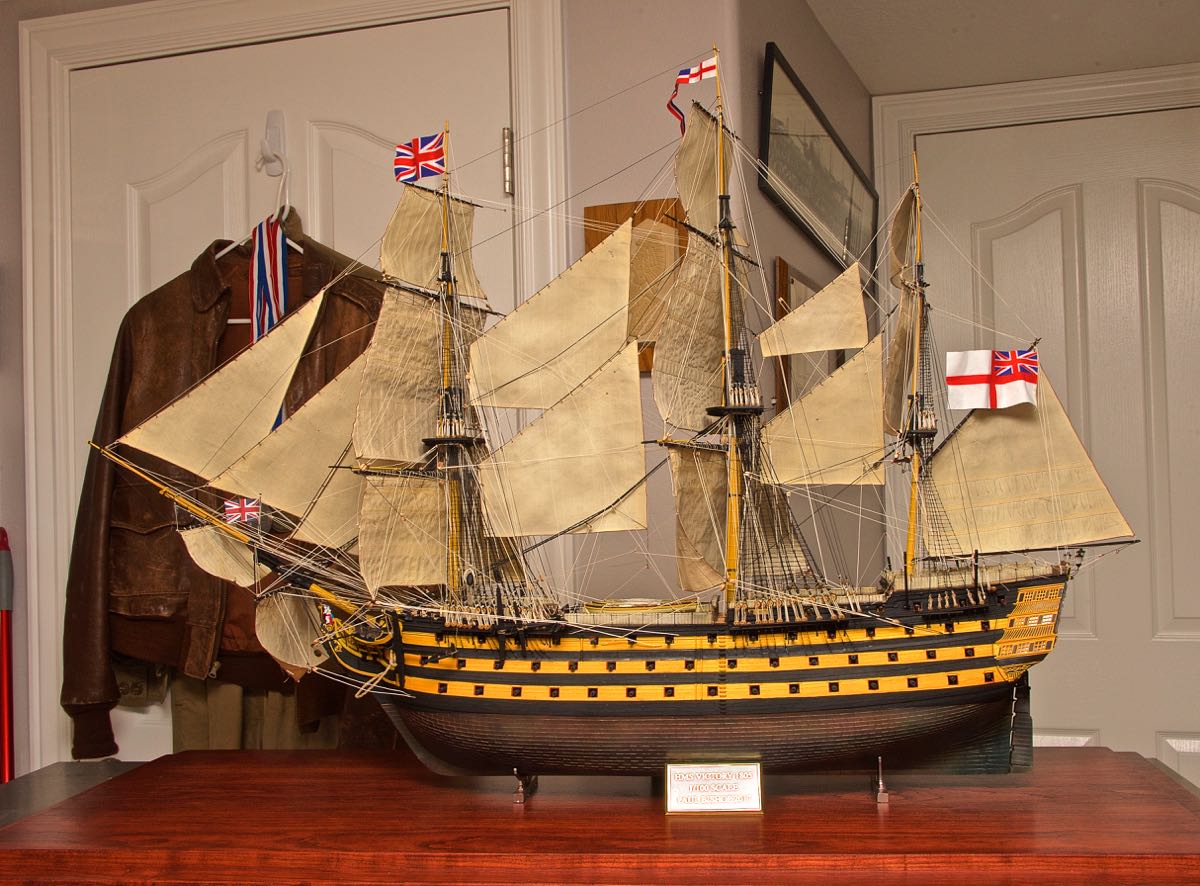
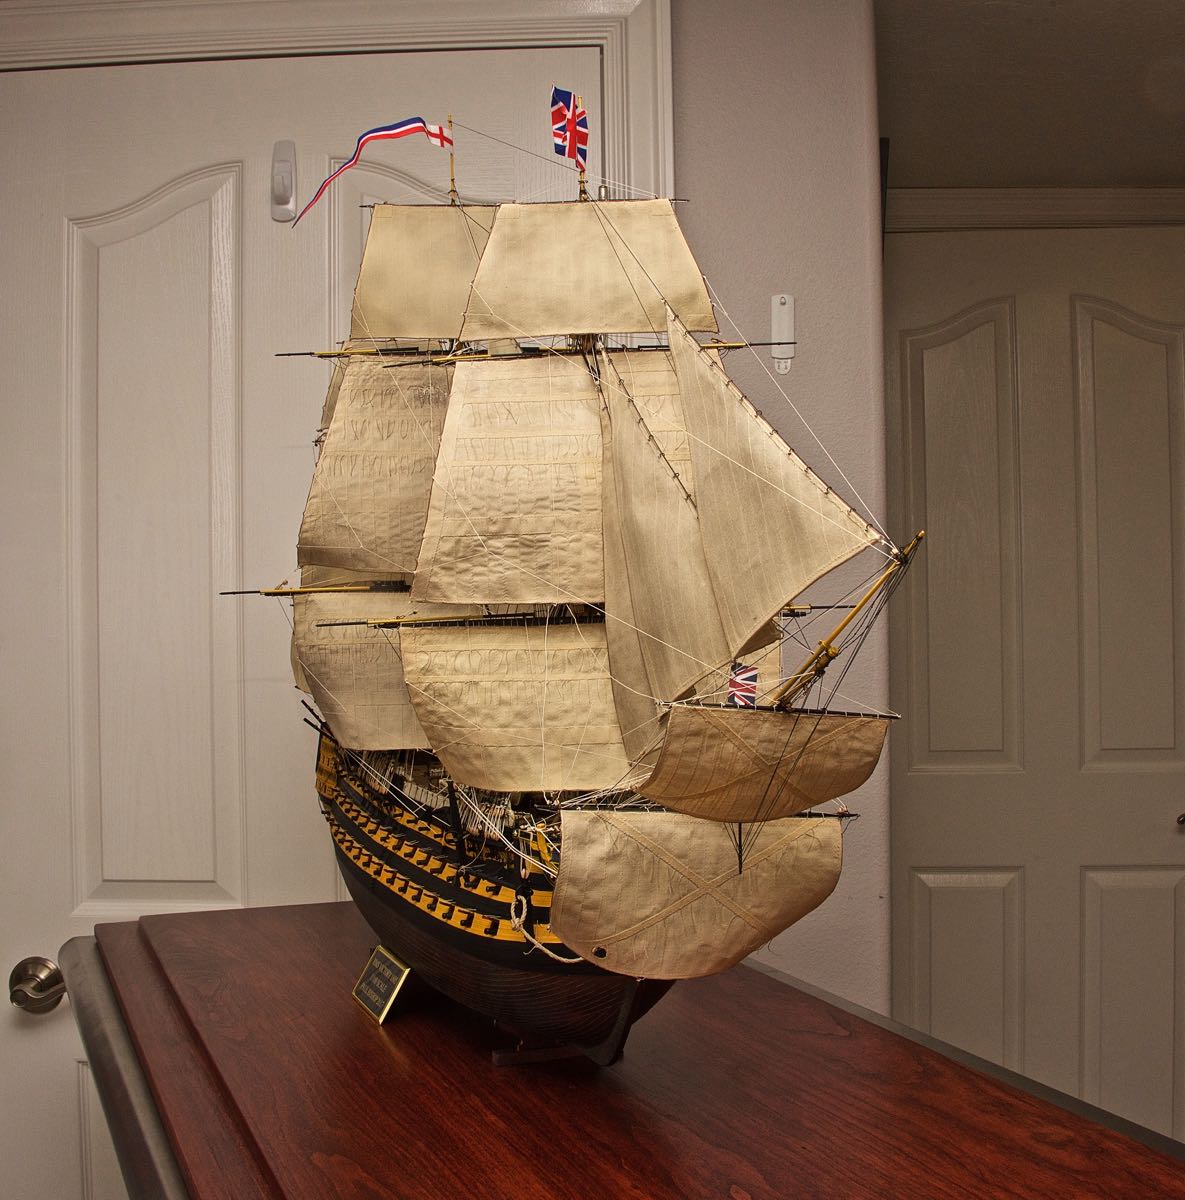
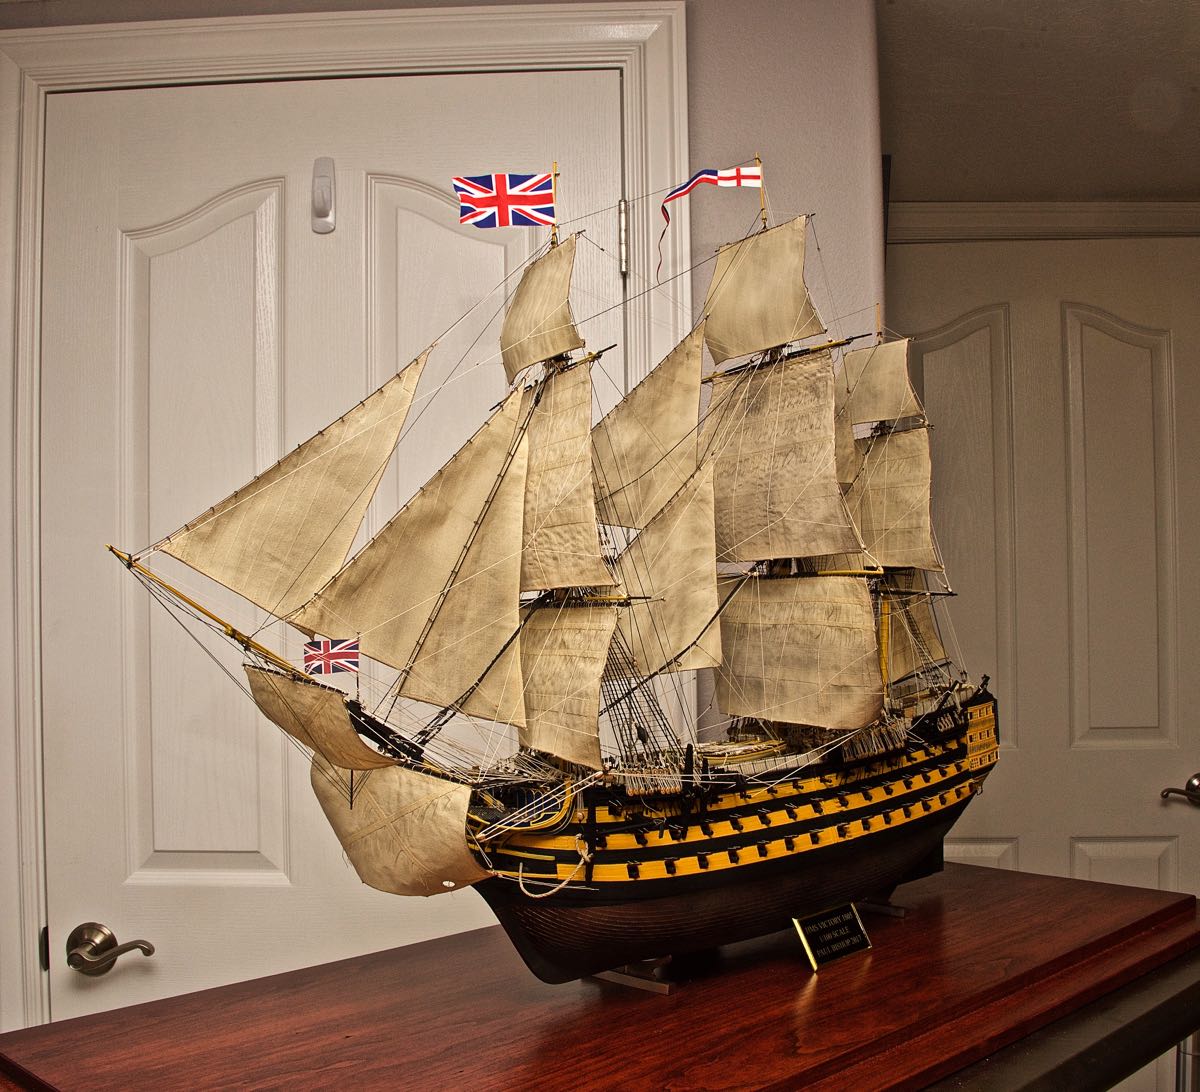
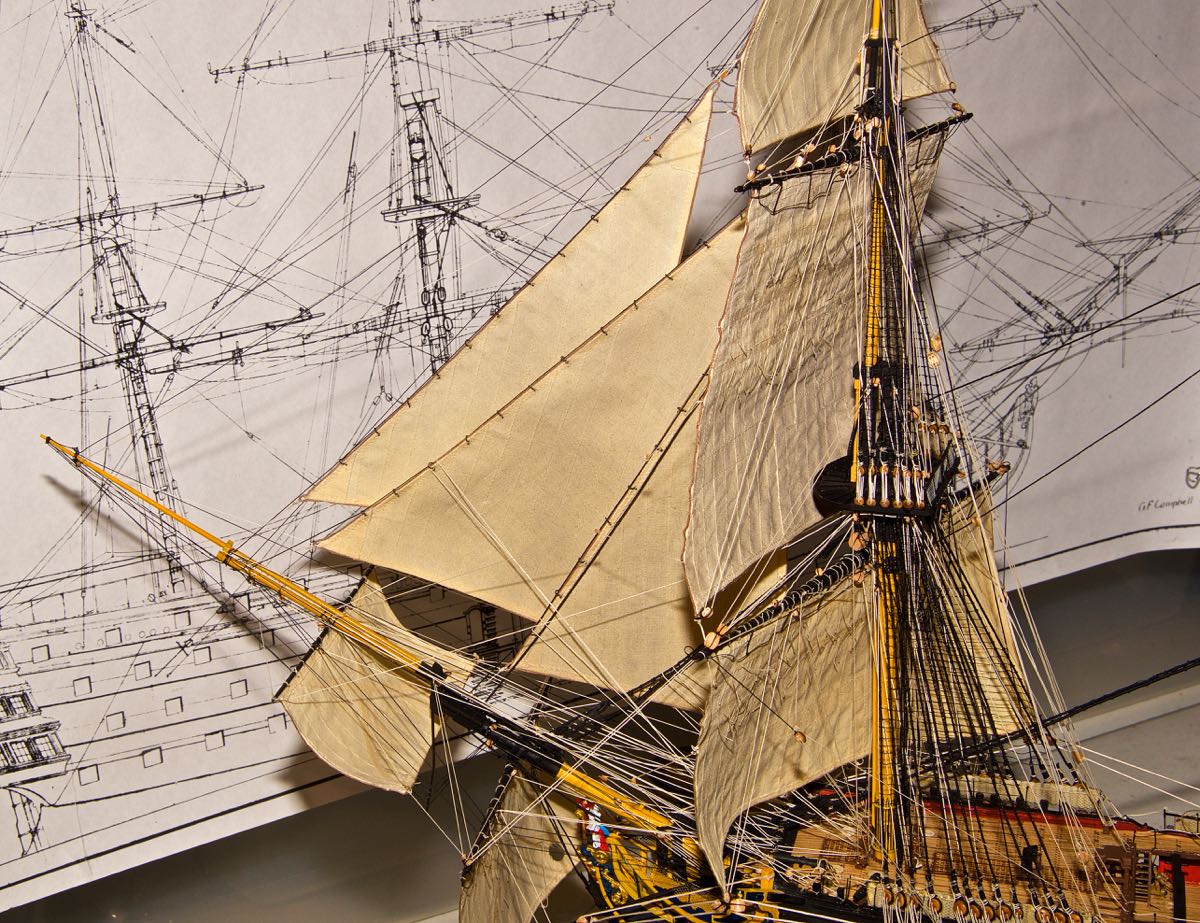 4/8/2017 I didn't like the location of the flying jib, It didn't jive with reference material – specifically John Mckay's book "The 100-Gun Ship Victory" page 106. This shows the flying jib attachment located out at the formost tip of the bowsprit. The first photo, taken at right angles to the ship, shows the flying jib at the at the old location. The second photo shows the flying jib at the new location, and the last photo is at an angle on the starboard looking back at the stern.
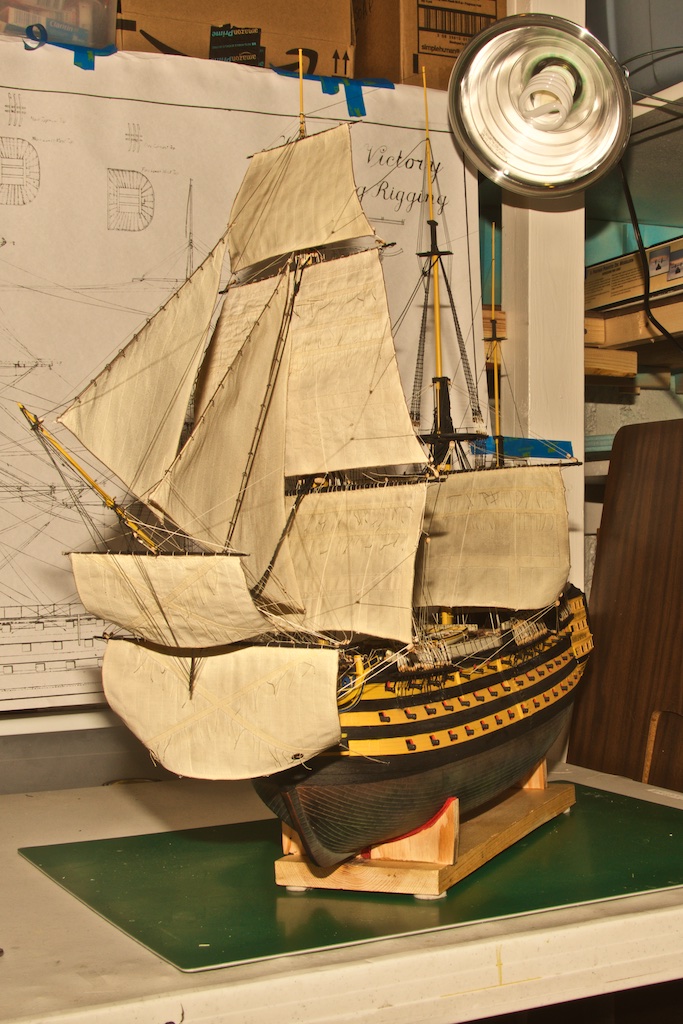
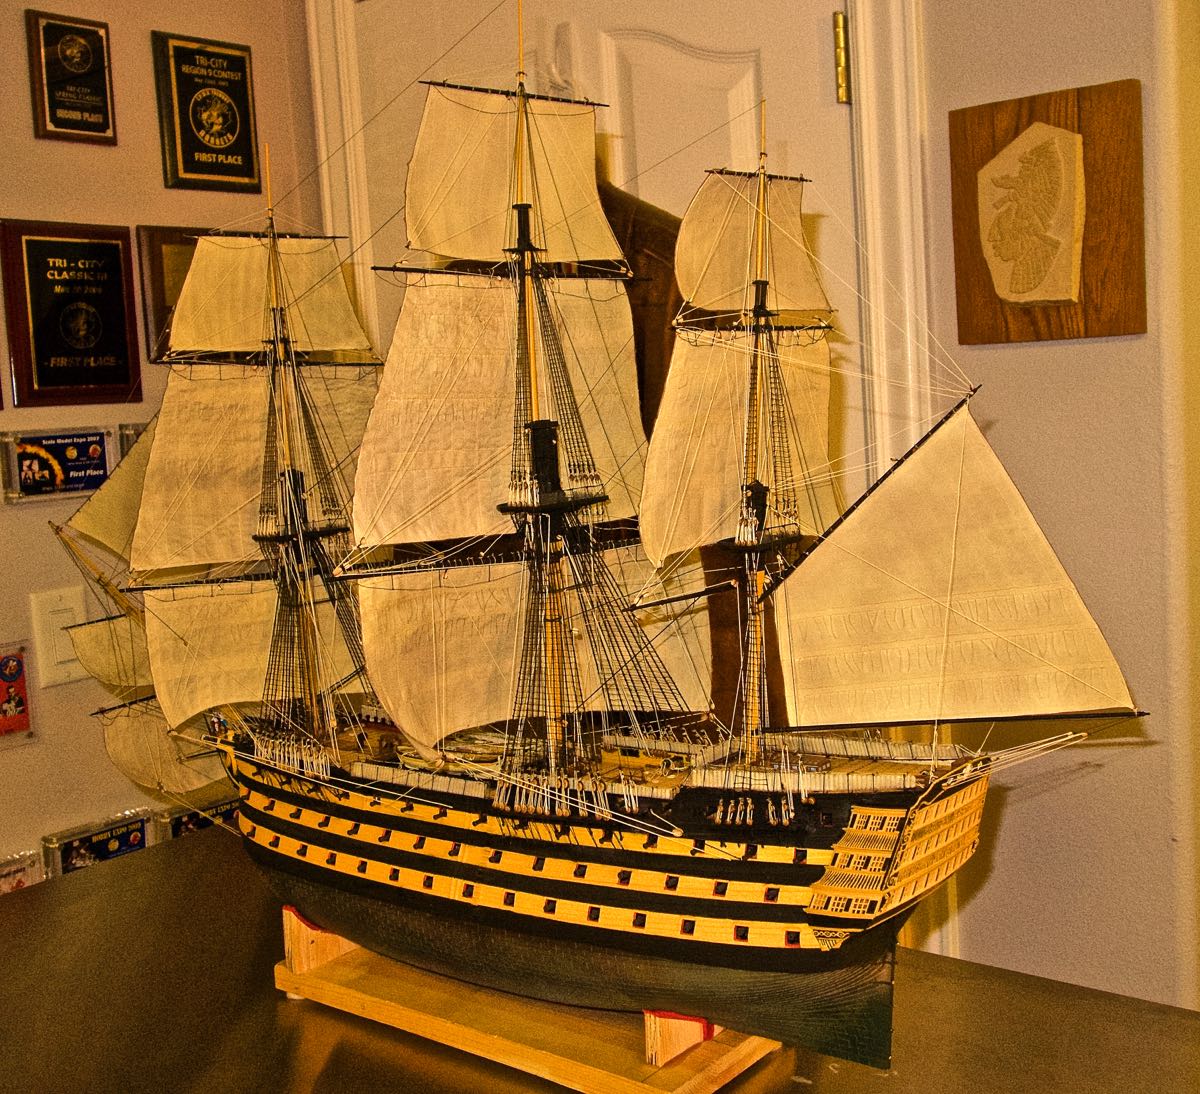
 4/10/2017 I've now installed the lower main mast sail, I now have installed 9 out of the 18 sails, so I'm halfway through. Another 500 hours!


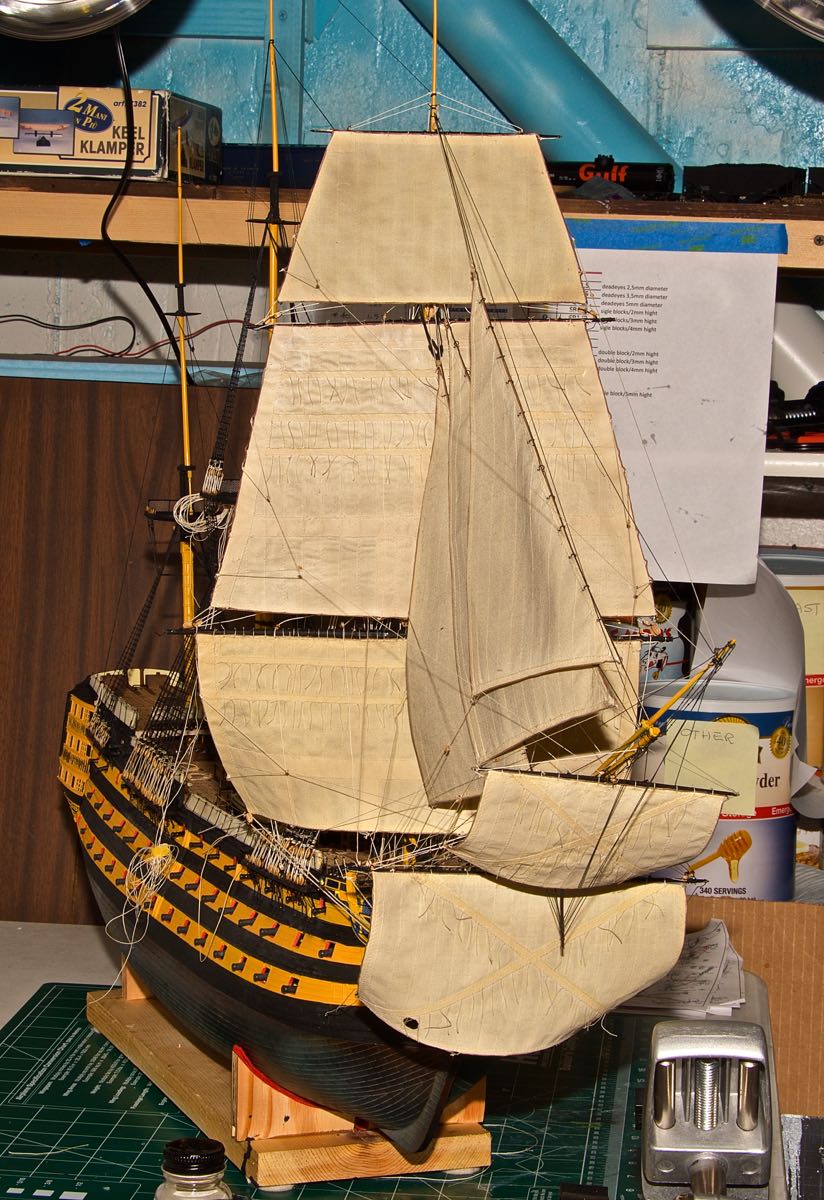
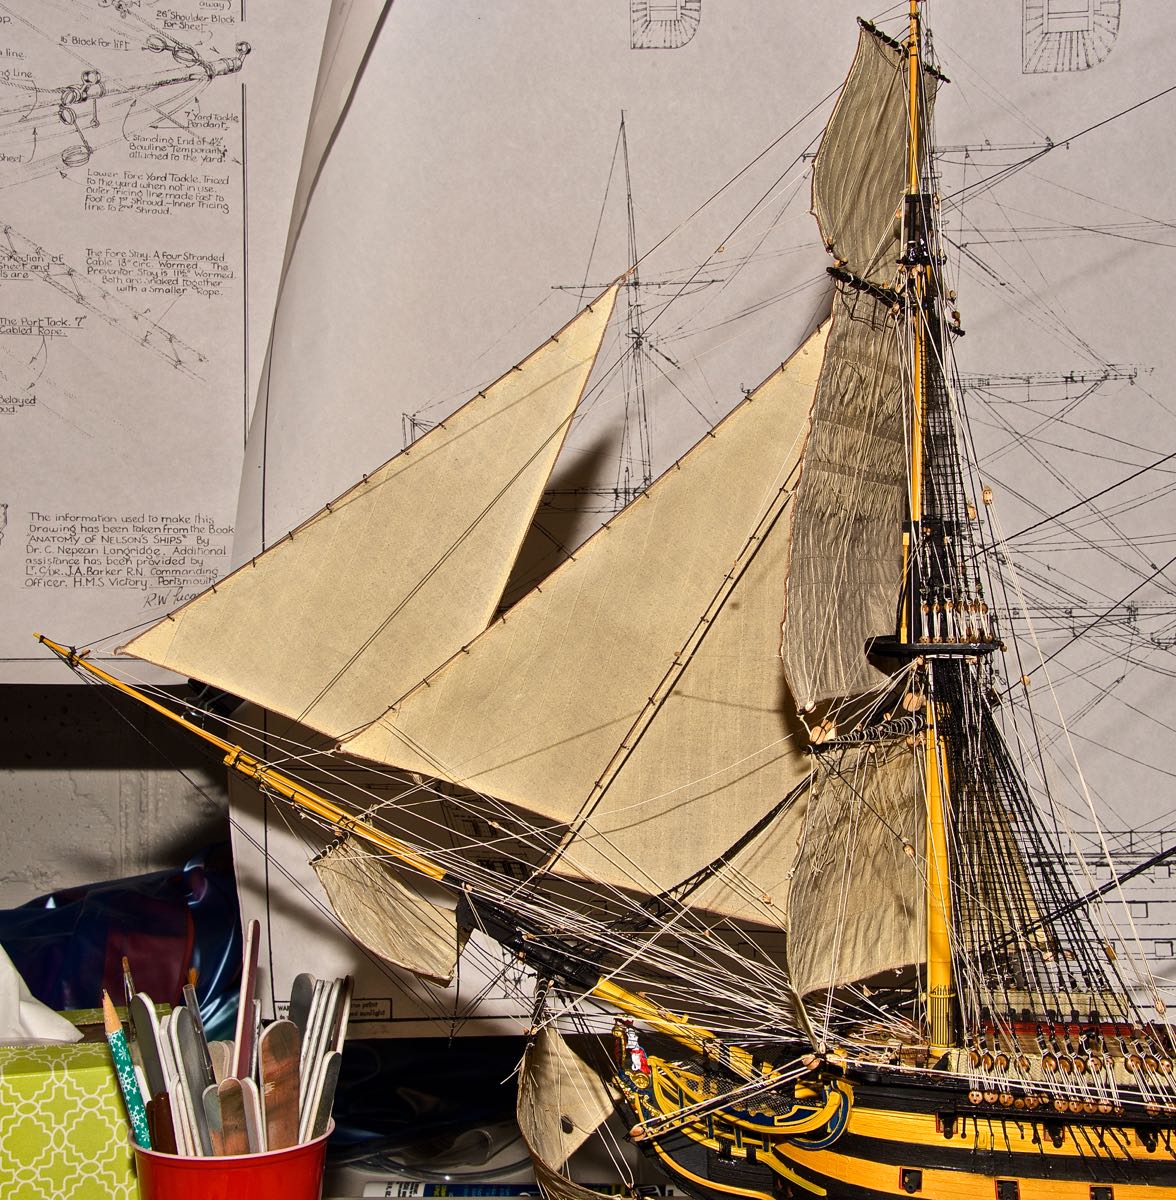
 4/11/2017 Here I've made some ajdustments to the jib sails to make them hang better.
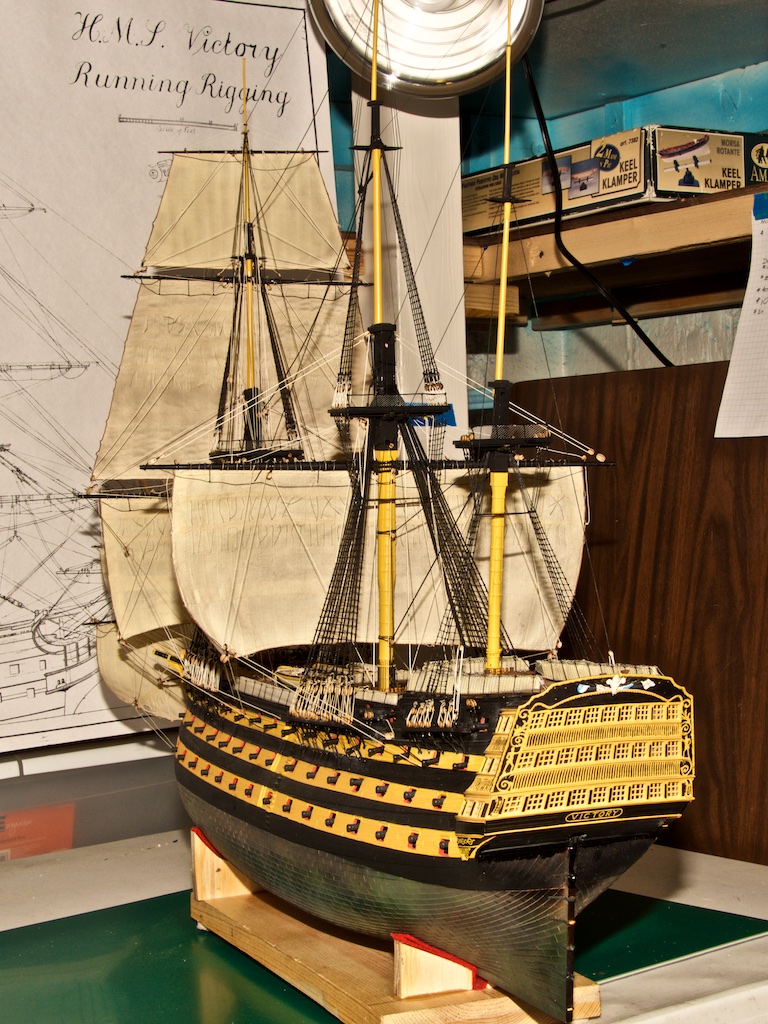
 4/13/2017 I've finished and installed the main topsail.
5/14/2017 I've now installed 14 of the 18 sails and have completed most of the rigging.
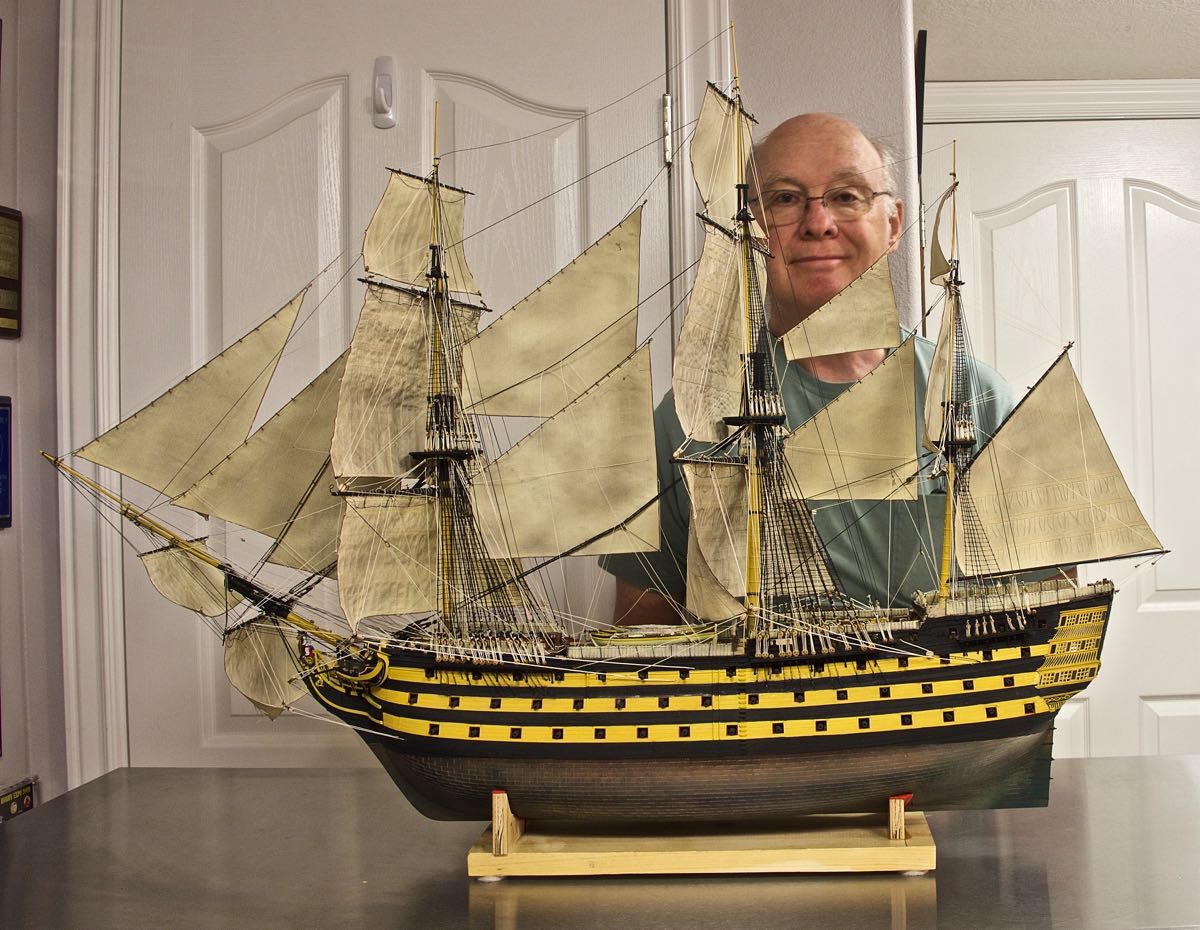
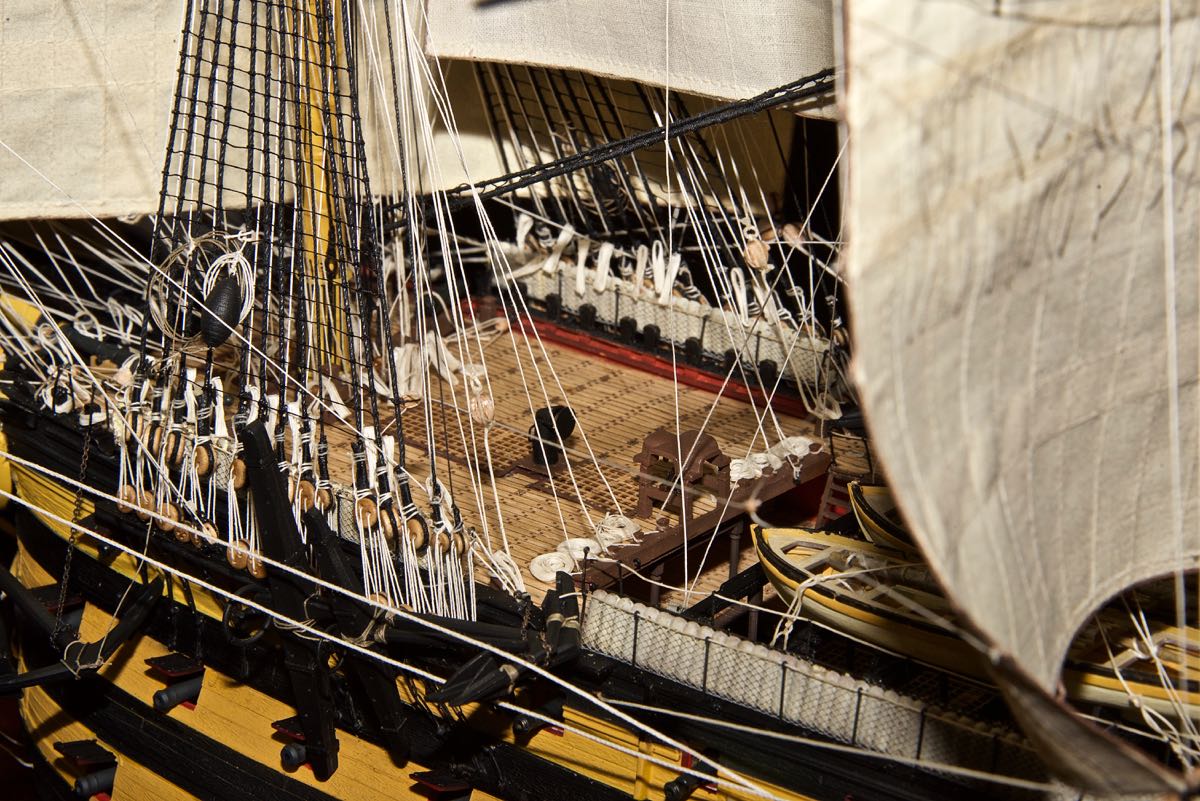
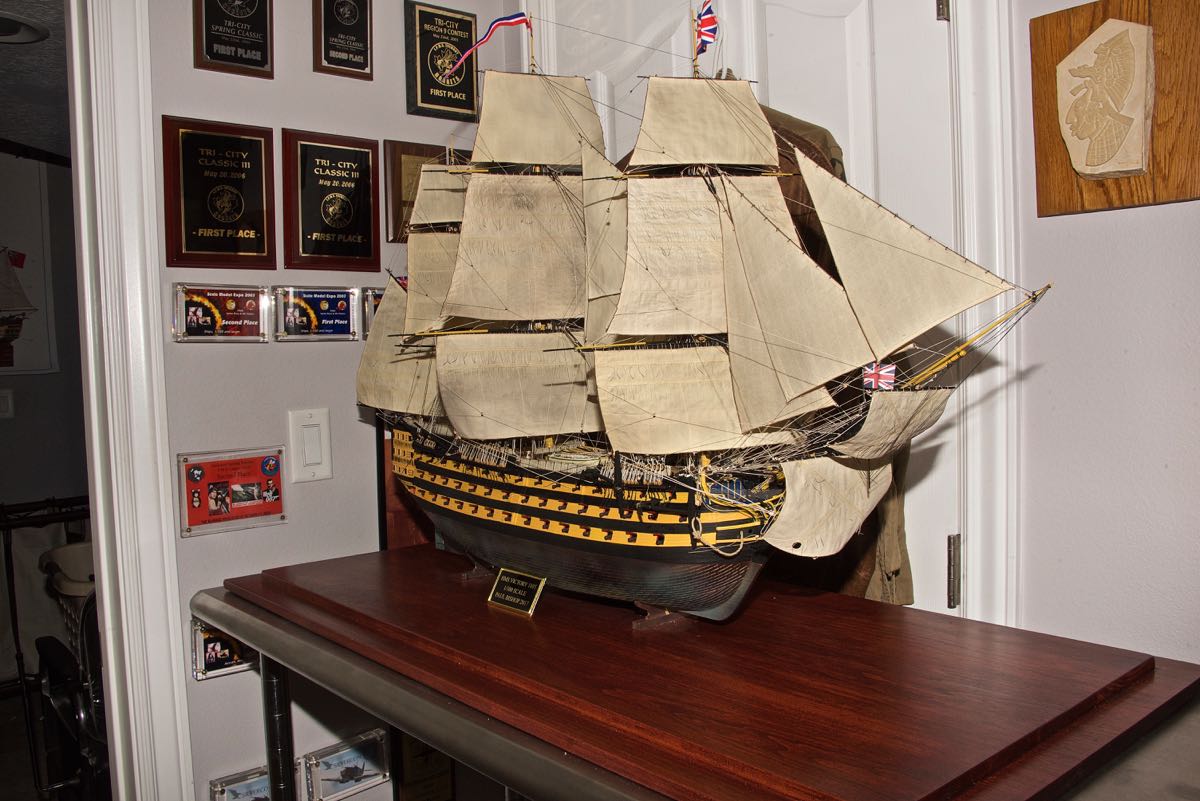
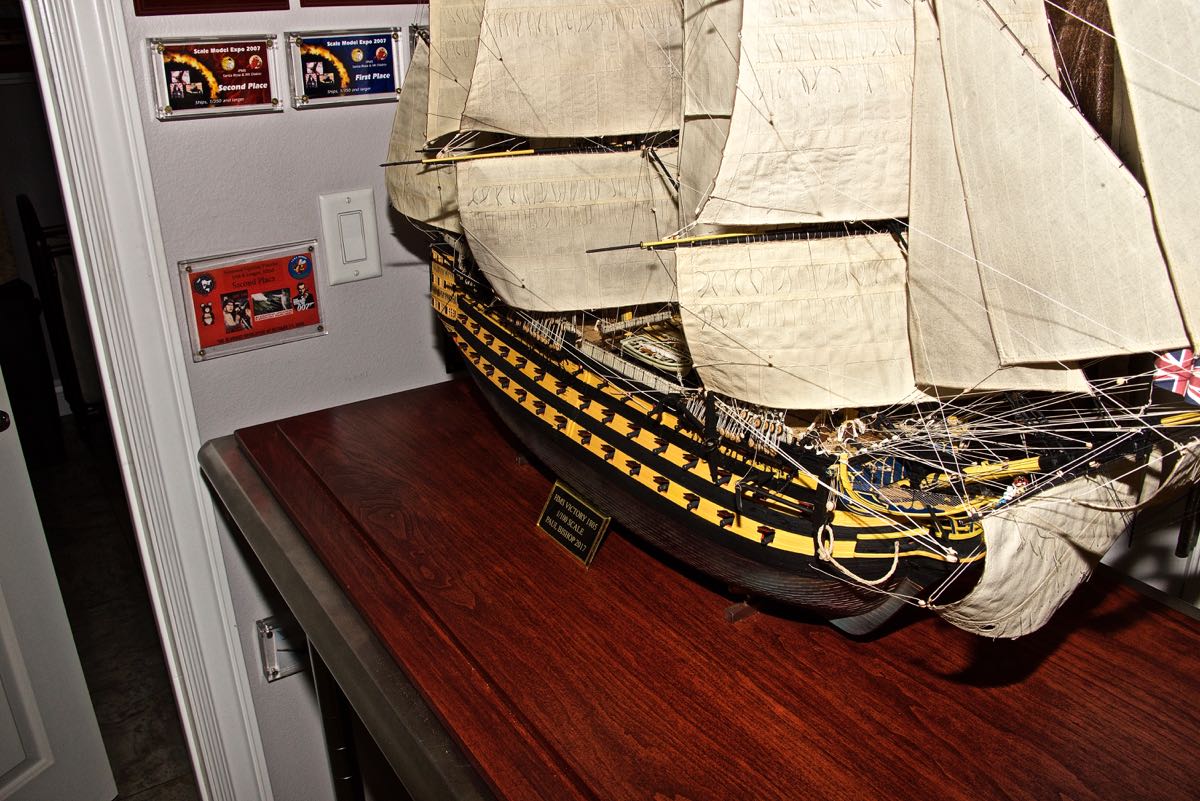
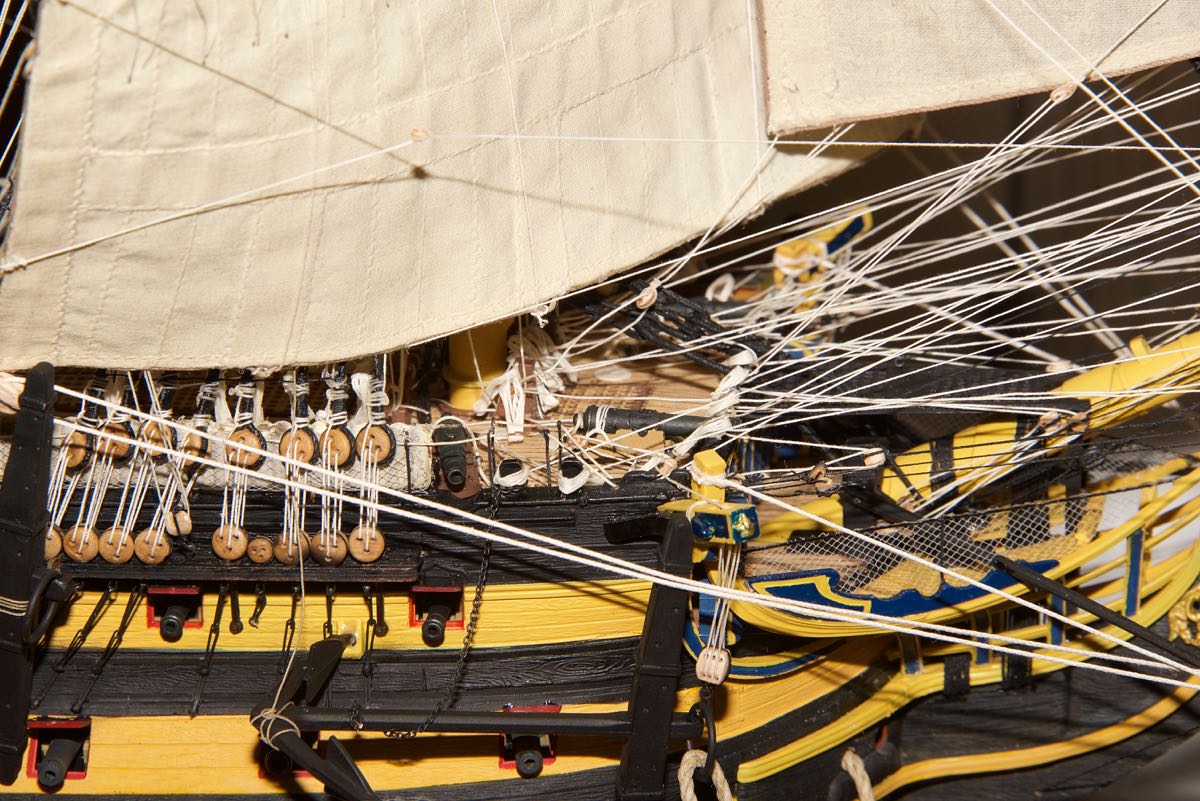
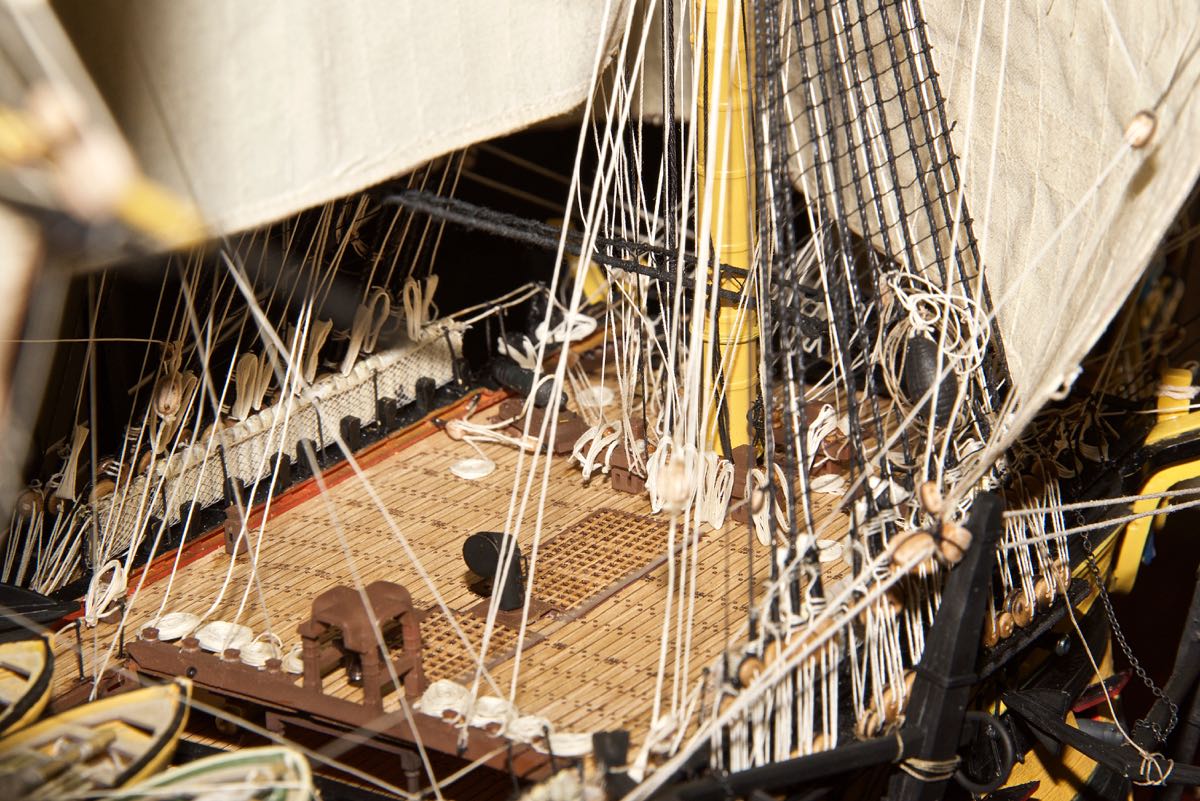
 6/5/2017 I've now got all 4 staysails installed and rigged. Next I will rig the yardarm braces. There are still some of the braces that are slack that need attention, as well as bent railings etc. I've included myself in one picture to give it scale.

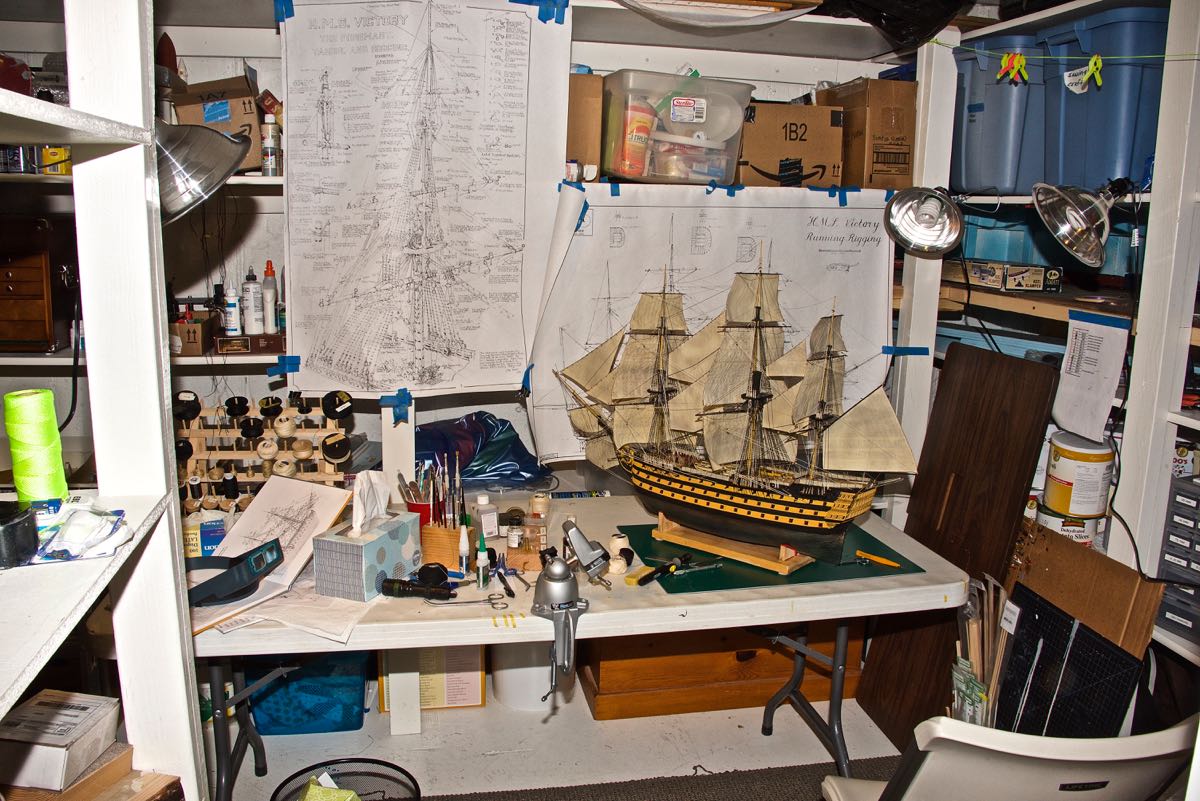
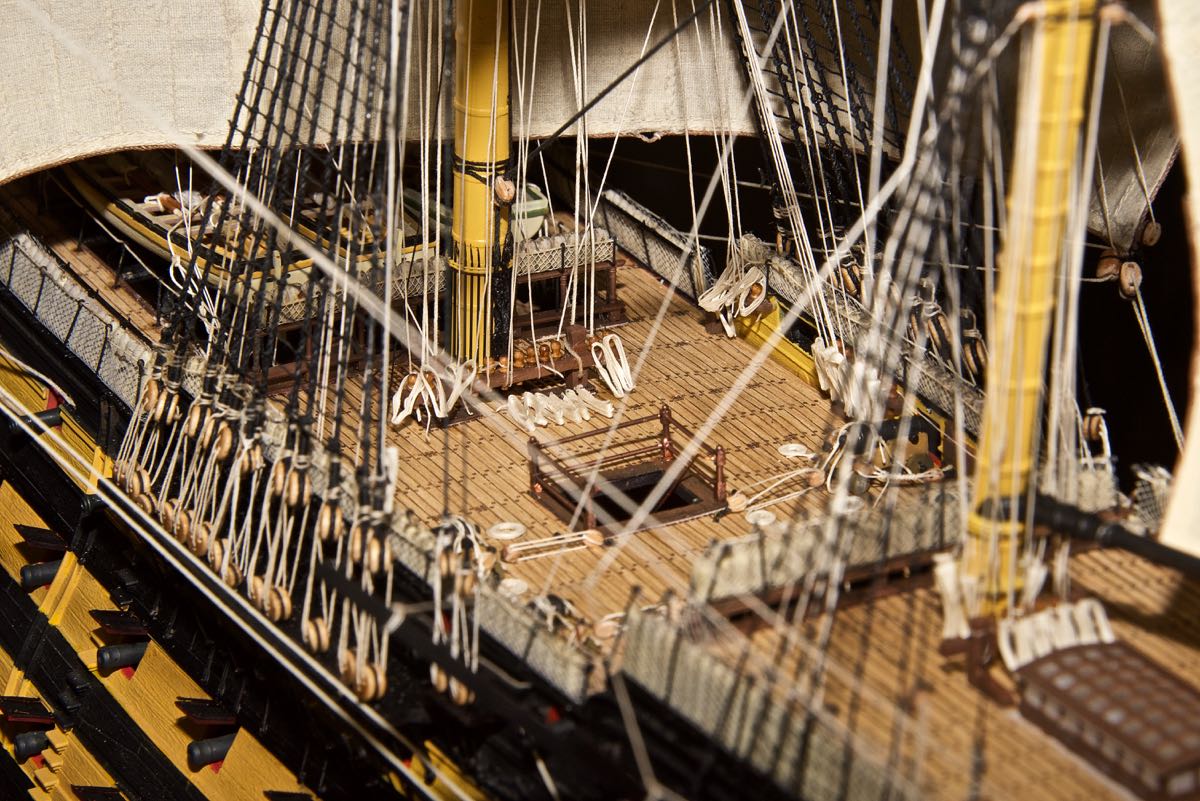
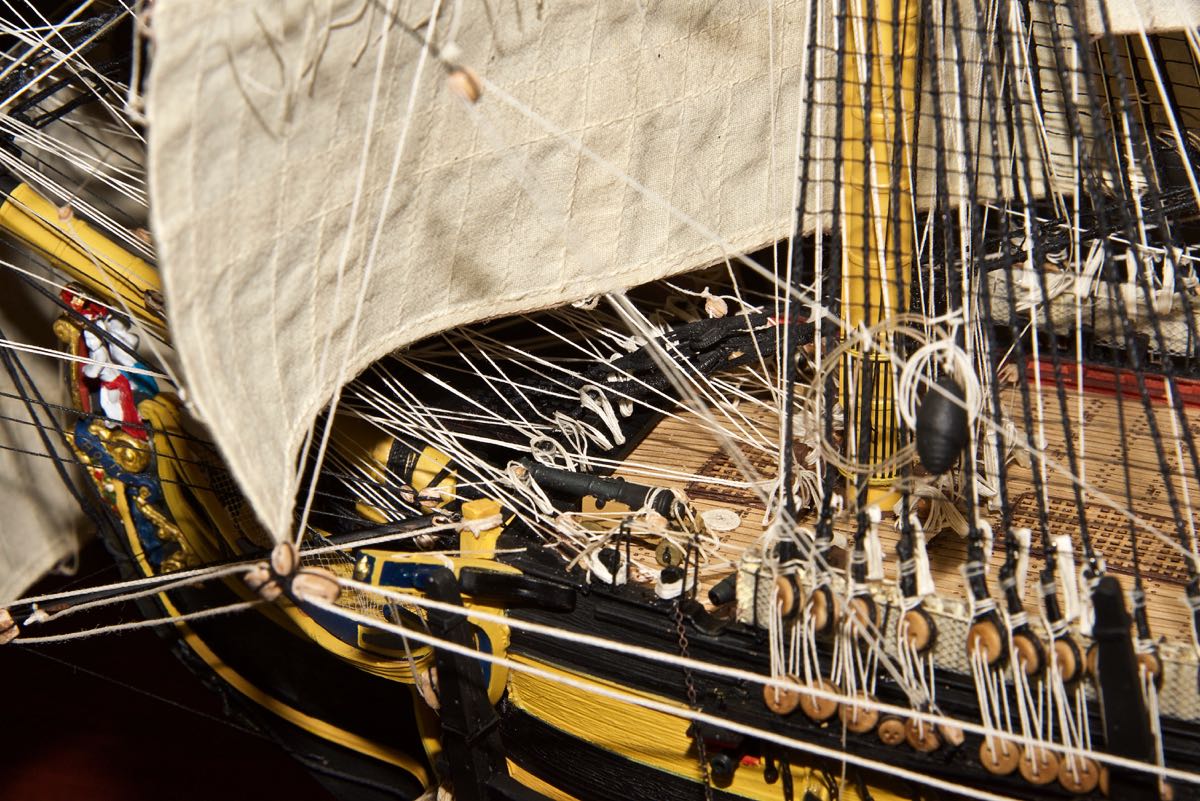
 6/11/2017 Here are some photos of the ship under construction in my shipyard (storage room). I've also included some photos of the finished portside anchors and one buoy.
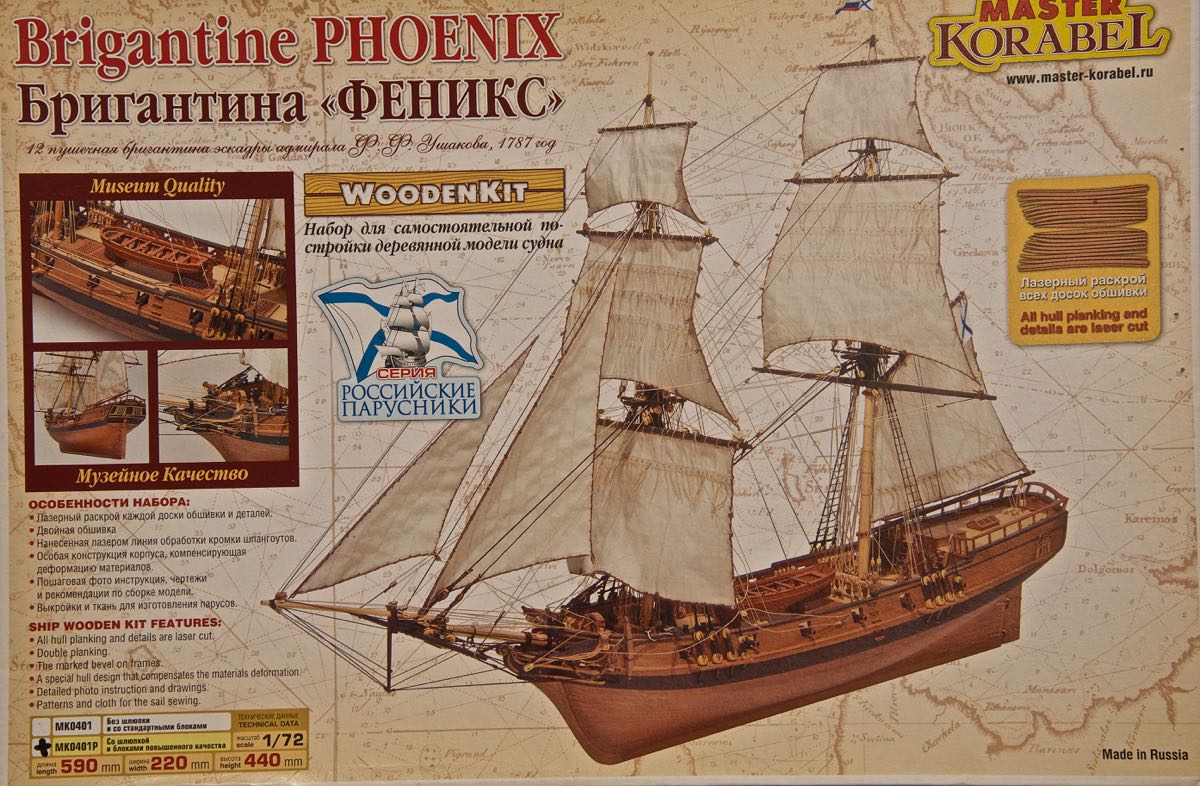
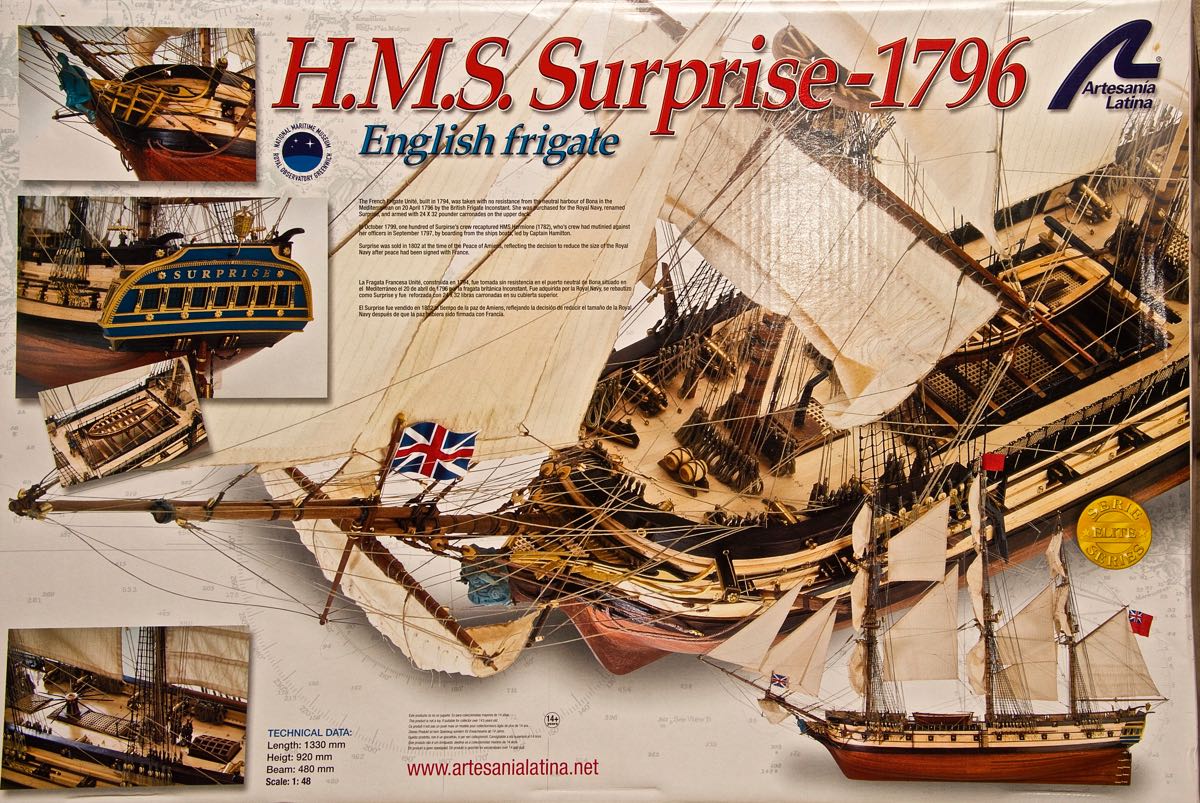
 6/13/2017 I have these two wood ship models yet to build. I'm gonna need a long break first tho.
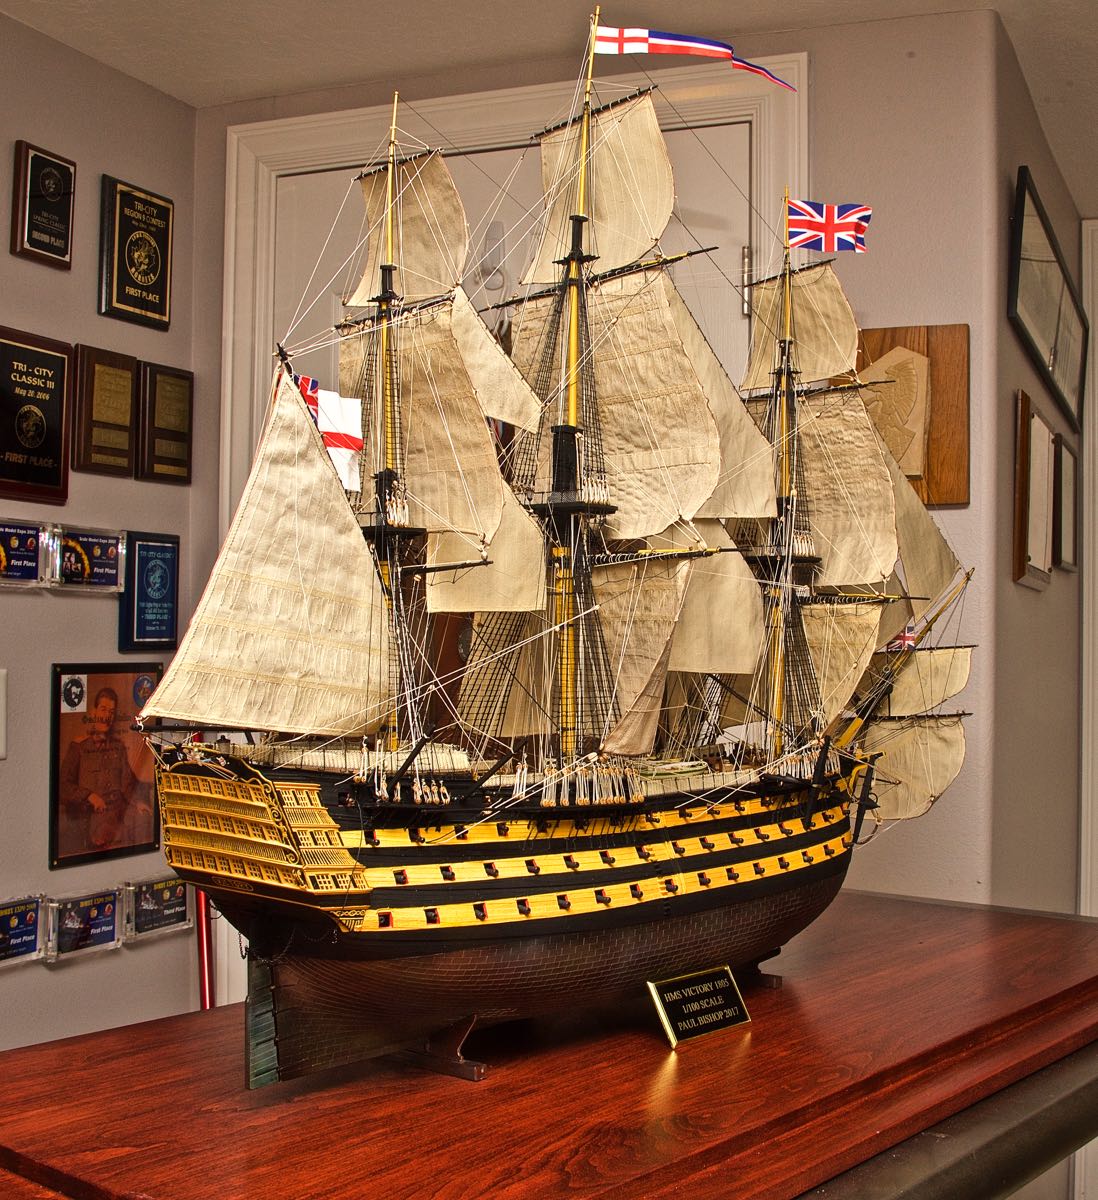
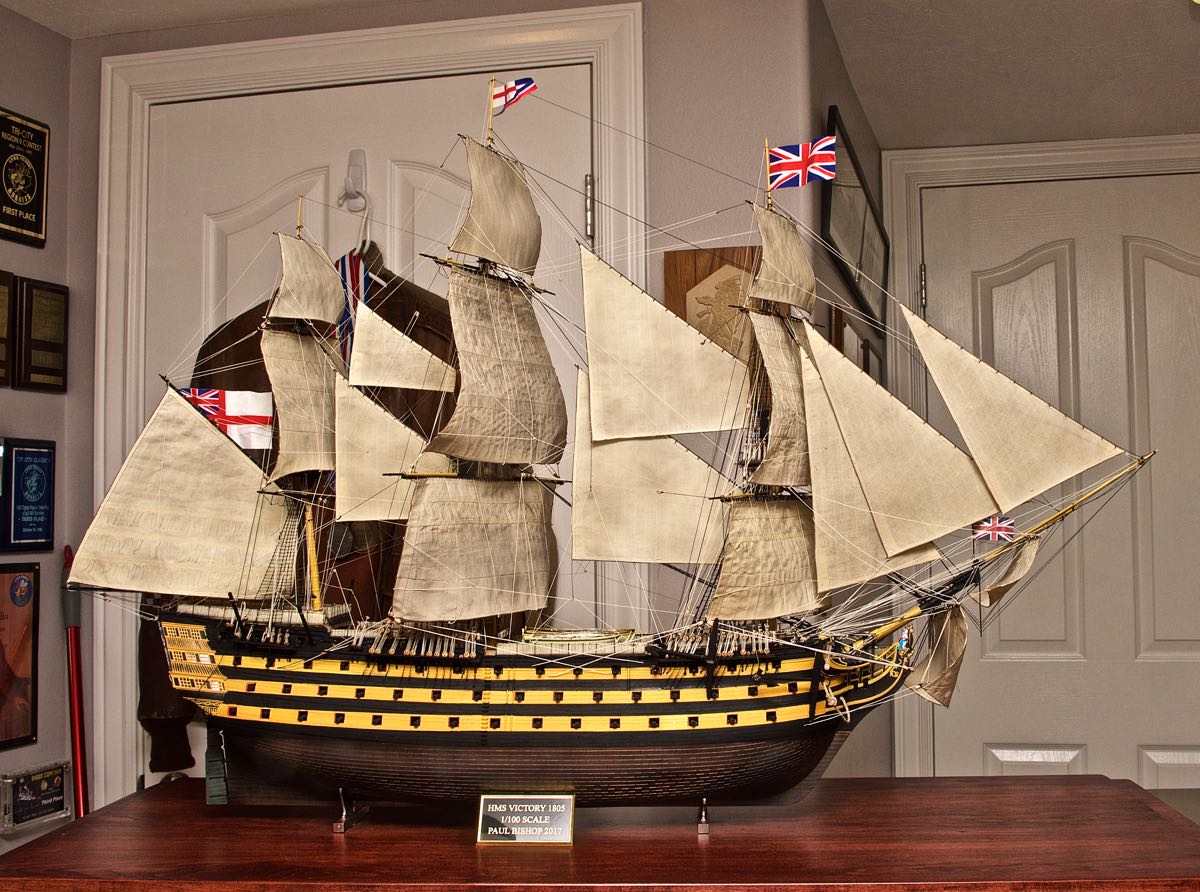
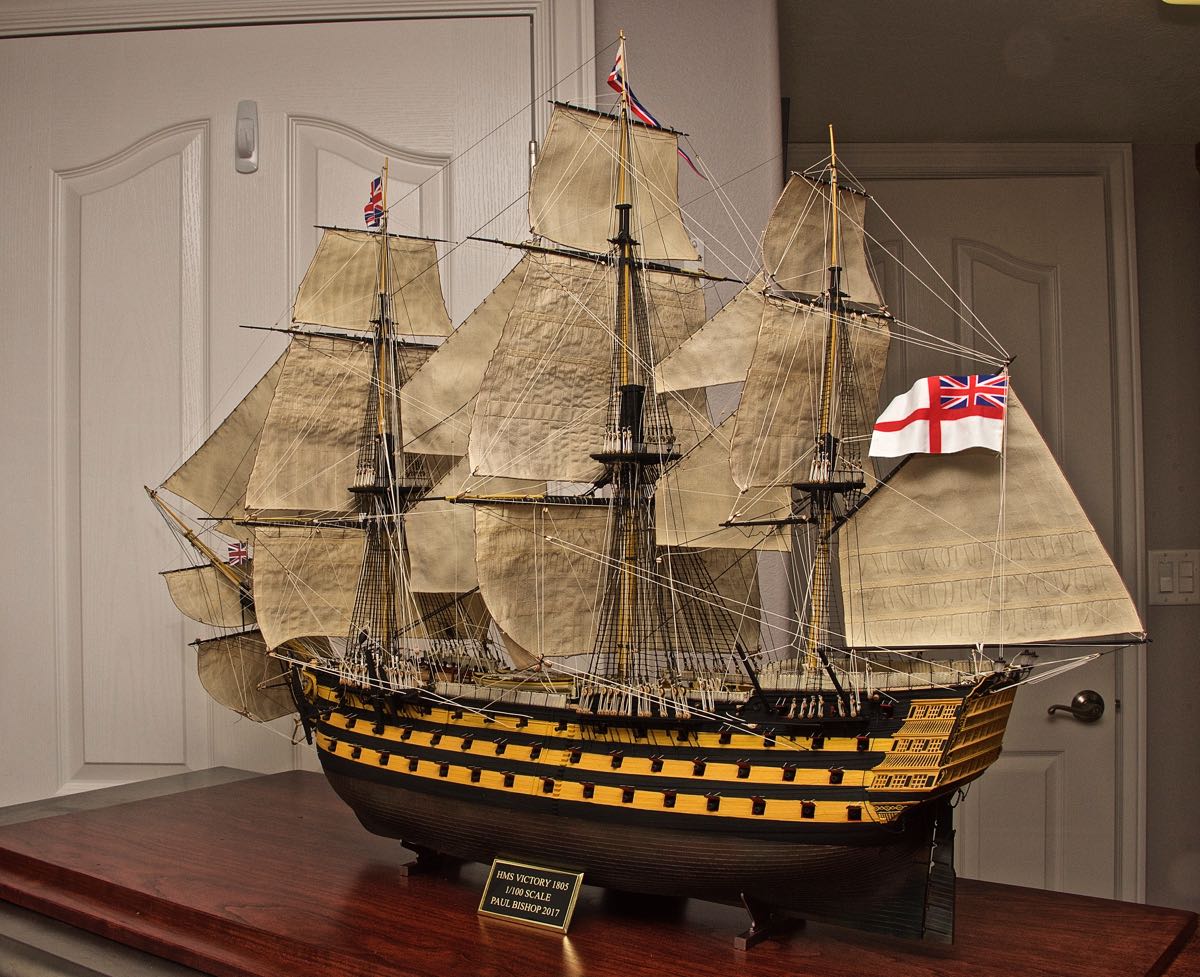
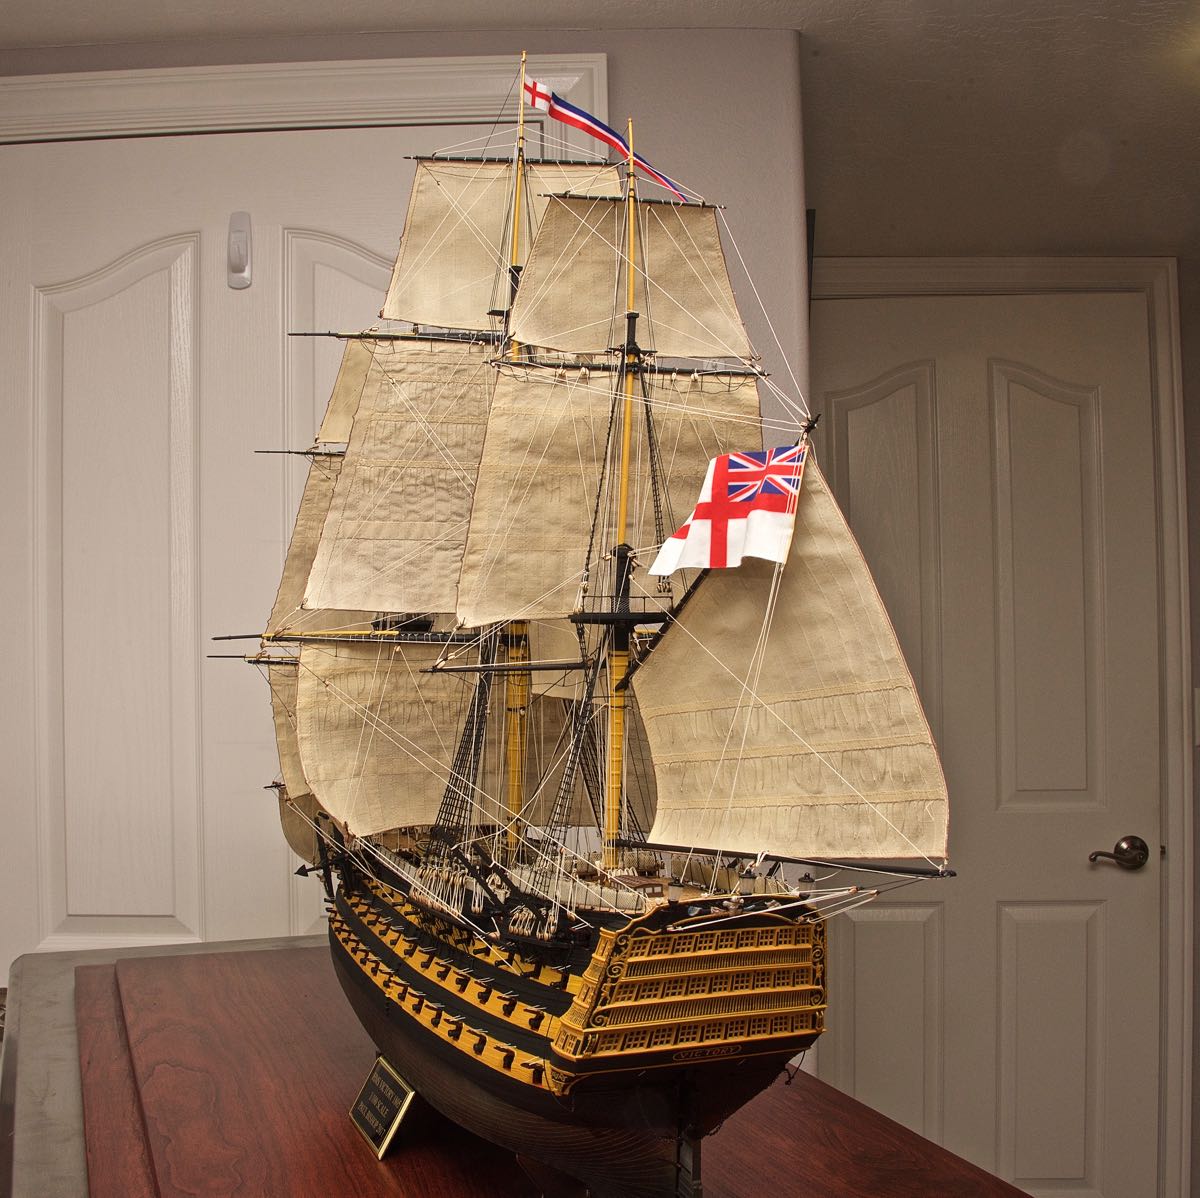
 6/14/2017 Well, after almost 9 months, it's finished except for the gunports and coiled ropes. I've added the flags as well as attached the ship to the display case base. I've also added name plaques on each side. The flags are silkscreened I think. I've glued the two sides together with tin foil between to provide some ability to shape the flags after they are attached. The flag for the bow was much too large so I had to shrink it down on the computer an print it on paper in a smaller size.

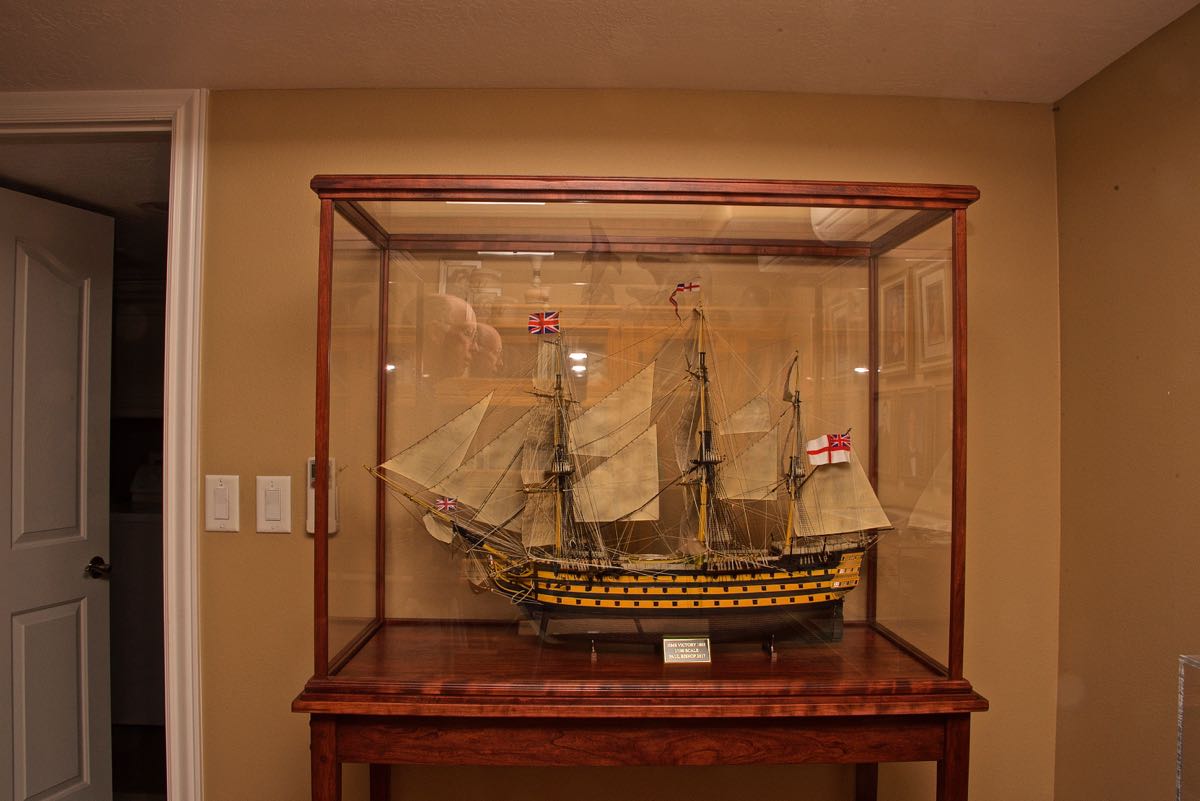
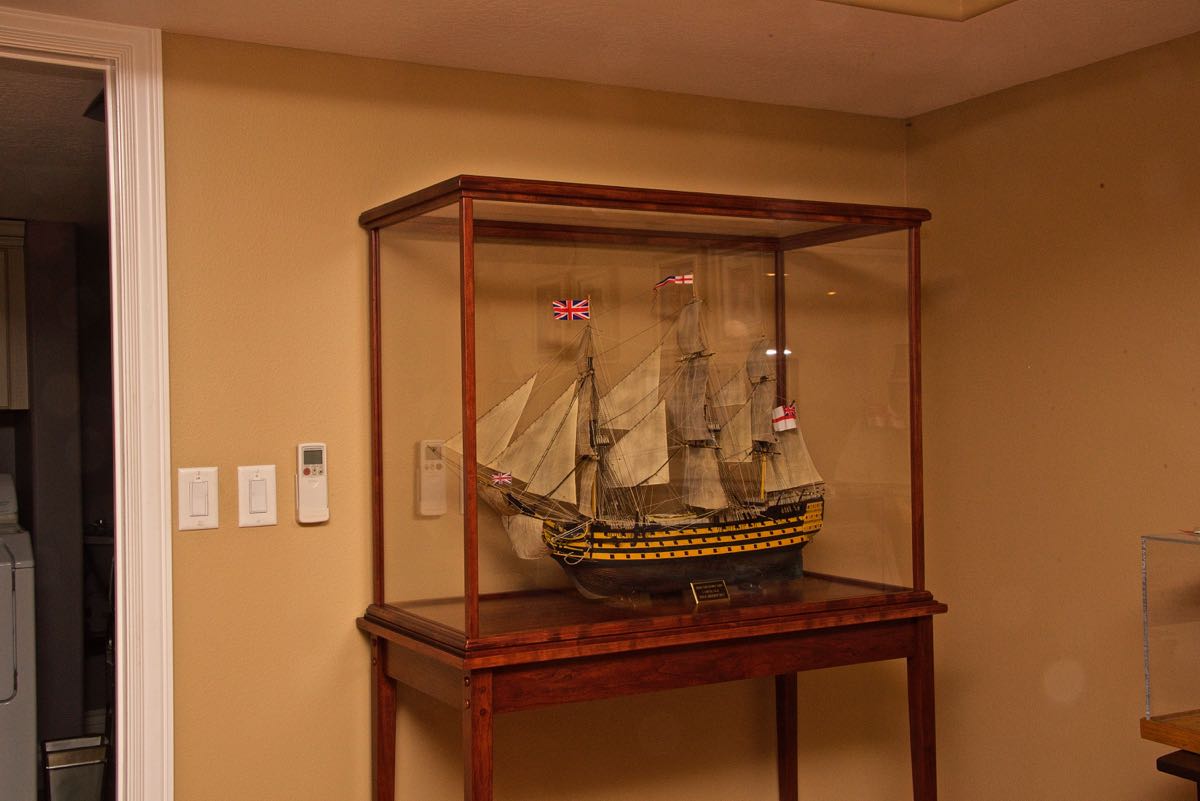
 6/14/2017 – Still. Here are a couple of pictures of the ship in the case. The case was built by Bill Boyd at https://www.displaycasestands.com/
 6/17/2017 Here is a YouTube video showing a tour of the HMS Victory:
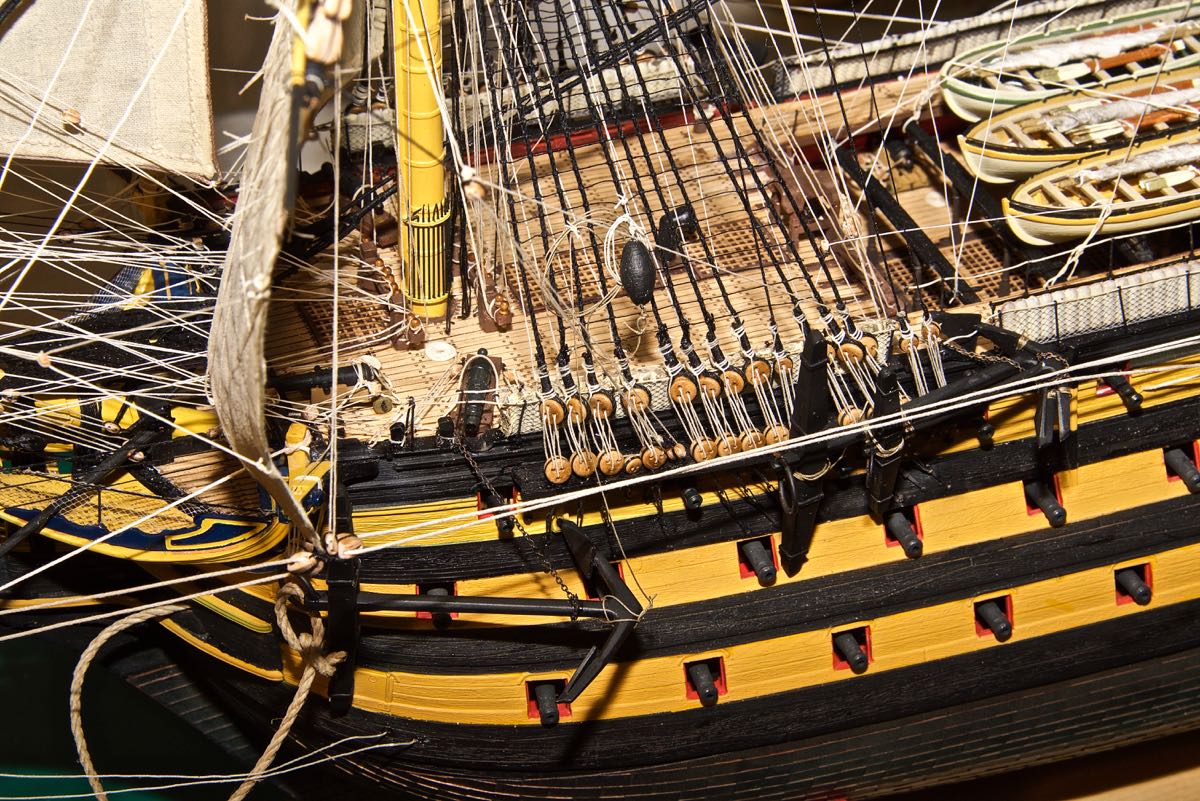
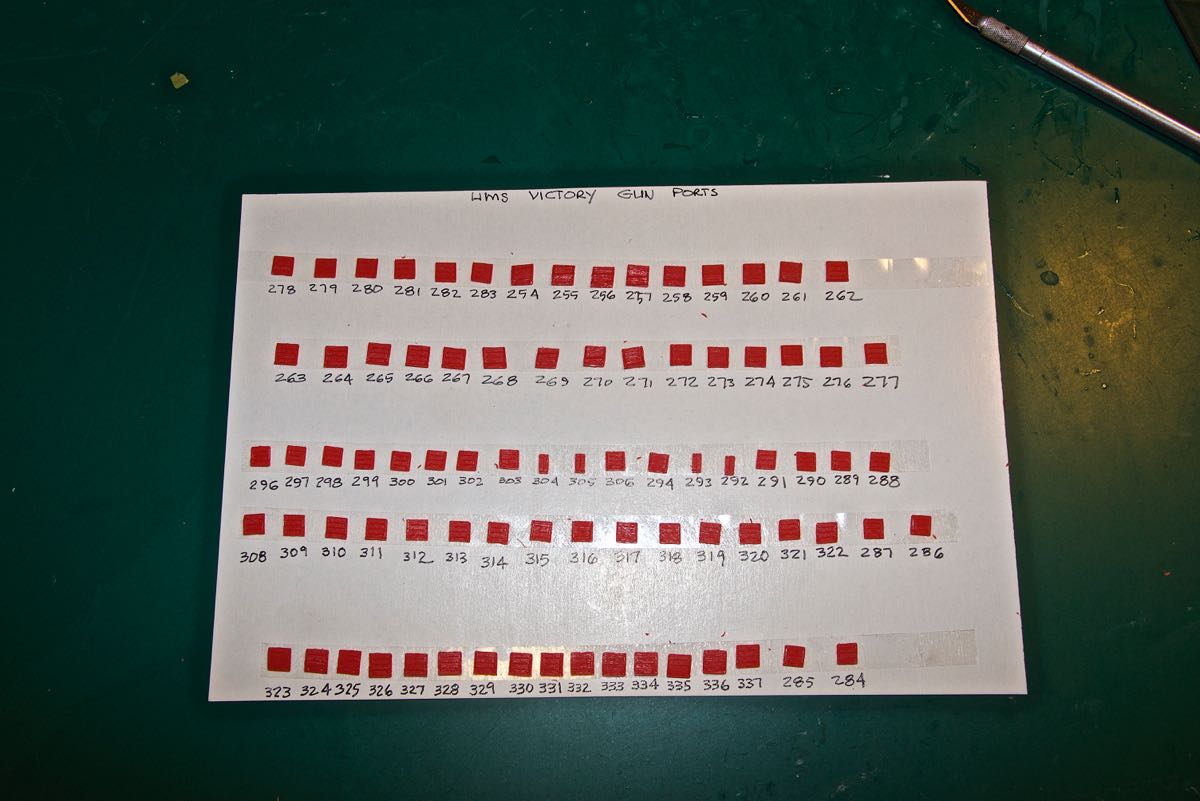
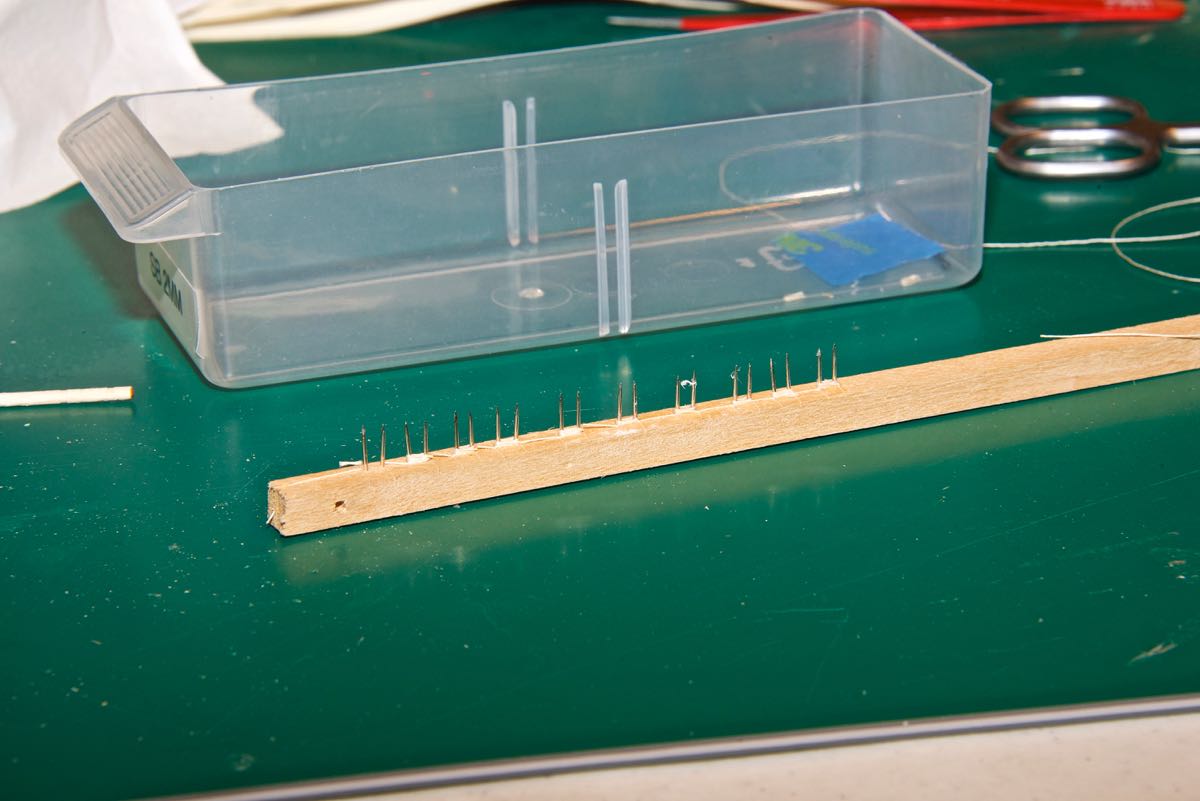
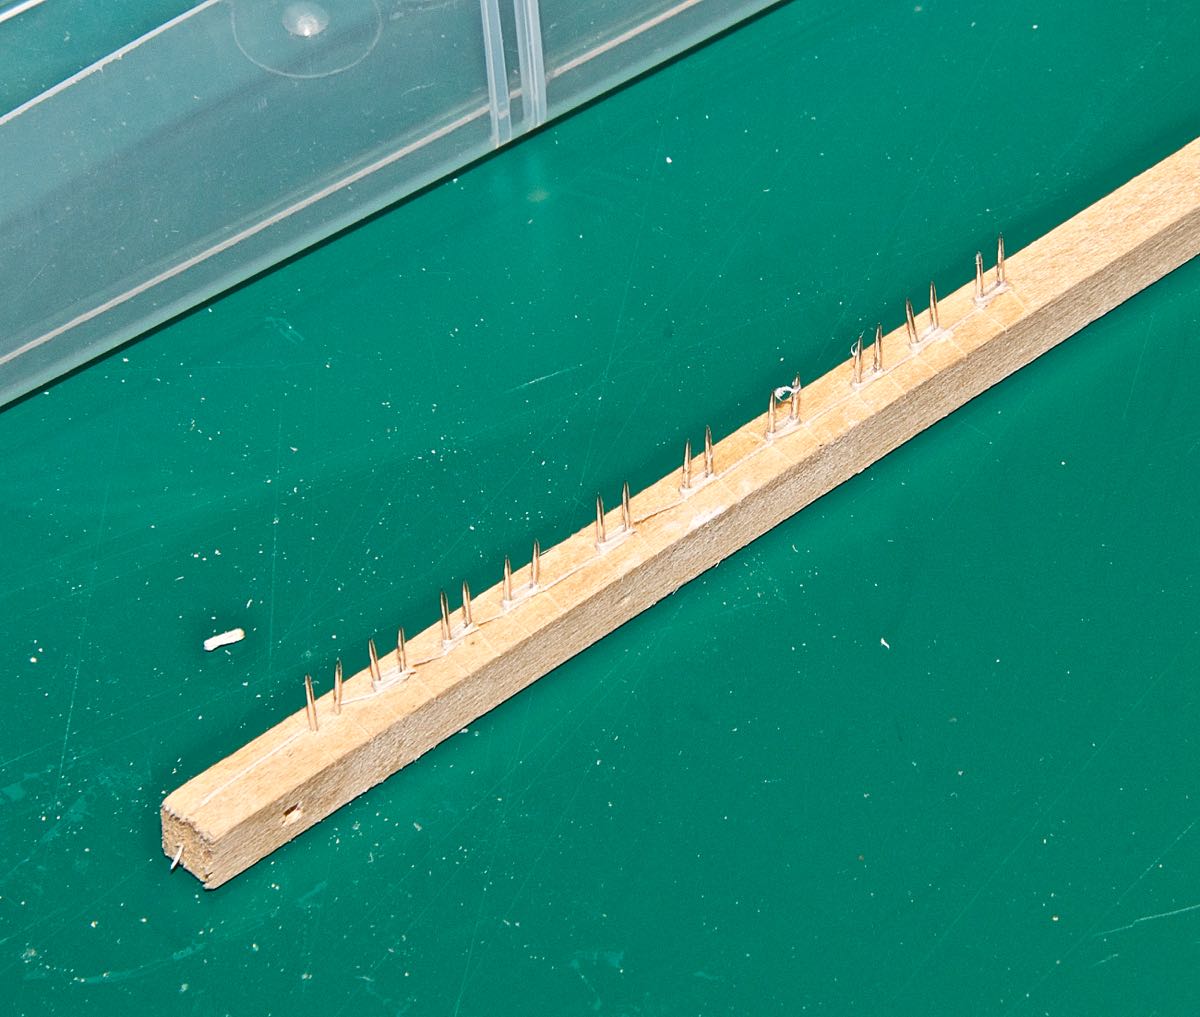
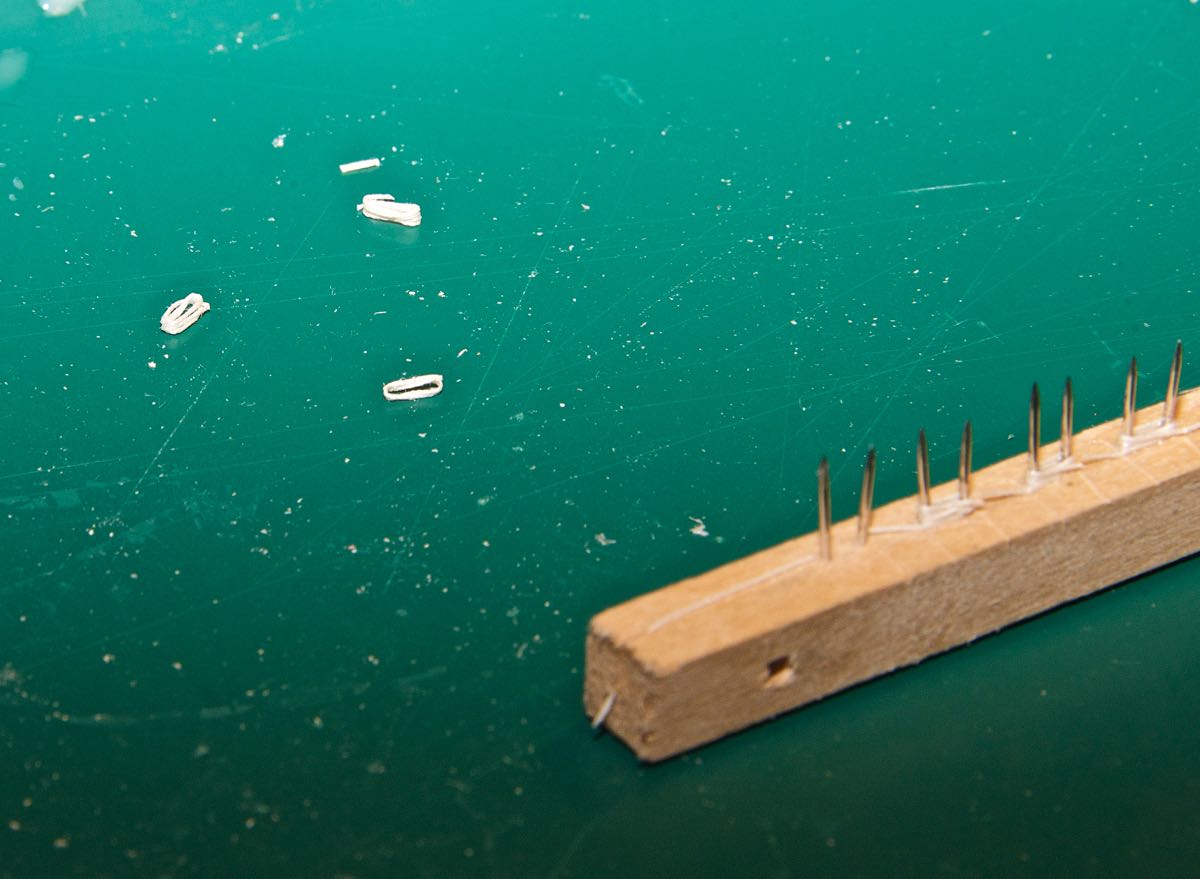
6/19/2017 I've completed the gun ports and started on the rope coils to go over all of the belaying pins. I used diluted white glue to secure the rope coils, they are built up in groups of 10 on the form.
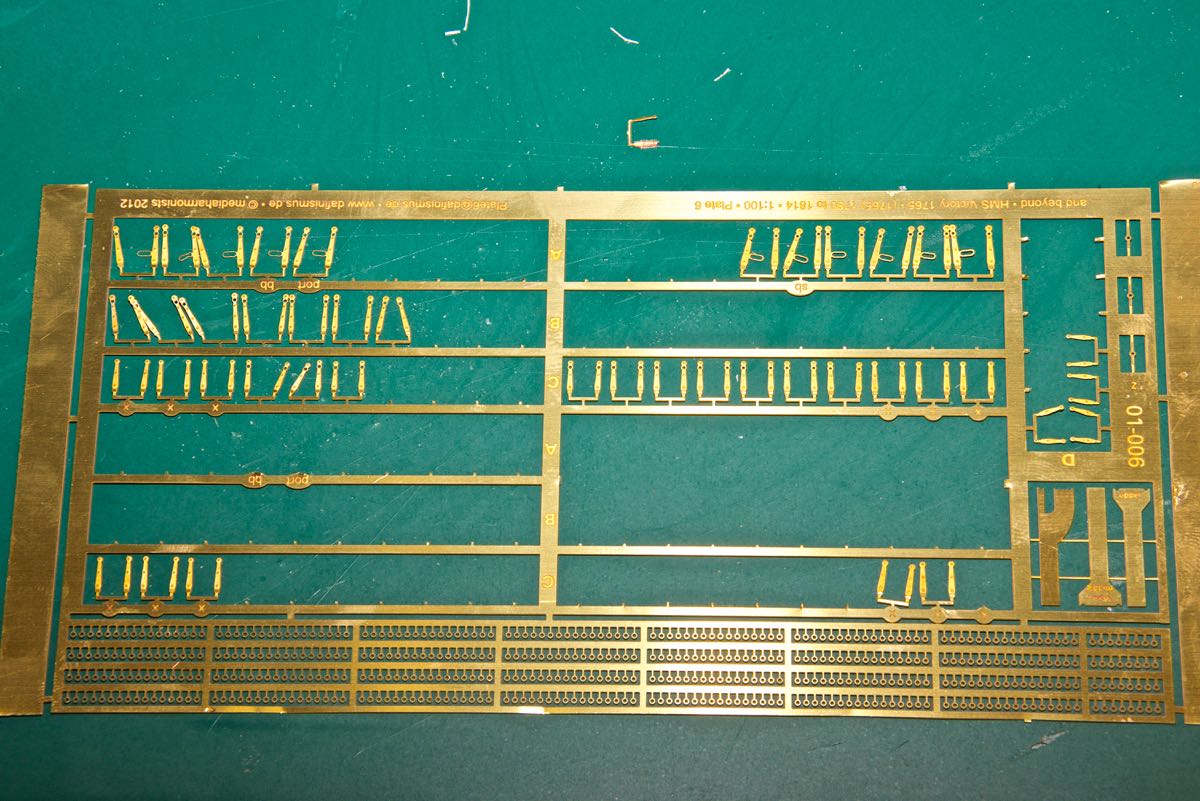
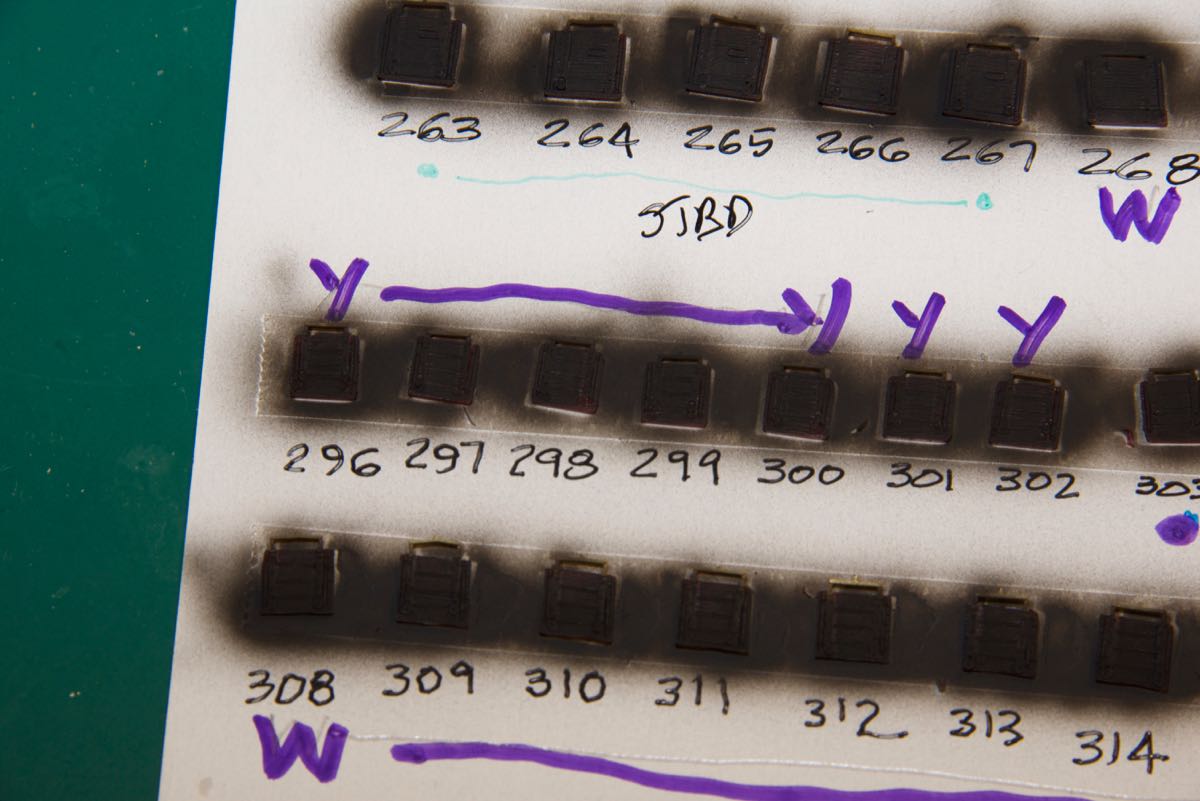
Here are the photo etch gun port hinges.
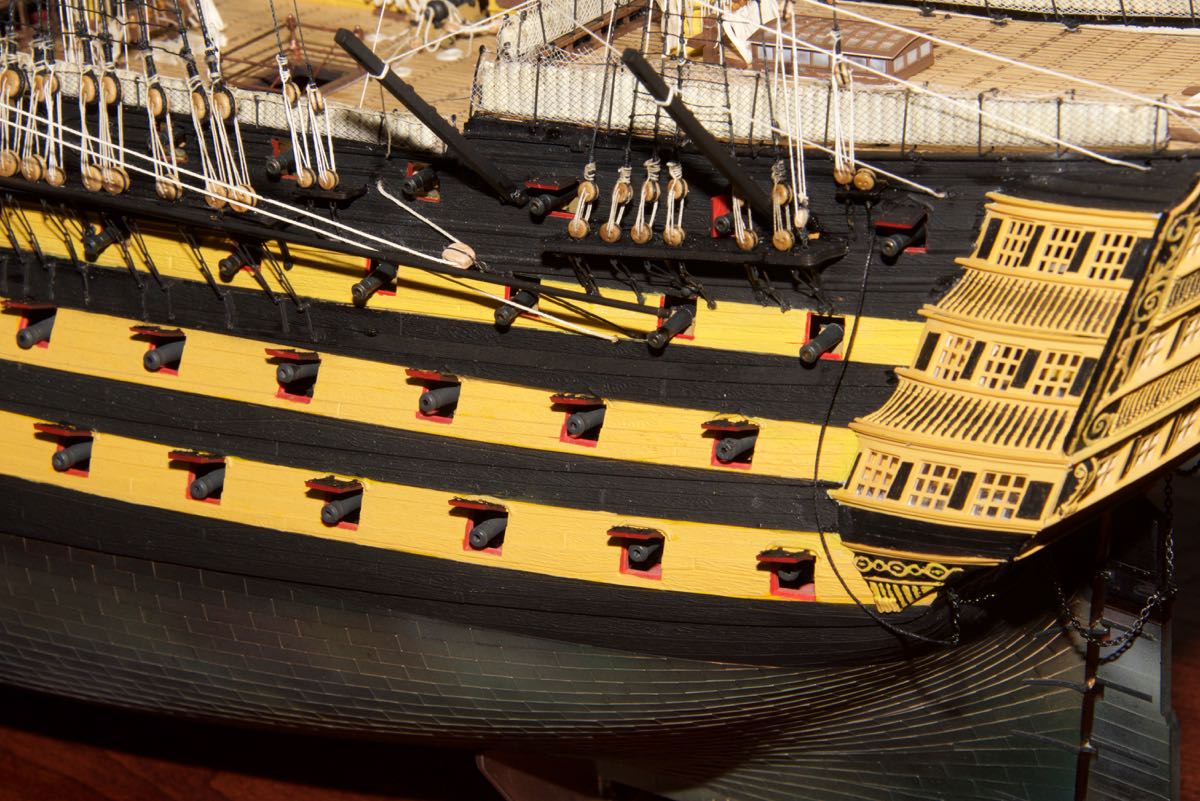
 6/23/2017 All of the rope coils and gun ports are installed. I still have to add the rope pulls for the gun ports – two ropes per gun port!
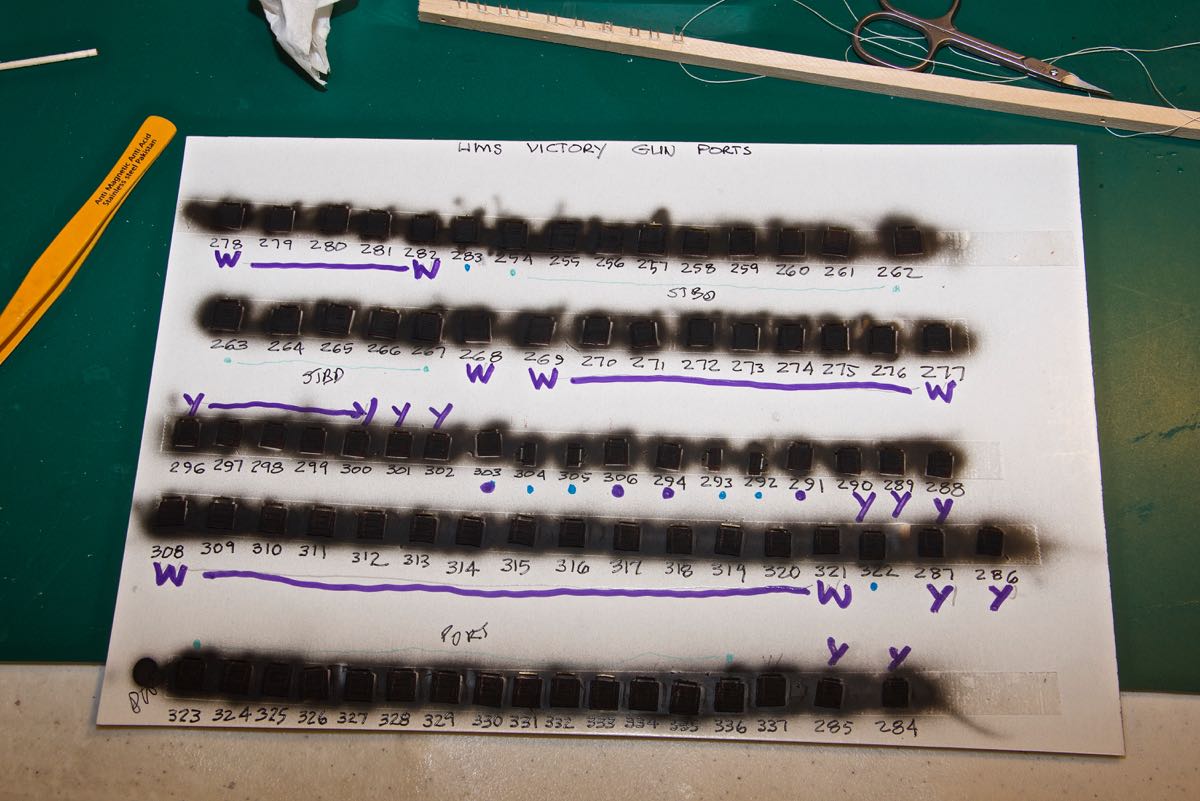
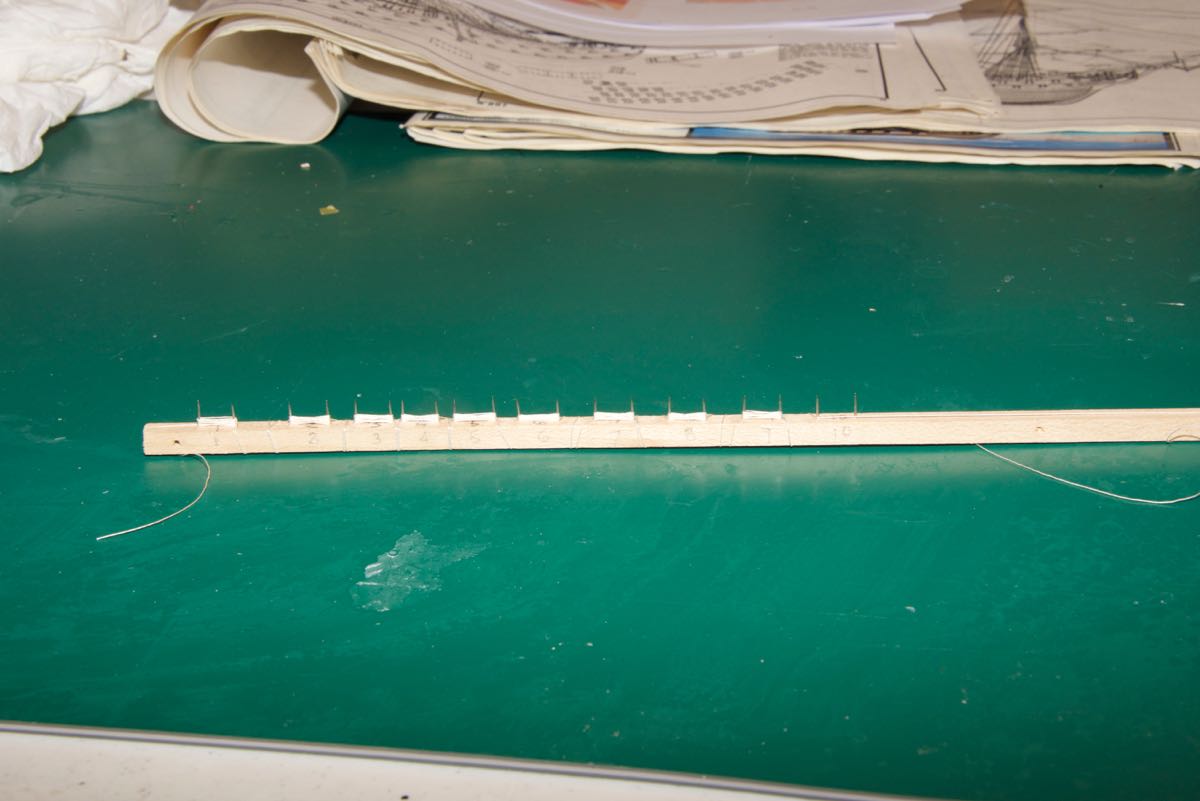
Here is the revised rope coil pattern. The steel pins are separated by 10mm.

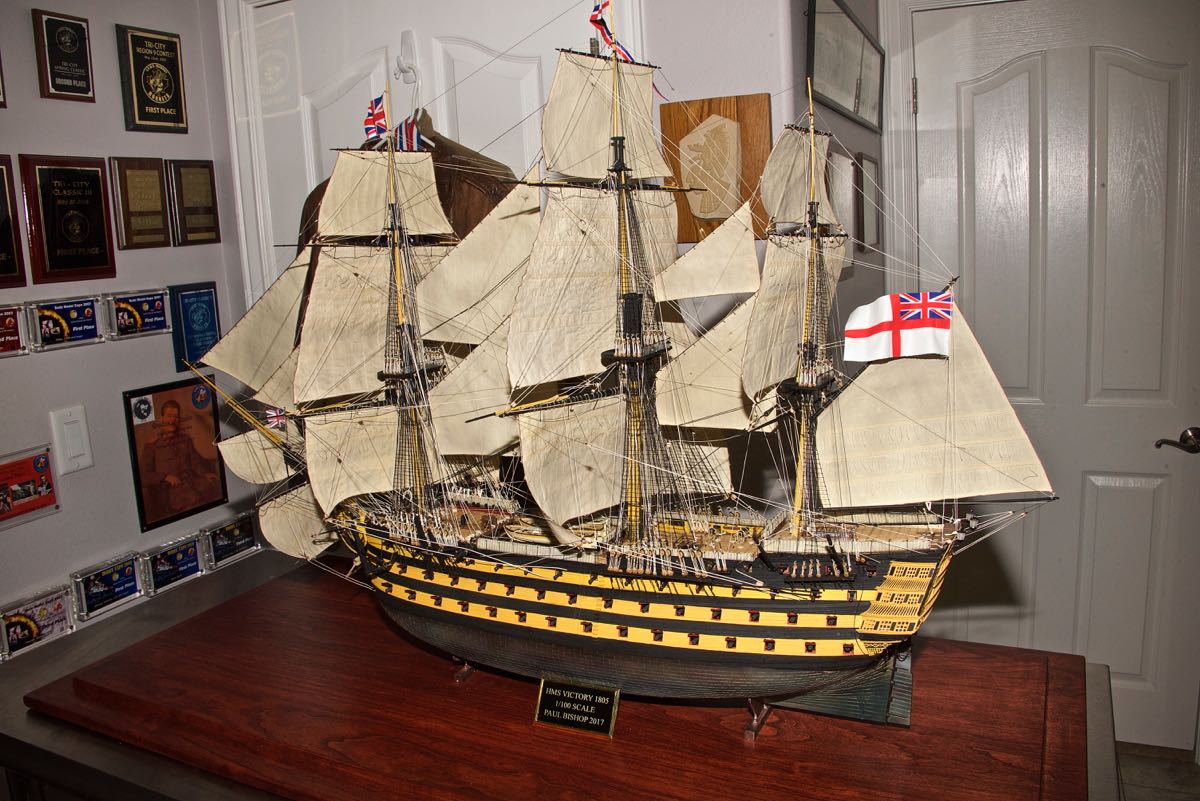

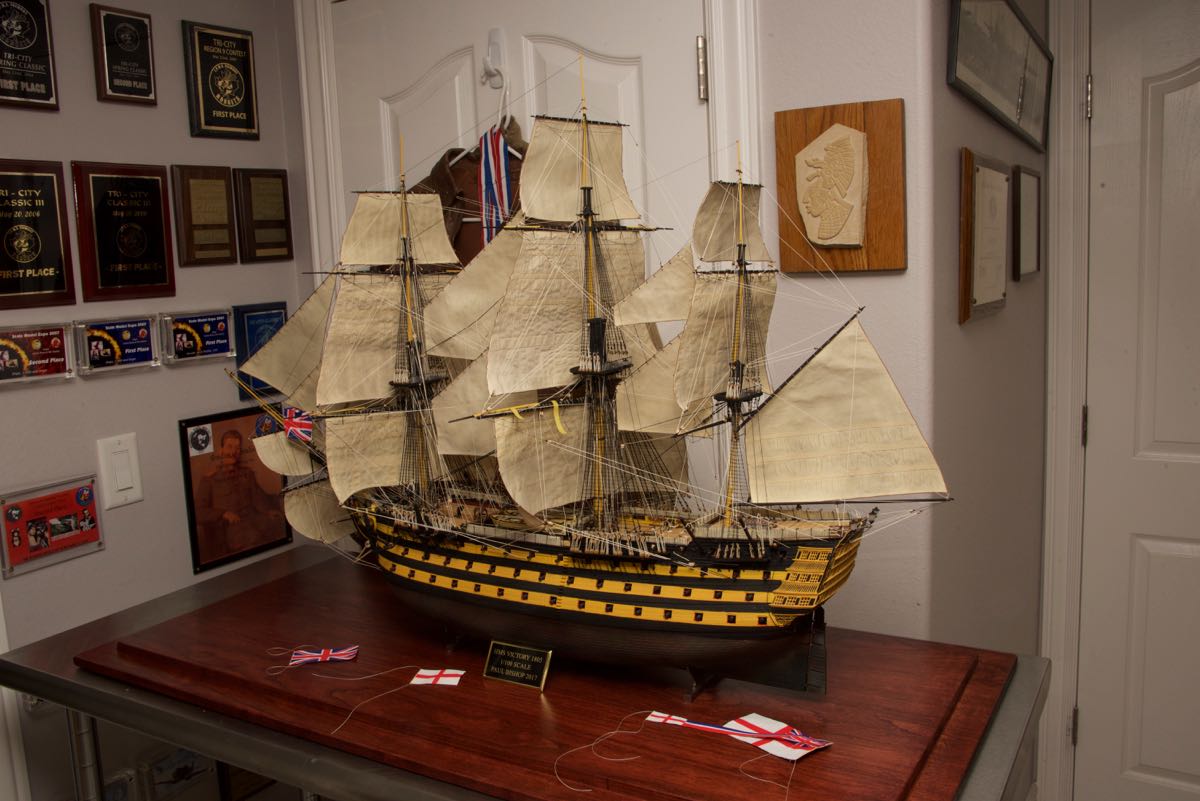
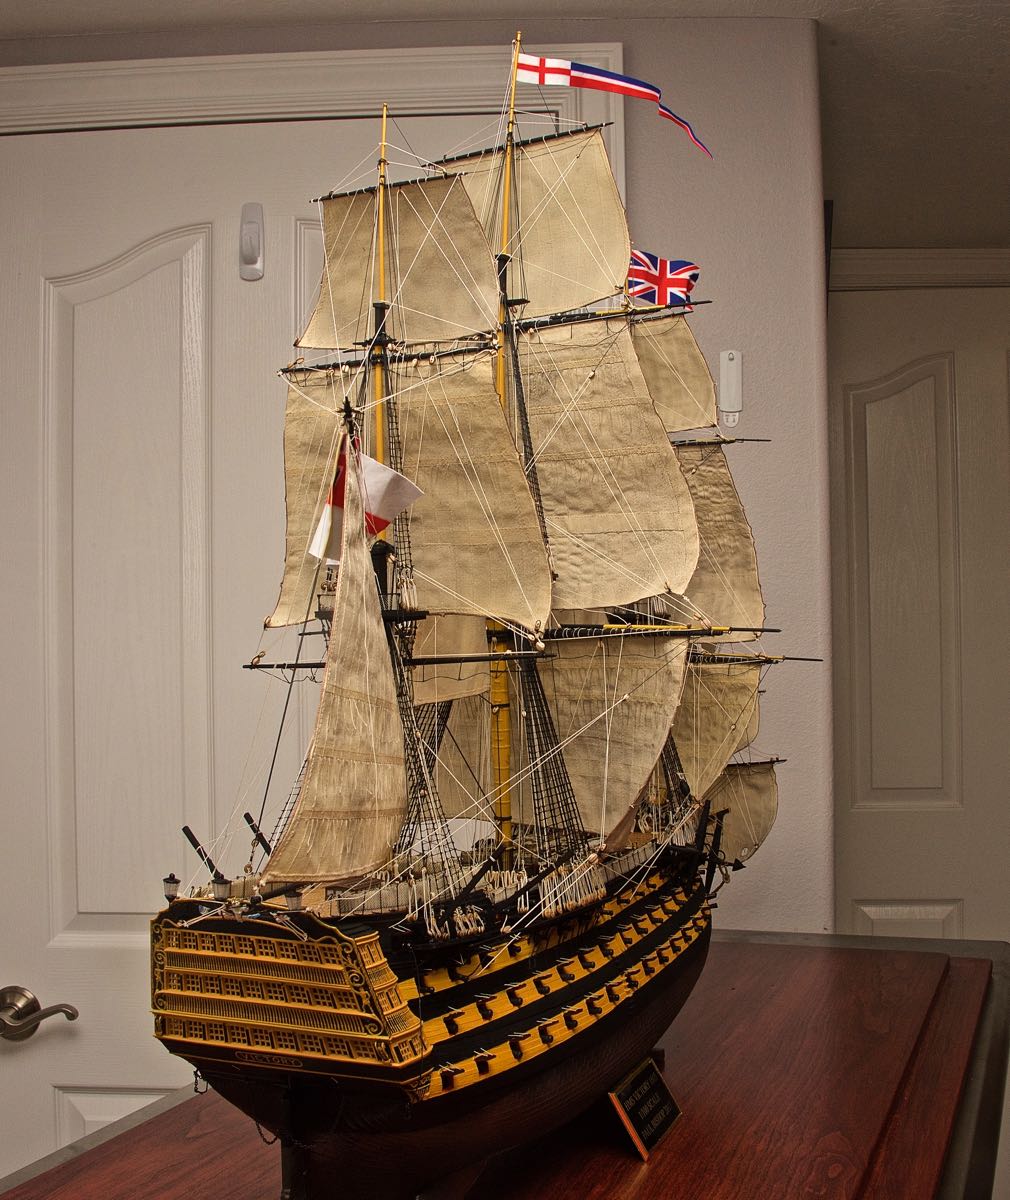
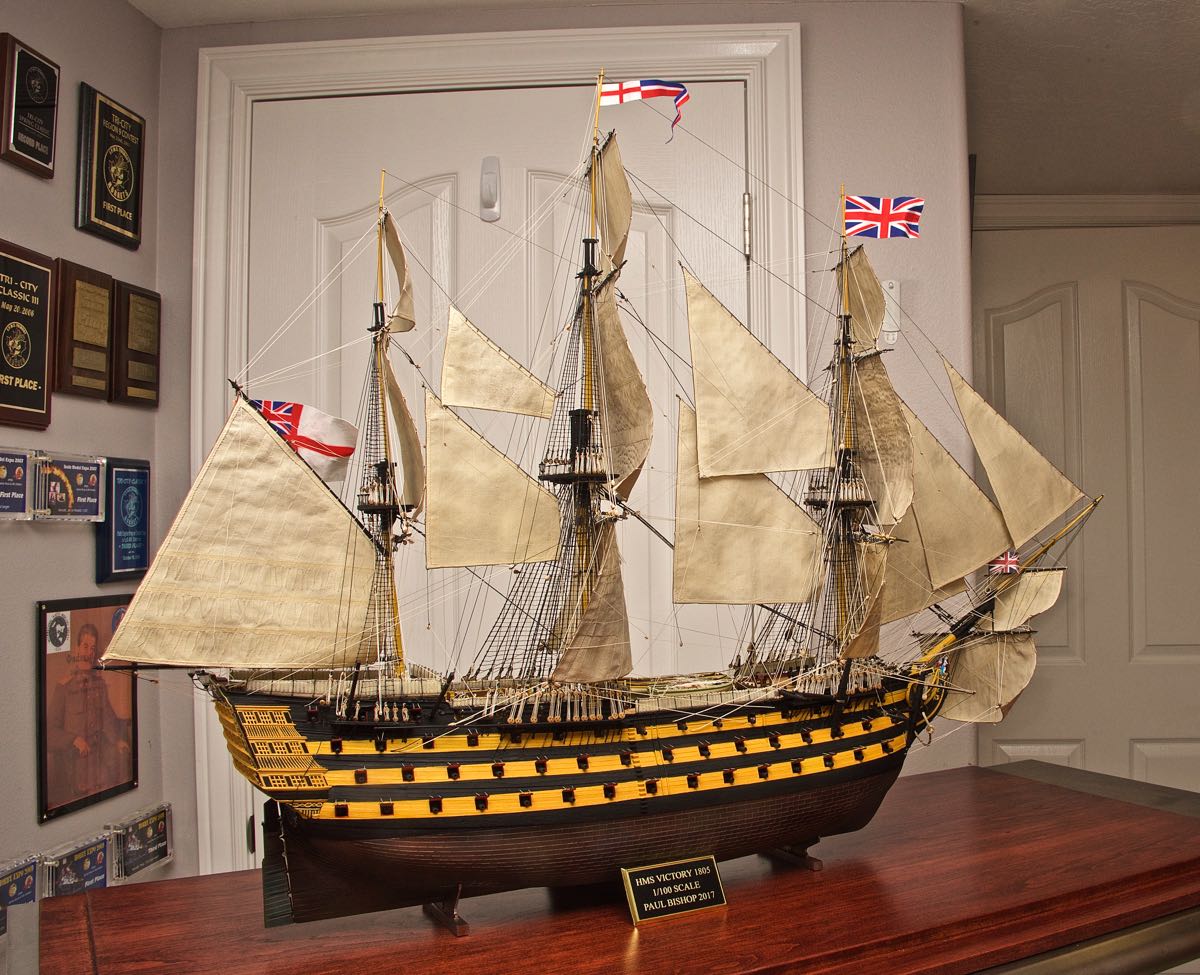
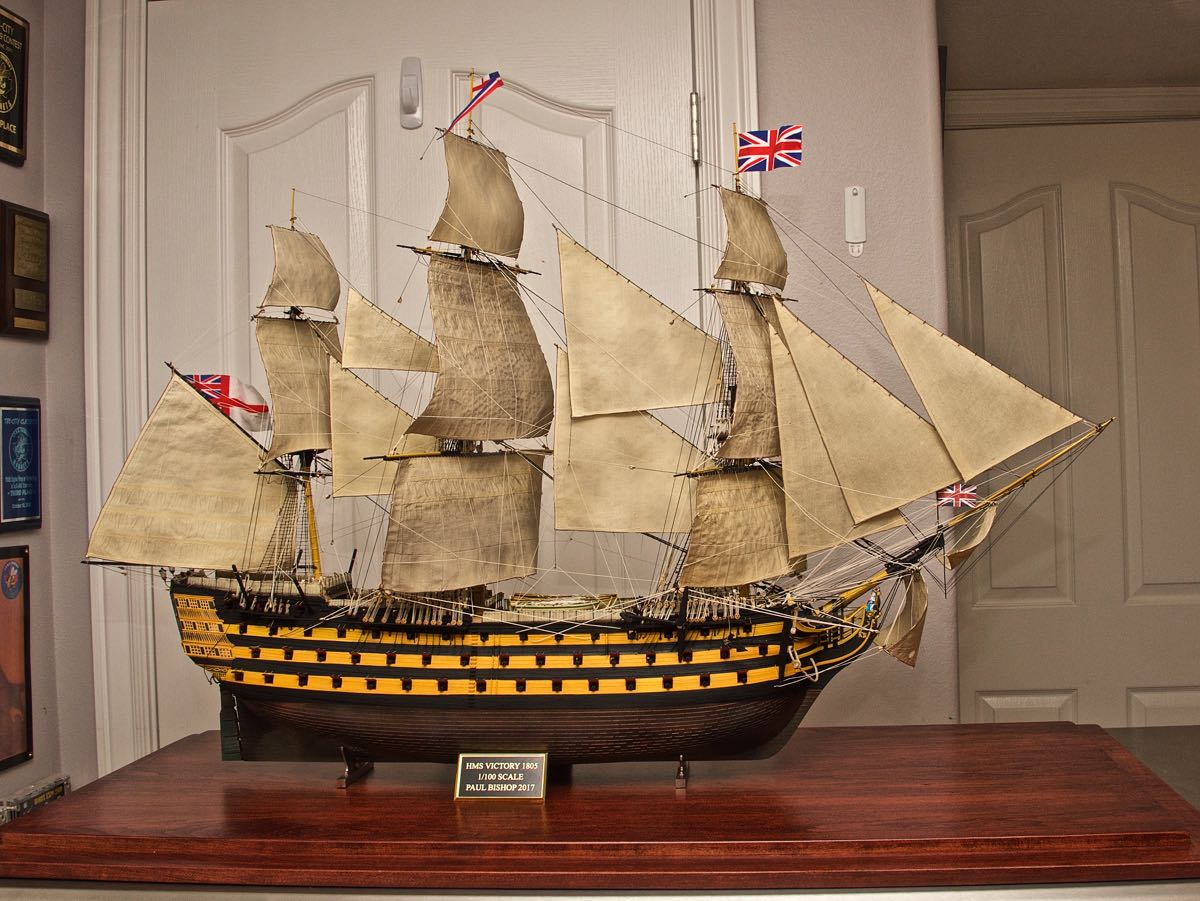
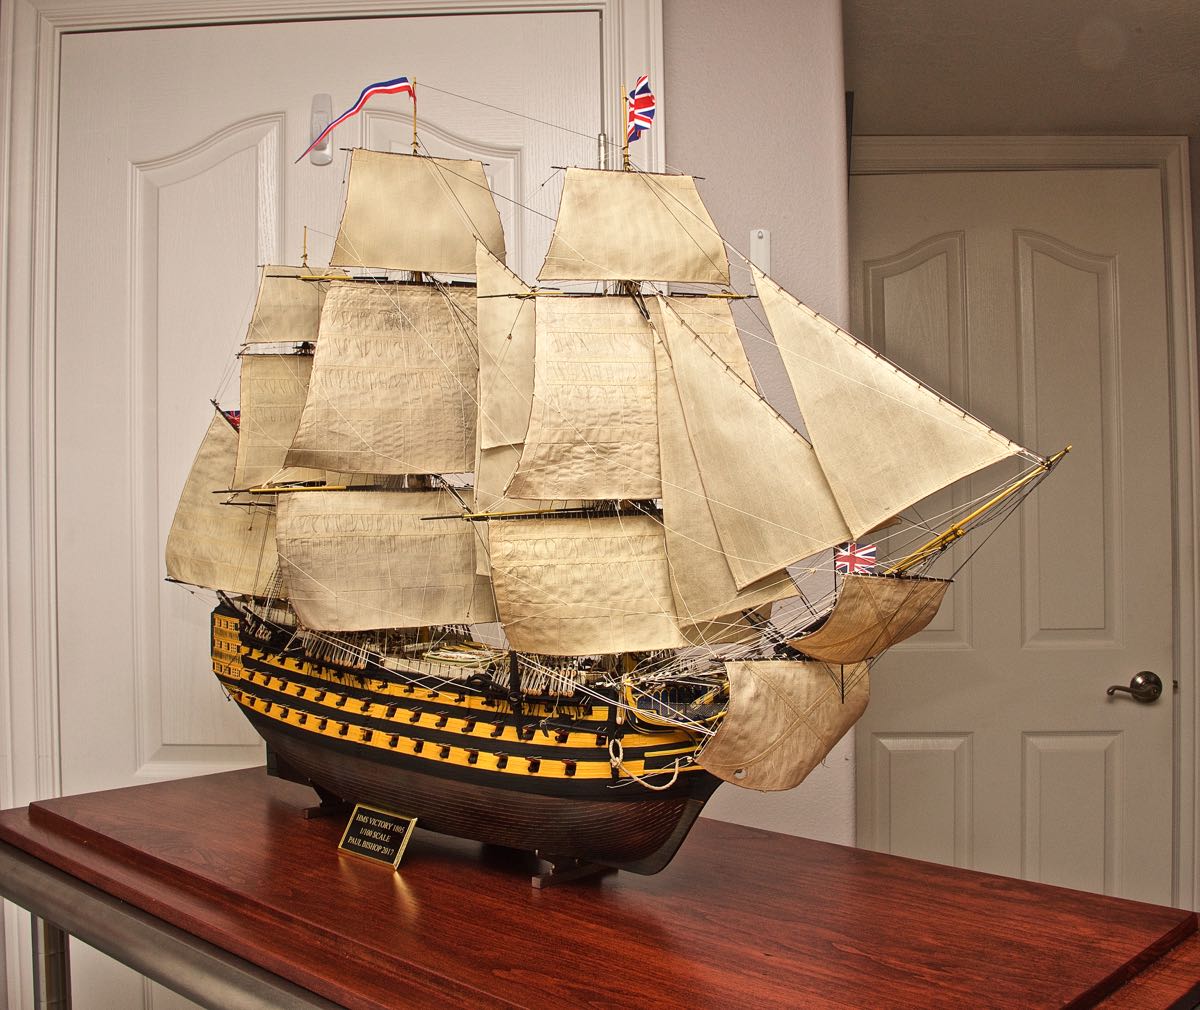
 6/25/2017 THE SHIP HMS VICTORY IS FINISHED!!!
Today I finished adding the gun port ropes and then did some final touch up painting and straightening up a few things. Then a shot a final coat of Testors flat to kill any gloss spots from the CA glue. I can't think of anything else to do. The gun port ropes were the thinnest thread I had soaked in GAC-400 texile stiffener then cut to 8 mm lengths. That fit about 95% of the gun ports – the rest I trimmed down with scissors. They were glued with a little CA on each end then added with tweezers. It really didn't take too long. Eight months and seven days ago (about 247 days give or take) since I made the mad decision finish this thing. That's roughly 600 hours. It's been a long haul, but actually very comforting. My wife passed away 11 months ago and it was very nice to have something to really occupy my mind during the many long hours. I'm going to take a break (good timing since I have a lot of my kids here to visit) and think about what I want to start next.
And here are the final pictures…..


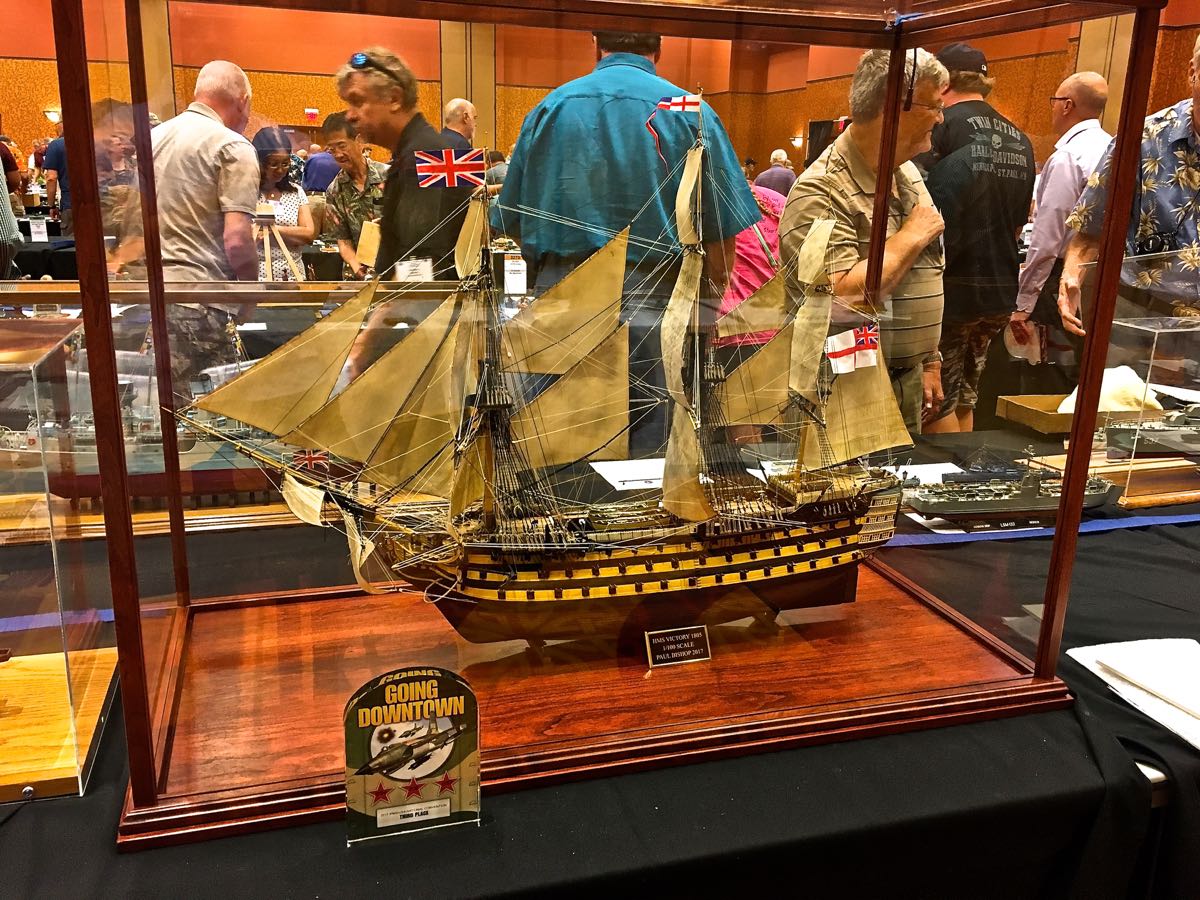
 8/3/2017 Here is a photo of the ship at the IPMS Nationals in Omaha Nebraska where it got third place in it's division.